DIY Christmas Table Centrepiece: Easy Fortune Cookie Tree Idea
Creating a beautiful holiday table is one of my favourite parts of entertaining, and this DIY Christmas table centrepiece combines festive styling with a fun interactive element your guests will absolutely love.
This fortune cookie tree brings together vintage charm, holiday sparkle, and a playful surprise that turns your Christmas table into something truly memorable.
Not only does it look beautiful as a centrepiece, but it also becomes part of the dining experience when guests choose their fortune cookies after the meal.
Whether you’re hosting a holiday gathering or searching for a thoughtful hostess gift idea, this easy DIY Christmas table centrepiece adds personality, charm, and a little festive magic to the table.
Why This DIY Christmas Table Centrepiece Works So Well
The best Christmas centrepieces do more than simply decorate the table.
They help create atmosphere, spark conversation, and make guests feel welcomed and included.
This fortune cookie tree works beautifully because it combines:
- Festive decor
- Interactive entertaining
- Vintage styling
- Affordable materials
- Easy customisation
It’s elegant enough for holiday entertaining while still feeling playful and fun.
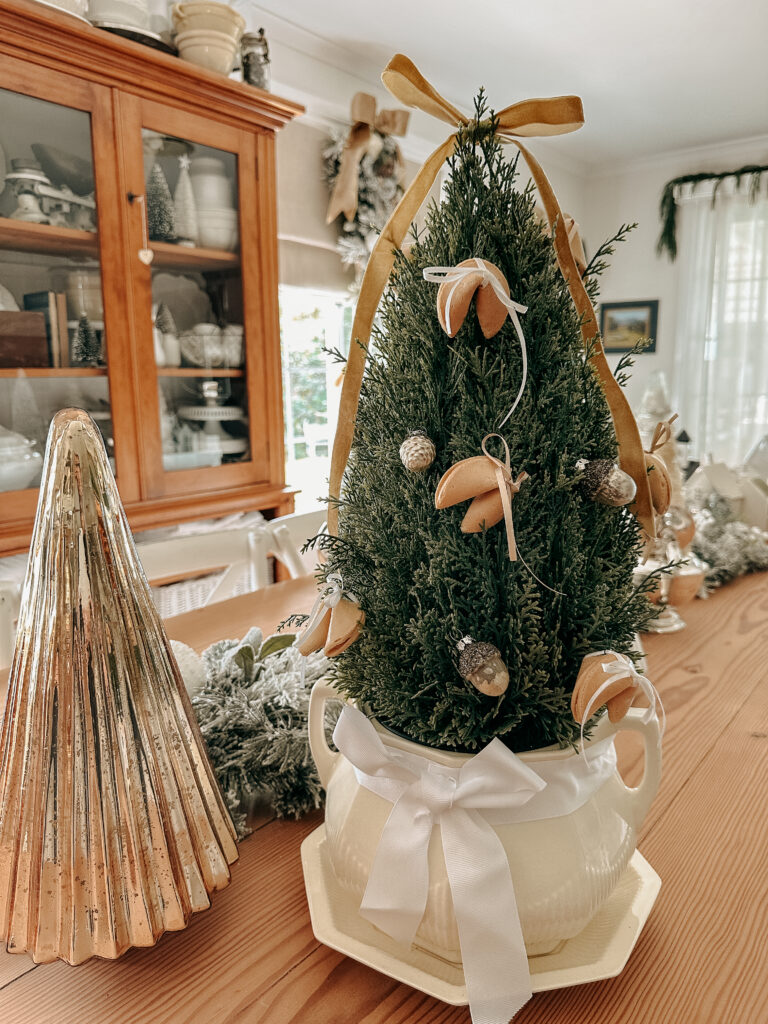
What You’ll Need
To create your DIY Christmas table centrepiece, you’ll need:
- A tabletop Christmas tree
- Fortune cookies
- Narrow ribbon in your chosen colour palette
- Small decorative baubles
- A vintage soup tureen or decorative container
- A decorative bow for the tree topper
- Optional fairy lights for extra sparkle
One of the best things about this project is that many of the materials are things you may already have at home.
Step 1: Choose the Right Christmas Tree
When creating a Christmas table centrepiece, scale is important.
Choose a tabletop tree that:
- Fits comfortably on the table
- Leaves space for food and conversation
- Still creates visual impact
A miniature or medium-sized tree usually works best depending on the size of your dining table.
If you’re reusing an older artificial tree, spend a few minutes fluffing the branches to create fullness before decorating.
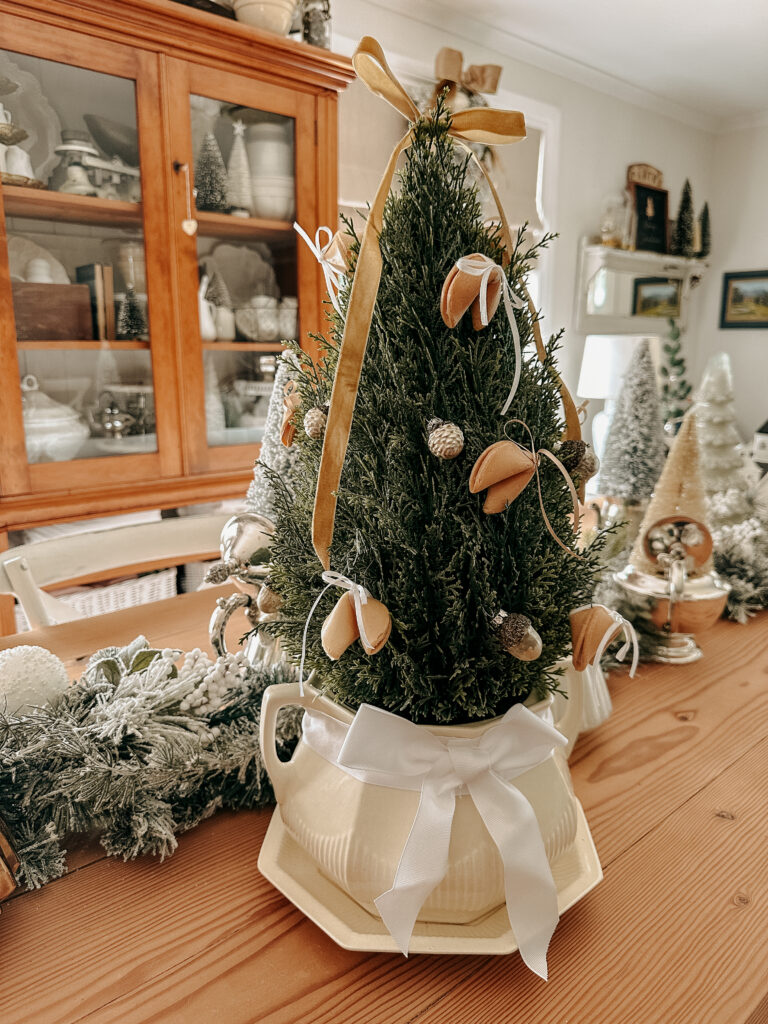
Step 2: Add Vintage Charm with the Container
To give this centrepiece a timeless and elegant look, I used a vintage soup tureen as the base for the tree.
Vintage pieces instantly add warmth and character to holiday styling.
Other beautiful container ideas include:
- Decorative tins
- Rustic wooden boxes
- Ceramic pots
- Vintage baskets
Thrift stores and antique shops are wonderful places to search for unique containers that add personality to your tablescape.
Step 3: Decorate the Tree with Baubles and Ribbon
Once the tree is in place, begin decorating with small baubles that coordinate with your overall holiday colour palette.
I recommend decorating lightly so there’s still plenty of room for the fortune cookies.
This keeps the tree feeling elegant rather than overcrowded.
Creating the Fortune Cookie Decorations
To transform the fortune cookies into ornaments:
- Tie narrow ribbon around each cookie
- Add a small bow
- Vary ribbon colours or textures if desired
The ribbon instantly makes the cookies feel festive and gift-like.
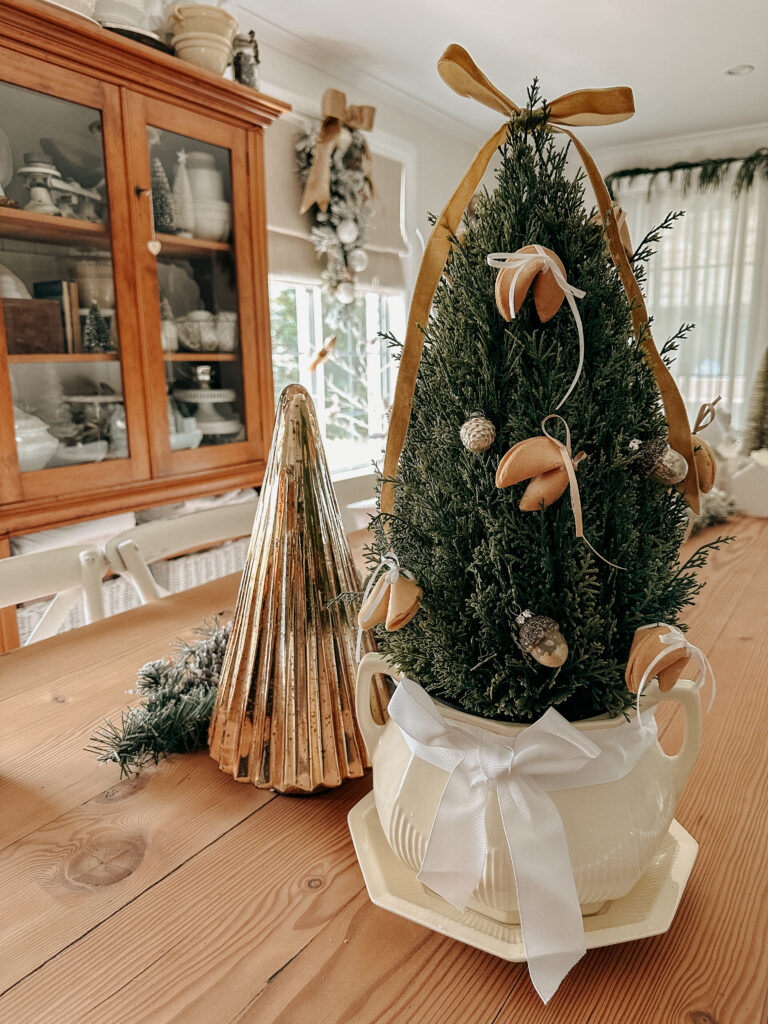
Step 4: Attach the Fortune Cookies
This is where the centrepiece becomes really fun.
Carefully place the fortune cookies throughout the tree branches, spacing them evenly around the tree so each guest can easily reach one after dinner.
The cookies create:
- Visual interest
- Texture
- A playful surprise
- An interactive table element
It turns the centrepiece into part of the entertaining experience.
Step 5: Add the Finishing Touches
To complete the tree, add a decorative bow to the top.
You can also:
- Wrap ribbon around the base
- Add fairy lights
- Decorate the tureen handles
- Include small ornaments or greenery
Small finishing details help the entire centrepiece feel polished and cohesive.
A Fun Interactive Dessert Idea
One of my favourite things about this DIY Christmas table centrepiece is that it continues to be part of the celebration after the meal.
At dessert time, guests can each select a fortune cookie from the tree.
They can:
- Read fortunes aloud
- Keep them private
- Compare messages
- Laugh together at funny fortunes
It creates a memorable moment and encourages conversation around the table.
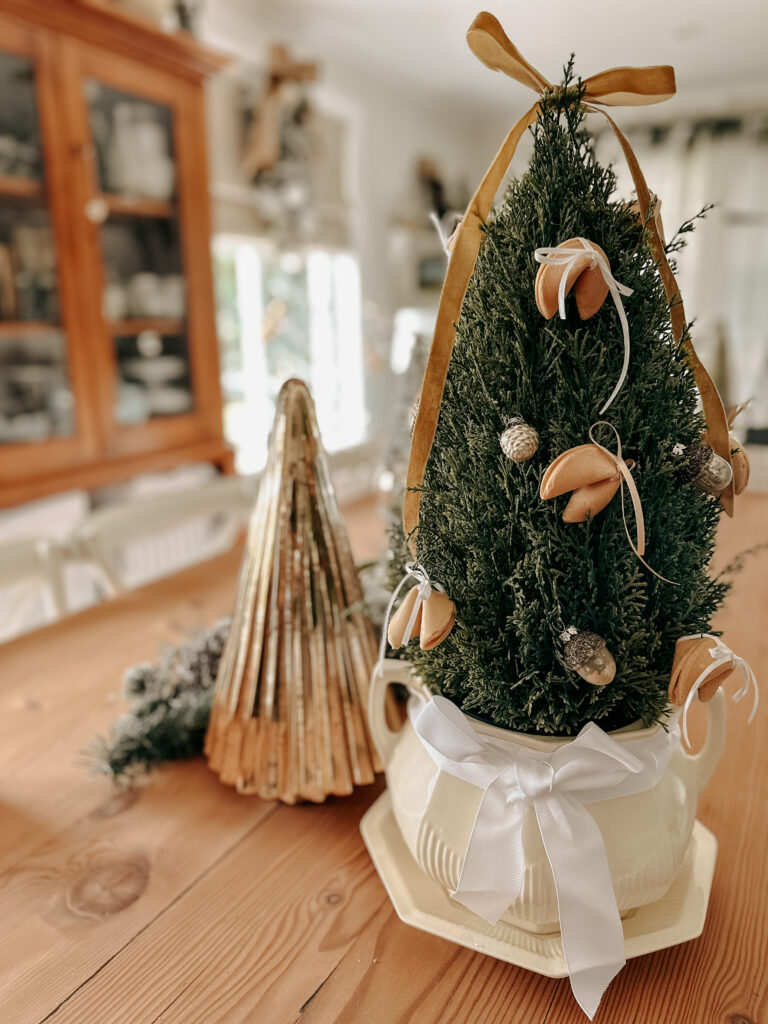
Why This Christmas Centrepiece Is Perfect for Entertaining
Unique and Memorable
This isn’t just another table decoration. It becomes a conversation piece and an experience for guests.
Budget Friendly
Many of the materials can be reused from previous holiday decorating which helps keep costs low.
Easy to Personalise
You can customise the colours, ribbons, ornaments, and container to suit your own holiday decorating style.
Great as a Hostess Gift
This fortune cookie tree also works beautifully as a handmade hostess gift for holiday gatherings.
Tips for Styling Your DIY Christmas Table Centrepiece
Coordinate with Your Tablescape
Choose ribbons and decorations that complement your existing Christmas table styling for a cohesive look.
Use Warm Lighting
Fairy lights help create warmth and make the tree glow beautifully during evening entertaining.
Keep It Balanced
Avoid overcrowding the tree with decorations so the fortune cookies remain the feature.
A Simple DIY That Creates Lasting Memories
This DIY Christmas table centrepiece is proof that festive decorating doesn’t need to be expensive or complicated to feel special.
The combination of vintage charm, sparkling decorations, and interactive fortune cookies creates a holiday table feature that guests will remember long after the celebrations end.
And if you’re looking for more holiday table inspiration, you might also enjoy my blue and white Christmas table setup for another elegant festive entertaining idea.