DIY Built-In Cabinets for a Living Room Makeover
Built-in cabinets can completely transform a living room, especially in a smaller builder-grade home where storage and functionality matter just as much as style. For years, I had dreamed of updating our living room built-ins to create a space that felt lighter, brighter and more reflective of the relaxed vintage style we love throughout our home.
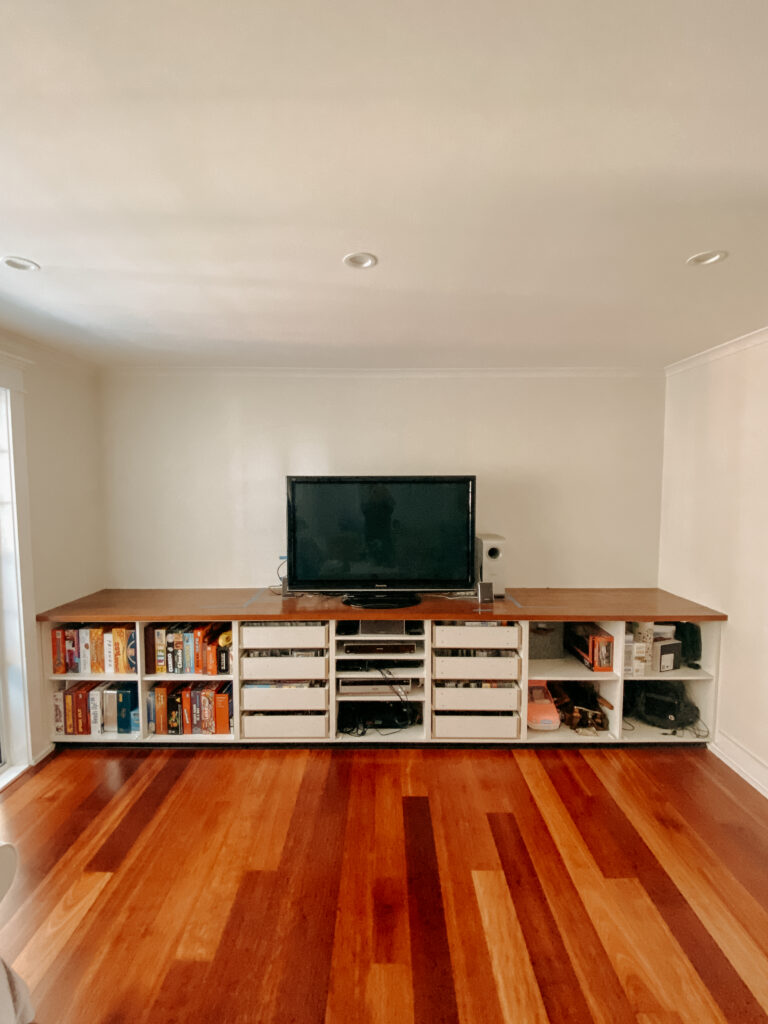
The original entertainment unit Tony built around 15 years ago had served us incredibly well, but our style had evolved and the room no longer felt cohesive. Rather than starting from scratch, we decided to incorporate the existing cabinetry into a brand-new DIY built-in design to save money and reduce waste.
This living room makeover became one of the biggest transformations in our home and completely changed how the space feels.
Planning Our DIY Built-Ins
The most important part of this project was careful planning.
Because we wanted to reuse the lower cabinetry, we needed a design that worked with the existing structure while still feeling fresh and custom-built.
Our first step was updating the lower cabinets with new shaker-style doors and drawer fronts to match the style we had already used throughout other renovations in the house. To save time, we had these professionally made by the same cabinetmaker who completed our bathrooms and laundry.
The upper section, however, was something Tony wanted to tackle himself.
Our goal for the new built-ins was to:
- Create more visual height
- Add extra shelving and storage
- Make the room feel brighter and more open
- Incorporate a larger television without overwhelming the space
- Keep the design simple enough for our lower ceilings
Like many couples renovating together, we also had to compromise a little along the way. Tony was very keen to upgrade to a larger television, while I wasn’t particularly enthusiastic about having a huge black screen dominating the room.
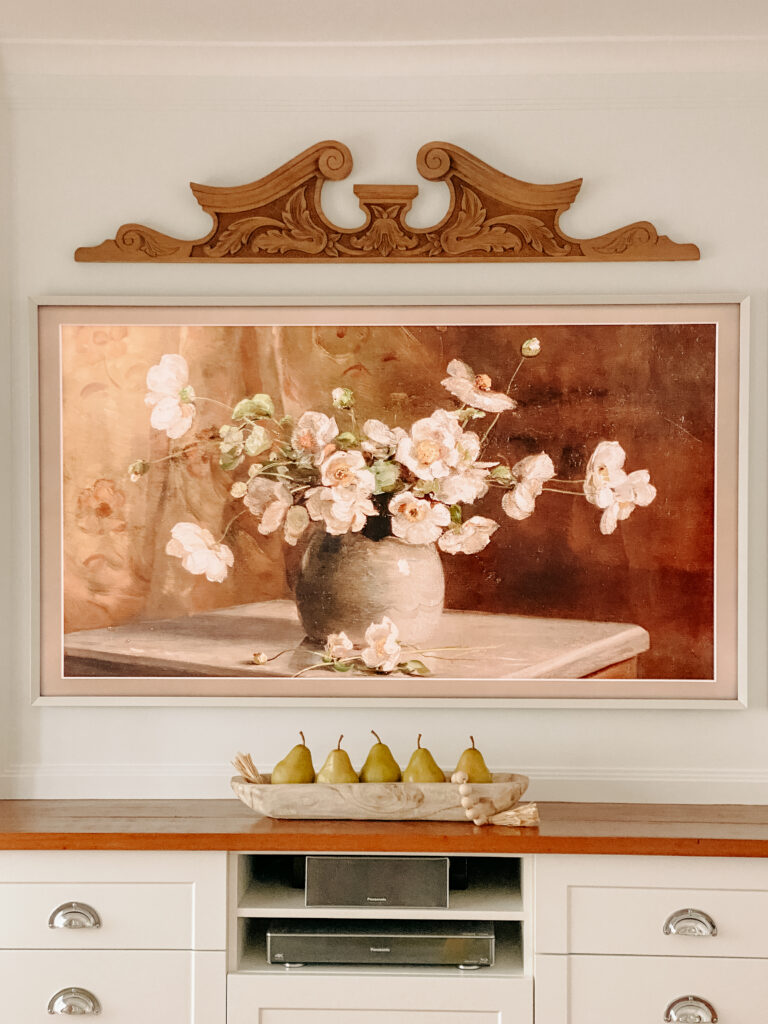
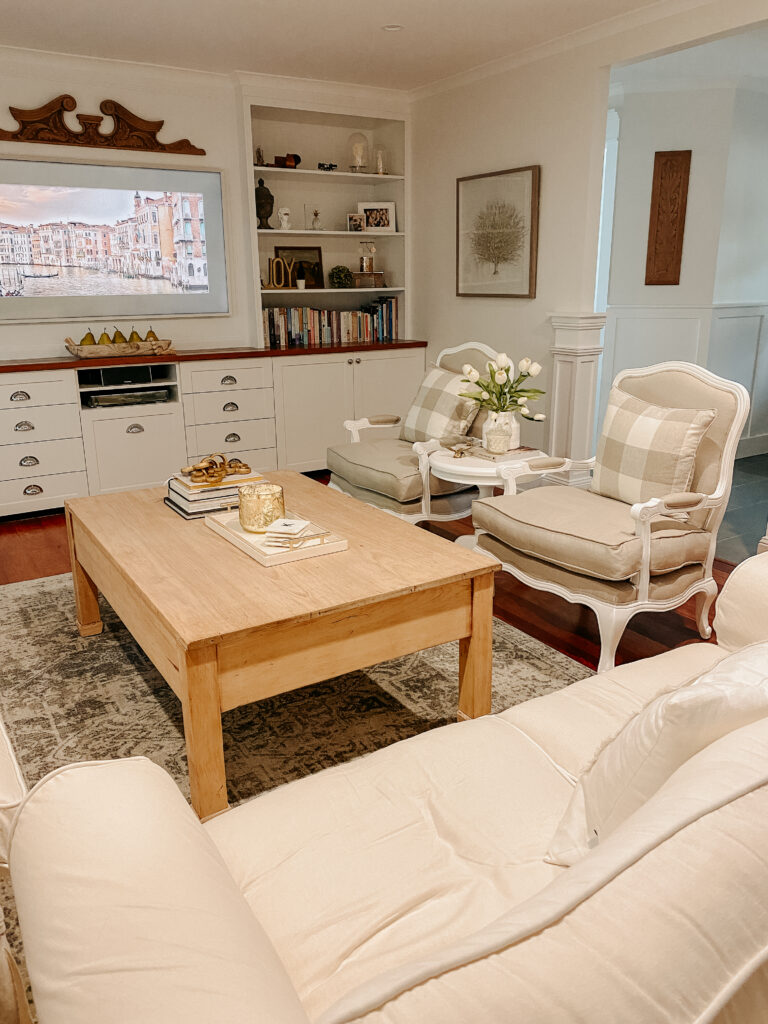
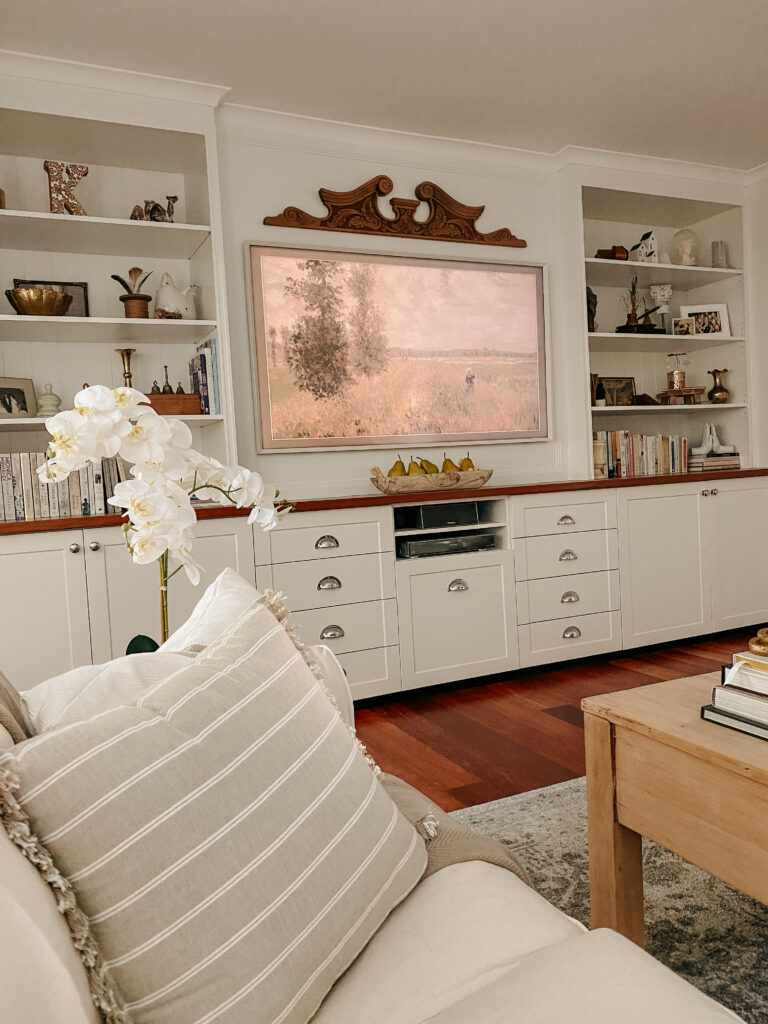
The solution was choosing a Samsung The Frame TV so the television could double as artwork when not in use.
Designing the Built-In Cabinets
Once the TV size was decided, we could properly design the upper cabinetry around it.
The final layout included:
- Shelving on both sides
- A central television section
- A slightly recessed bookshelf design
- A forward TV section to create depth and dimension
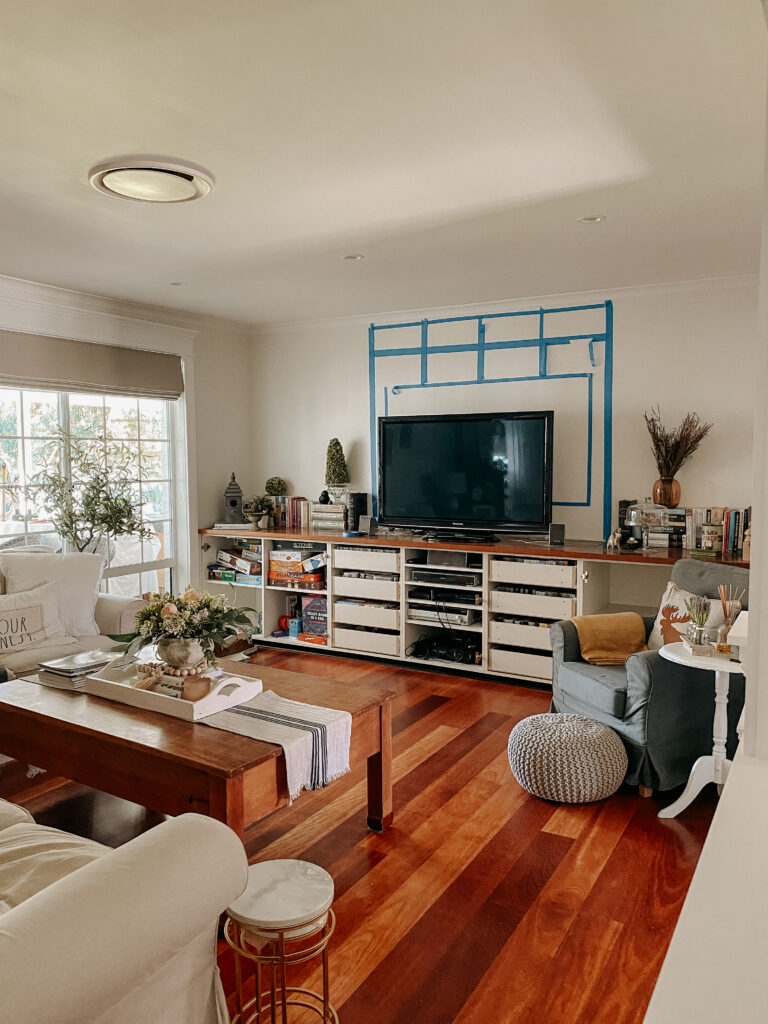
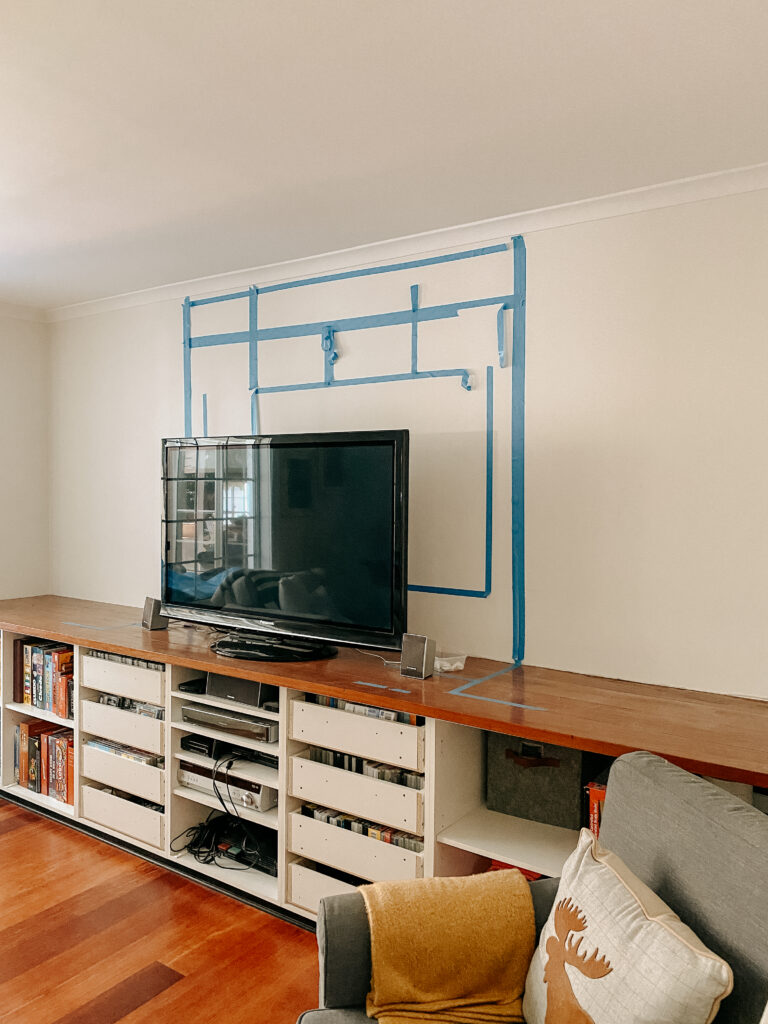
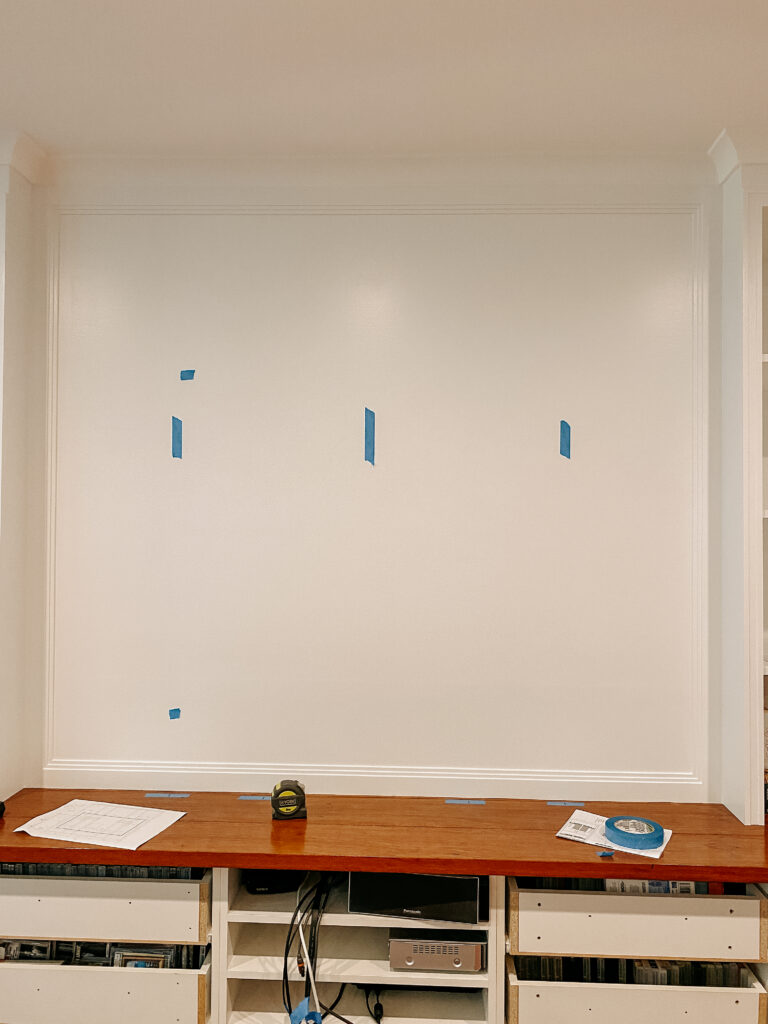
To help visualise everything, we marked the proposed layout directly onto the wall using painter’s tape before construction began.
This step was incredibly helpful because many of the Pinterest-inspired built-ins we loved simply wouldn’t work in our home due to the lower ceilings.
Keeping the design relatively simple helped the room feel more spacious rather than crowded.
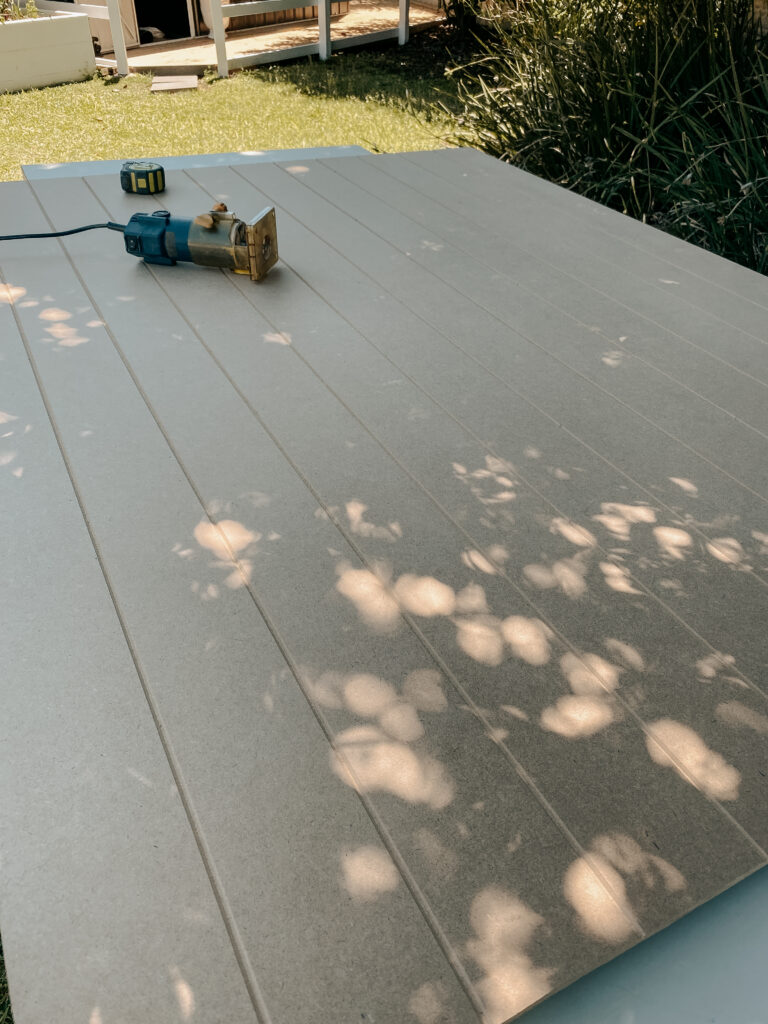
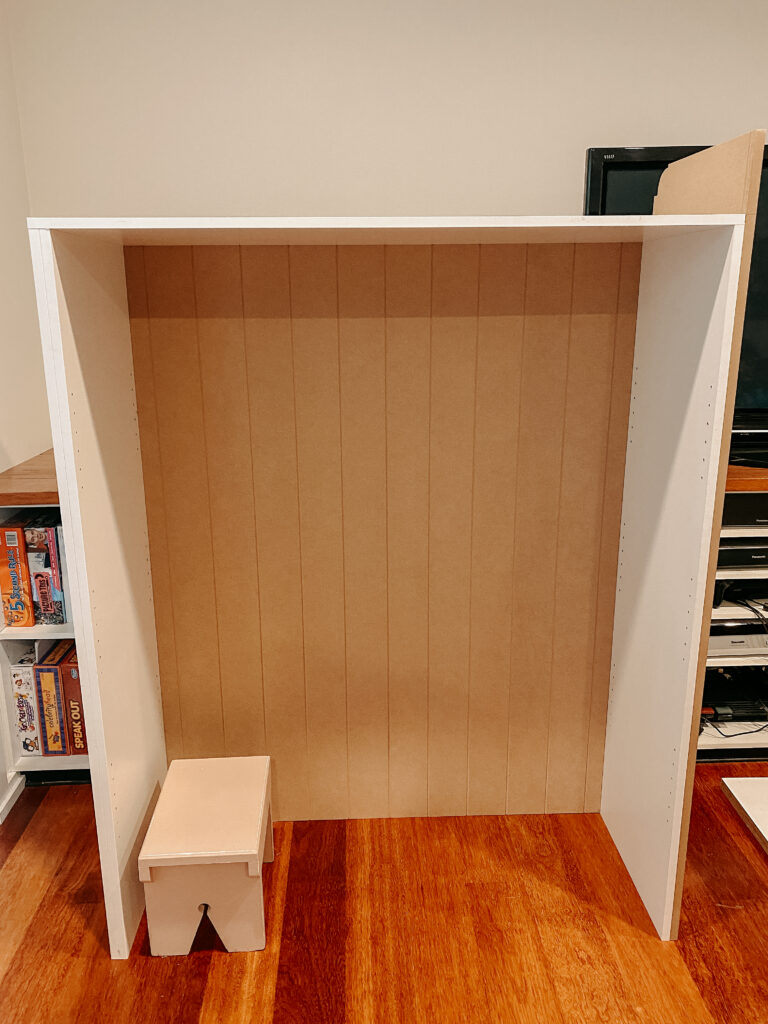
Creating DIY VJ Board Backing
To add character and texture to the shelving units, we wanted VJ board backing behind the shelves.
Unfortunately, the VJ sheets we originally planned to use were unavailable and the alternative products were extremely expensive.
Thankfully Tony came up with a brilliant solution and made his own VJ panels using:
- One 1200 x 2400mm sheet of 9mm MDF
This single sheet created enough VJ panelling for both shelving units and saved a significant amount of money.
It’s one of my favourite details in the finished built-ins because it adds subtle texture and helps the shelves feel far more custom.
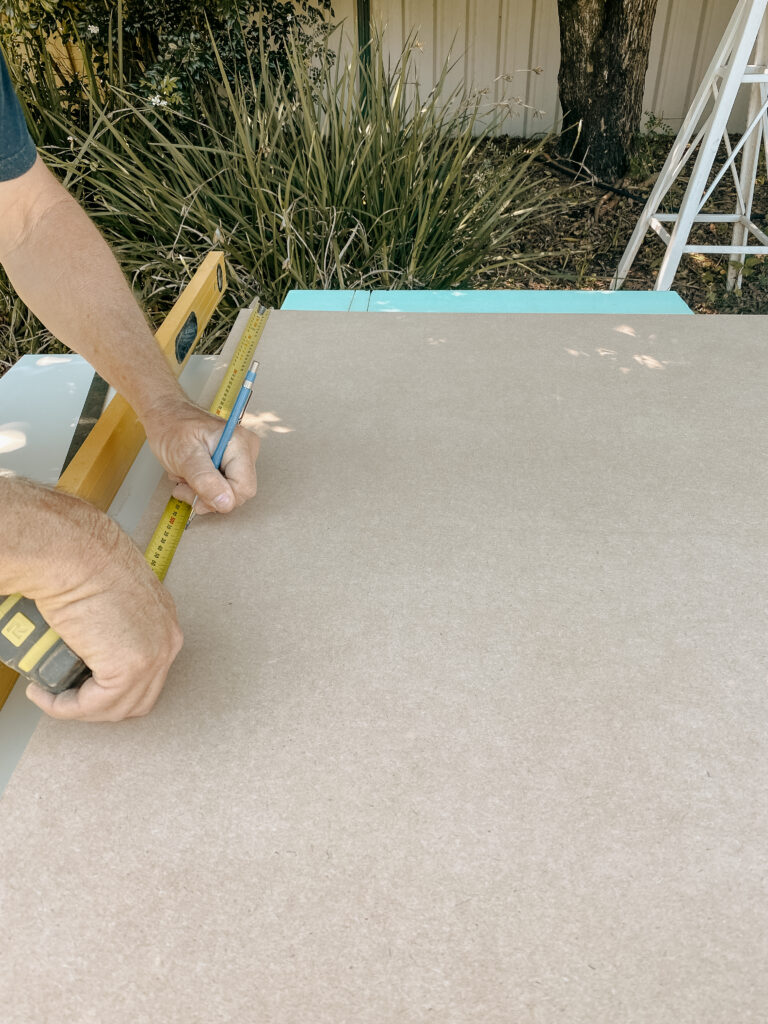
Materials Used for the DIY Built-Ins
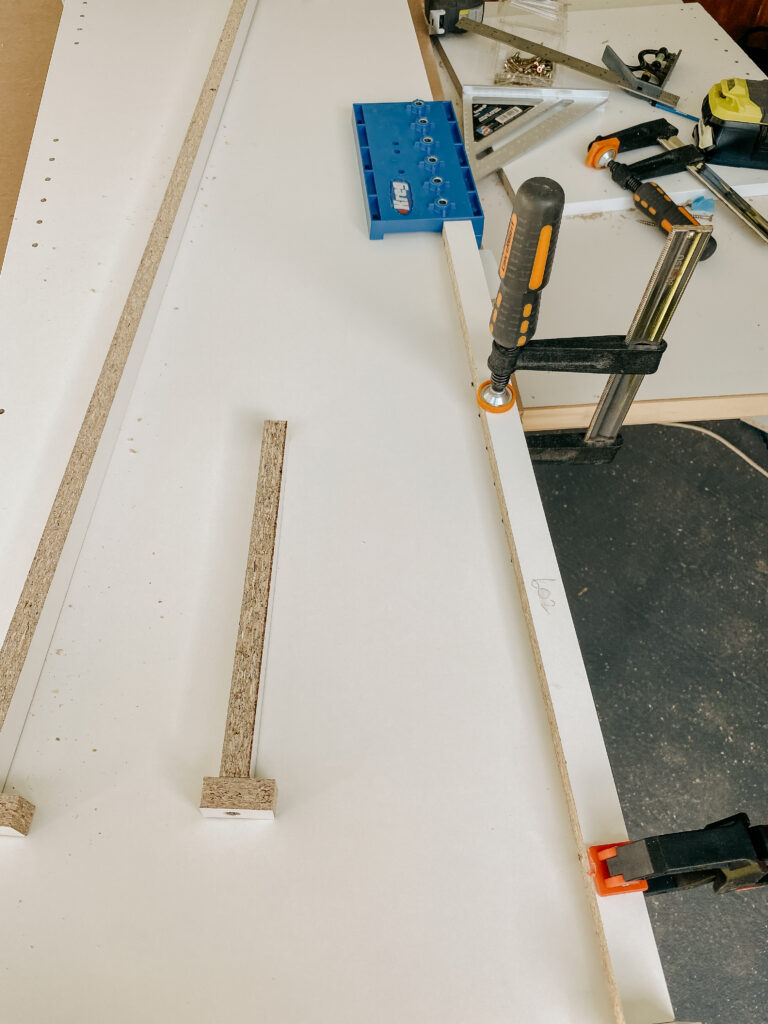
To create the thicker shelving appearance we wanted, Tony combined:
- White melamine shelving panels
- MDF sheets for bulk and structure
Using layered materials helped give the shelving units a more substantial built-in appearance rather than looking like standalone bookcases.
One section of MDF extended to ceiling height so we could incorporate a bulkhead above the television section for a more seamless built-in look.
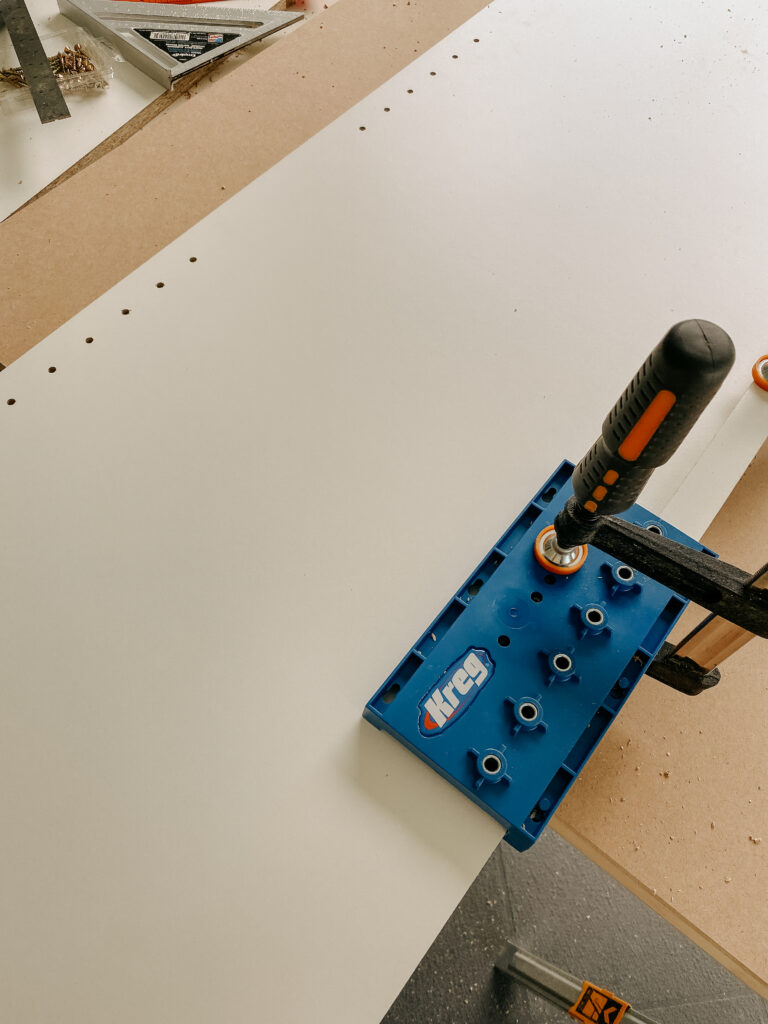
Tony also used a Kreg Pin Jig to drill holes for adjustable shelving, allowing us to customise shelf heights depending on how we styled the space.
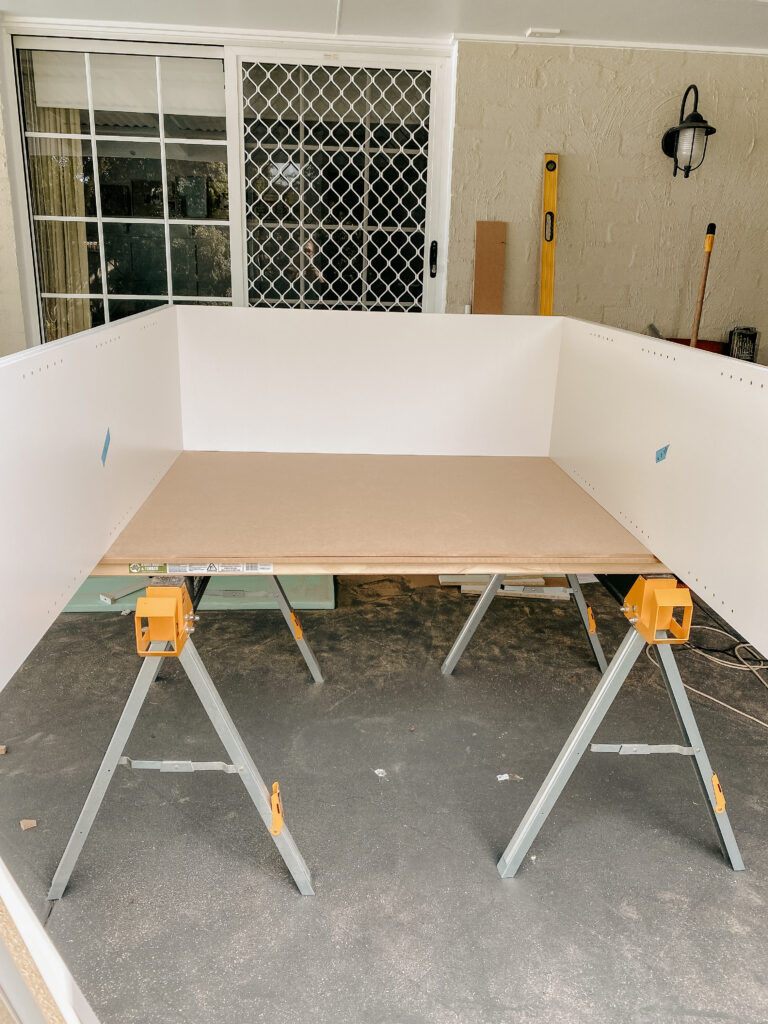
Constructing the Built-In Cabinets
Once the shelving units were assembled, they were installed on either side of the existing cabinetry.
Tony then built a false wall between the shelves to support the television and conceal wiring.
Because we had already purchased the TV before construction started, we were able to ensure:
- Wall supports were positioned correctly
- The mounting brackets aligned perfectly
- Wiring could remain hidden
This planning stage made the final television installation far easier.
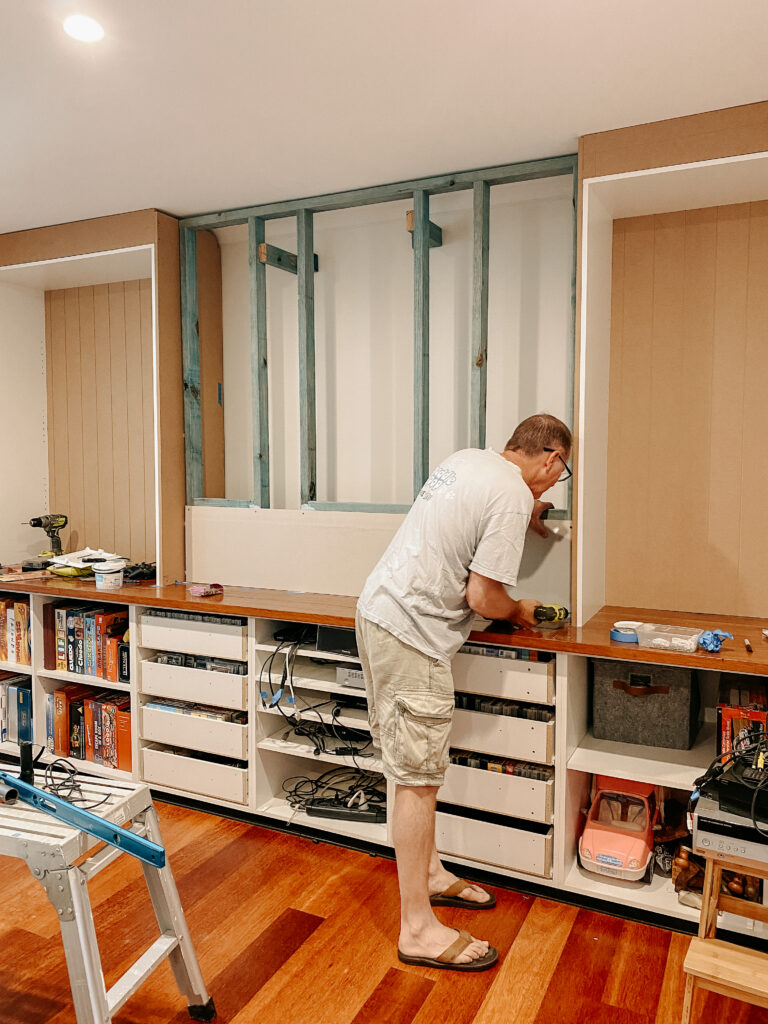
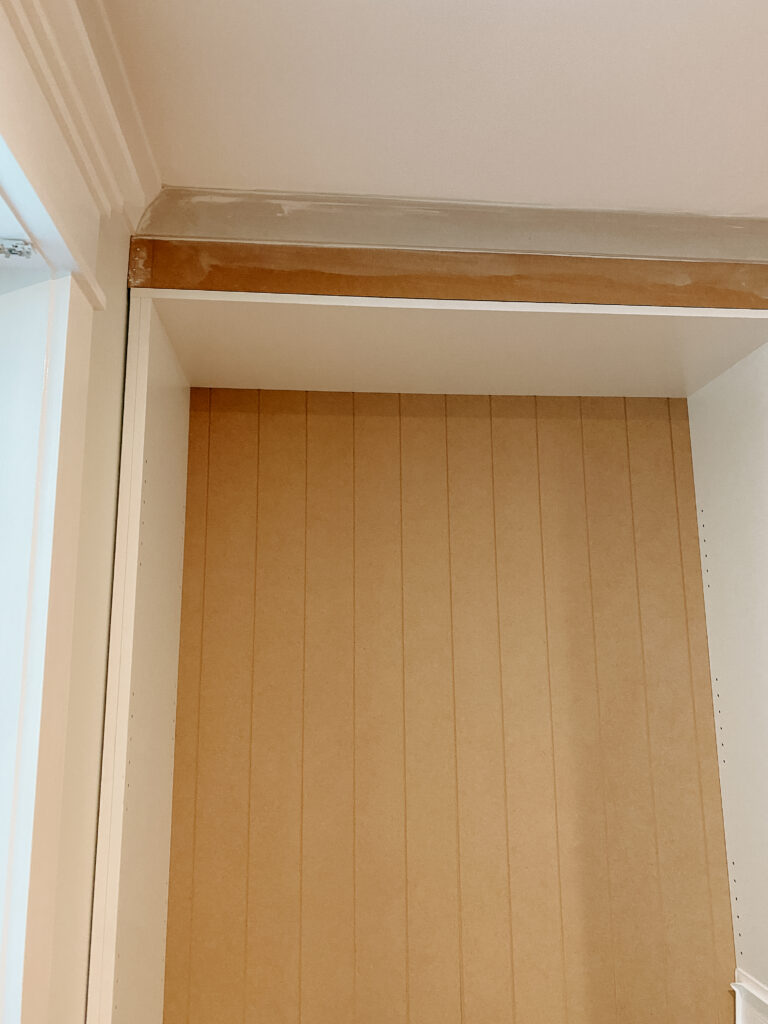
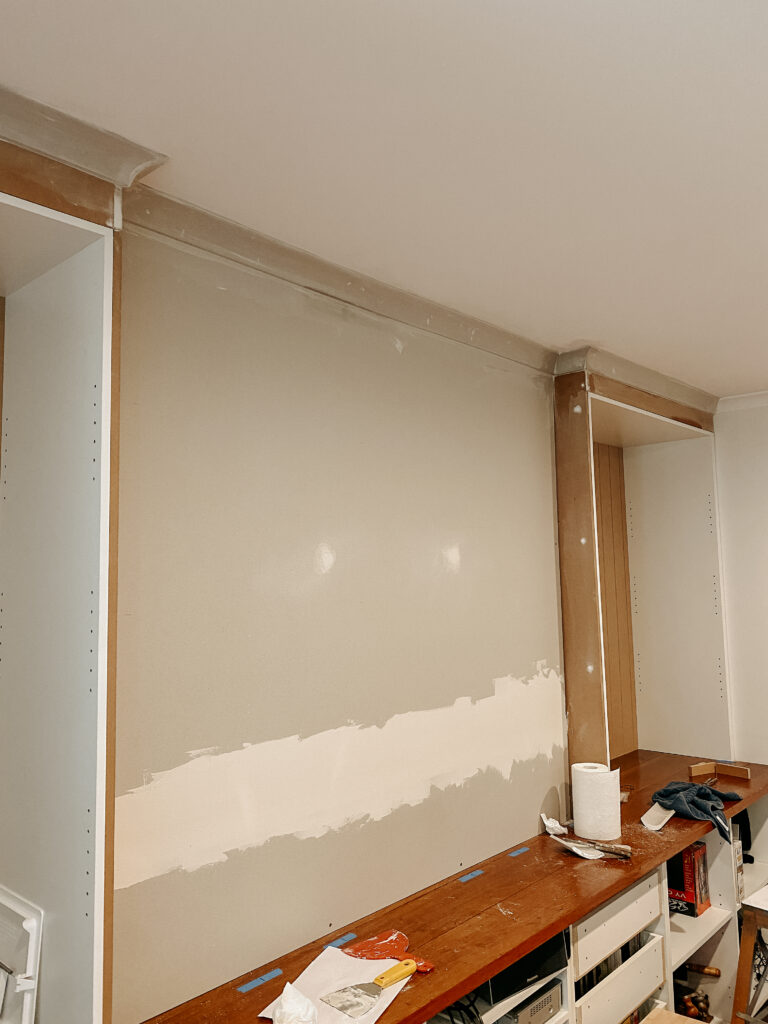
Installing Plasterboard and Cornice
To help the DIY built-ins feel fully integrated into the room, the next step was installing:
- Plasterboard
- Cornice
- Trim detailing
The plasterboard was glued and screwed into place before the cornice installation began.
Matching the new cornice to the older existing cornice was definitely one of the trickier parts of the project, especially in an older home where nothing is perfectly straight.
Thankfully, a little patience — and a lot of caulk — helped everything come together beautifully.
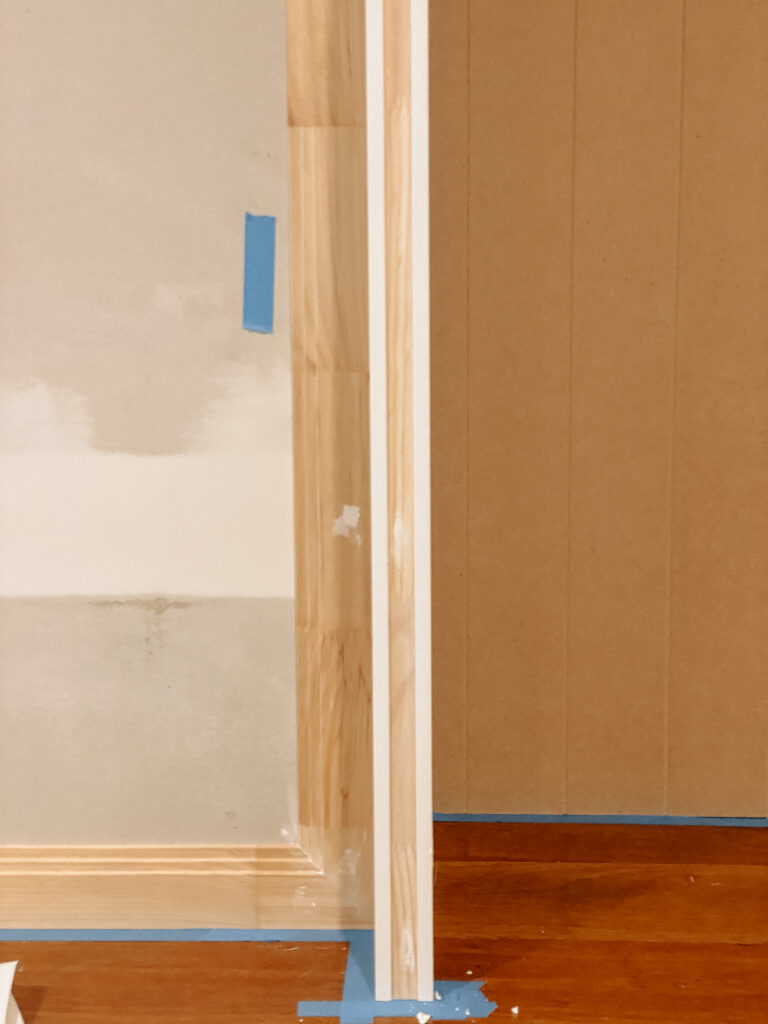
Adding Trim Details to the Built-Ins
The trim details were what truly elevated the finished look of the cabinetry.
To make the shelving appear thicker and more substantial, we added timber strips slightly wider than the shelf supports.
Tony then used a router to create decorative detailing that matched the mouldings already used elsewhere in the room.
For the television section, we chose stepped timber trim to replicate the detailing above our large living room window and create consistency throughout the space.
Painting the DIY Built-Ins
Painting is always the stage where everything suddenly starts to feel finished.
We painted the entire unit in Dulux Lexicon Quarter, which is a beautiful bright white that instantly lightened the whole room.
The professionally made shaker doors and drawer fronts were also sprayed in the same colour for a seamless finish.
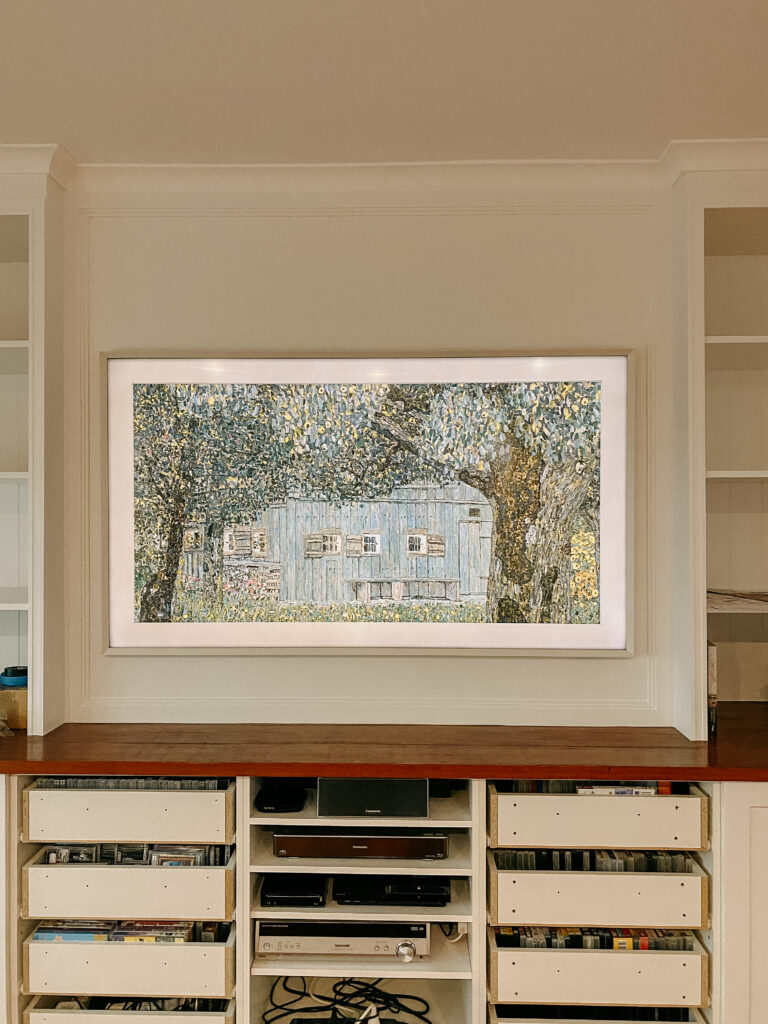


Installing the Samsung Frame TV
Installing the Frame TV ended up being surprisingly straightforward because the structural supports had already been planned during construction.
One of the biggest advantages of the Samsung Frame TV is that:
- Only one cord connects directly to the TV
- Additional devices connect through a separate box
- The connection box can be hidden out of sight
This helped create the clean and uncluttered look we were hoping for.
I’ll admit — Tony was right about upgrading the television. Once styled as artwork, it actually enhanced the room rather than overwhelming it.
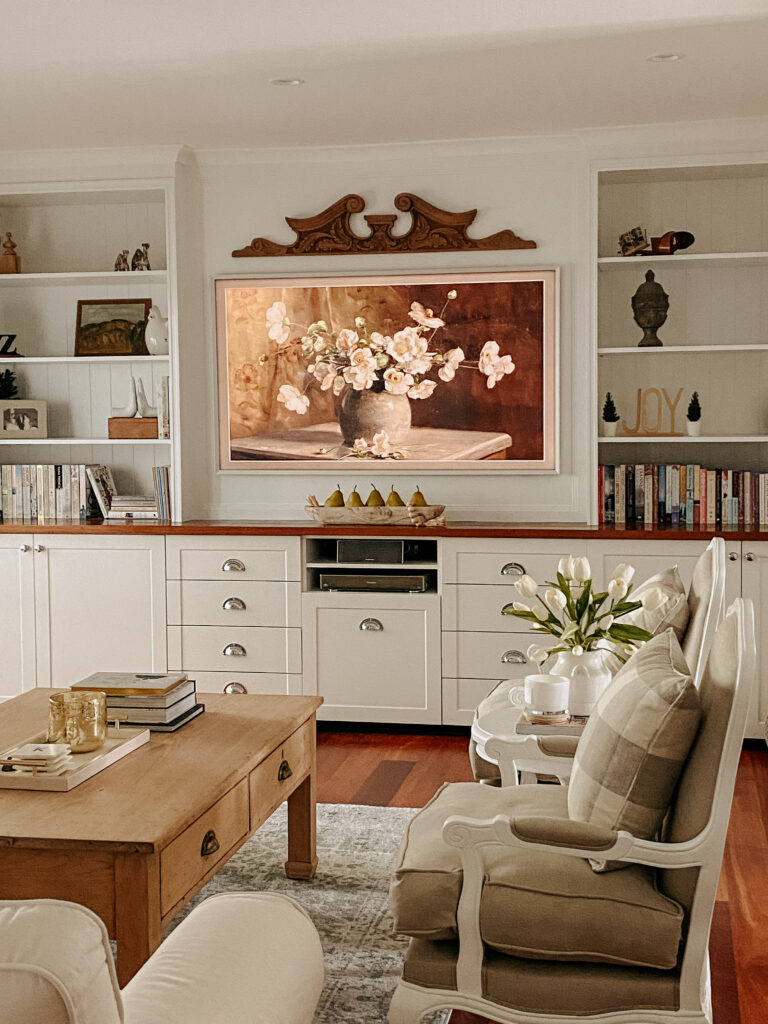
Styling the Finished Living Room Built-Ins
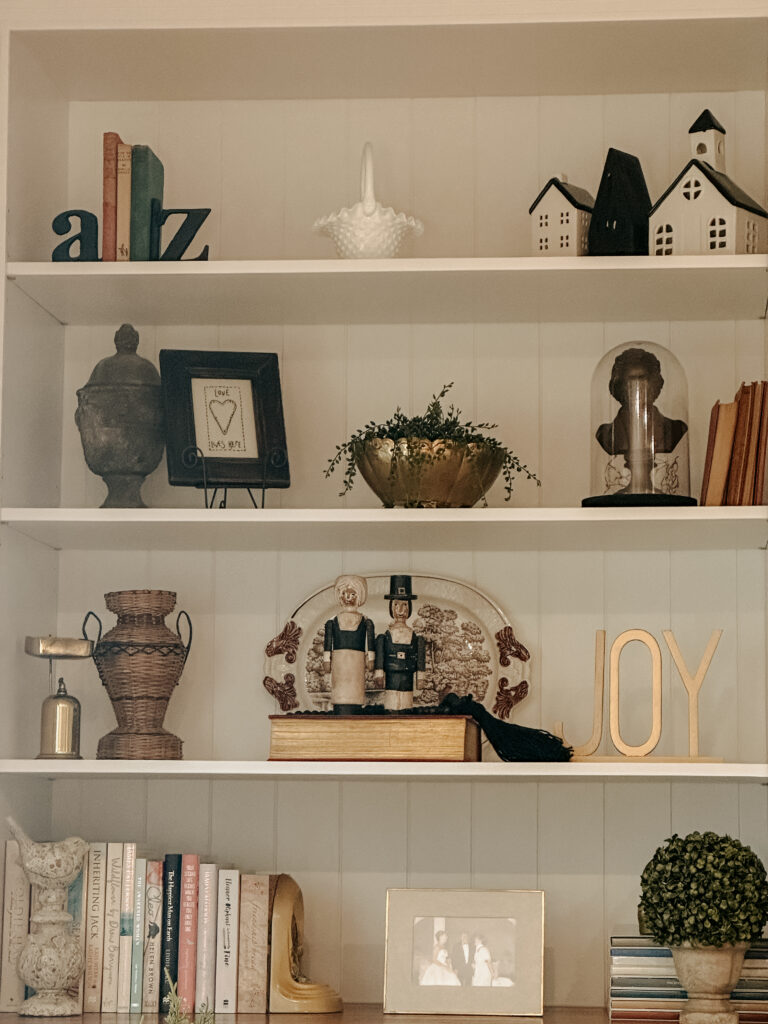
The final step was decorating the built-ins, and after dreaming about this project for over 15 years, I absolutely loved styling them.
For Christmas, I purchased several digital Christmas prints from Etsy and displayed them on the Frame TV slideshow feature so they appeared automatically whenever movement was detected in the room.
We also added a beautiful salvaged decorative timber piece above the television, which helped soften the space and reinforce the relaxed vintage style we love.
Final Thoughts on DIY Built-In Cabinets
This DIY built-in project completely transformed our living room while still working within the footprint of our original cabinetry.
By:
- Reusing existing structures
- Adding custom details
- Incorporating texture and trim
- Carefully planning the layout
we were able to create built-ins that feel timeless, functional and perfectly suited to our home.
It was a lot of work, but seeing the finished room every day makes it completely worth it.
Visit the start of our kitchen renovation here.