Kitchen Renovation Planning: How We Transformed Our Small Kitchen (Real-Life Example)
Kitchen Remodel – Part 1
Kitchen Renovation Planning (Where It All Begins)
If you’re thinking about renovating your kitchen, this is where it all starts—the planning.
In this kitchen renovation series, I’m sharing our real-life experience from beginning to end. Not the glossy, perfect version—but the honest one. The decisions, the mistakes, and everything we learned along the way.
This first part is all about how to plan a kitchen renovation, especially when you’re working with a smaller space and trying to make it both beautiful and functional.
Because if there’s one thing I’ve learned—it’s this:
A well-planned kitchen makes everything else so much easier.
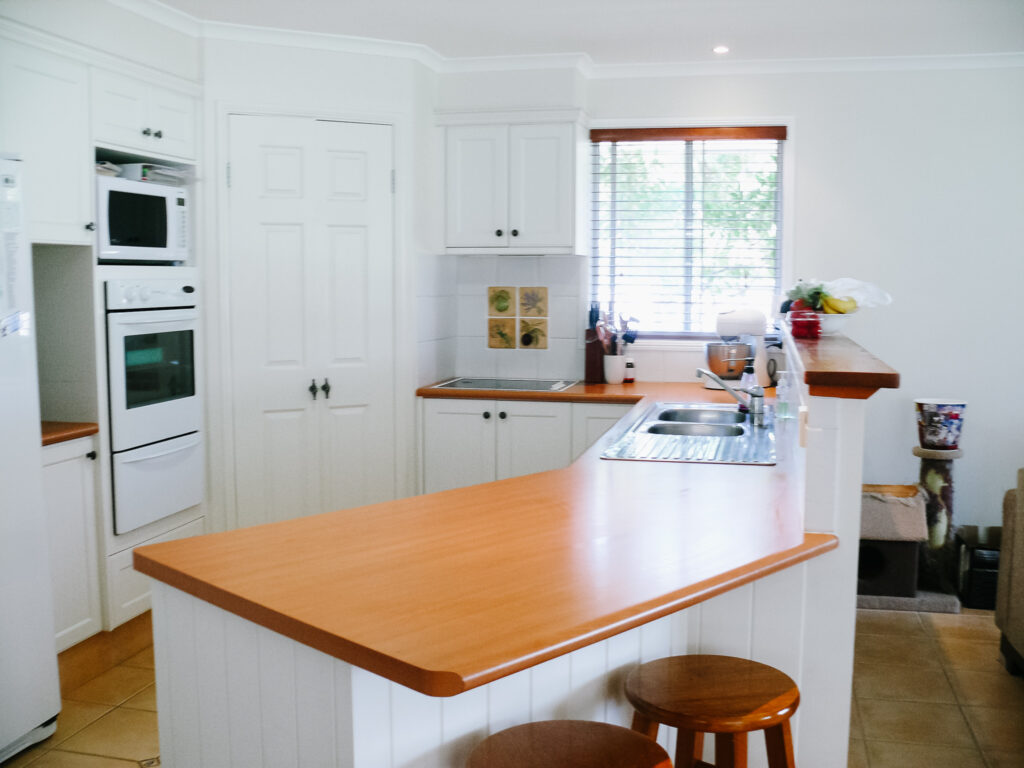
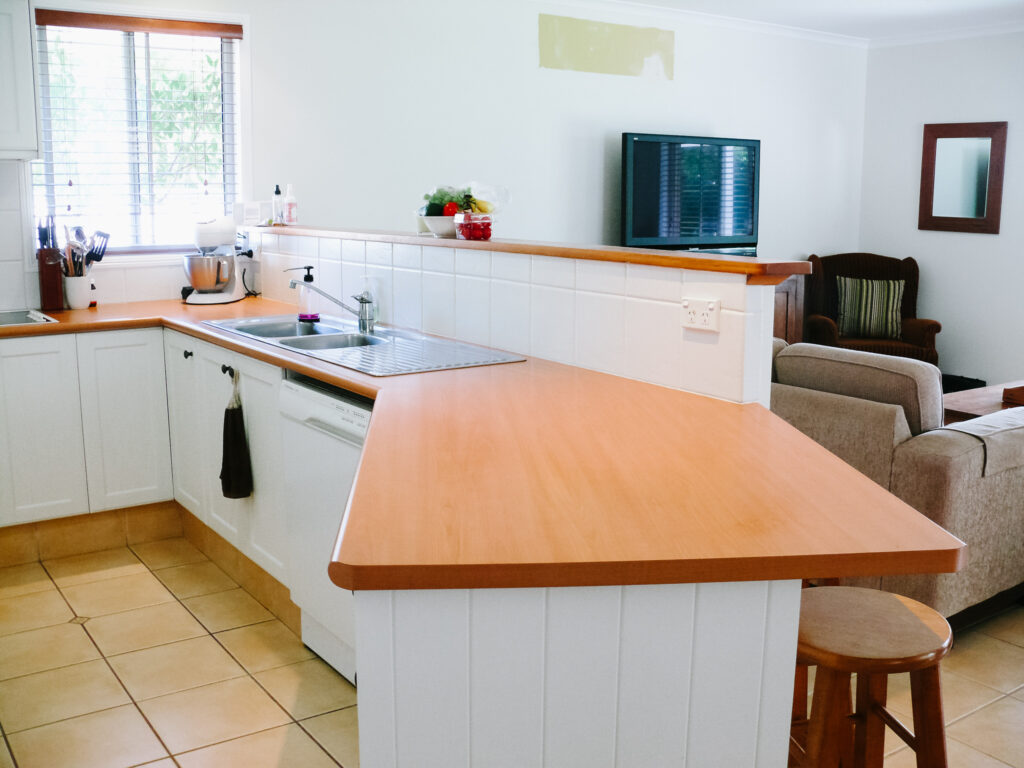
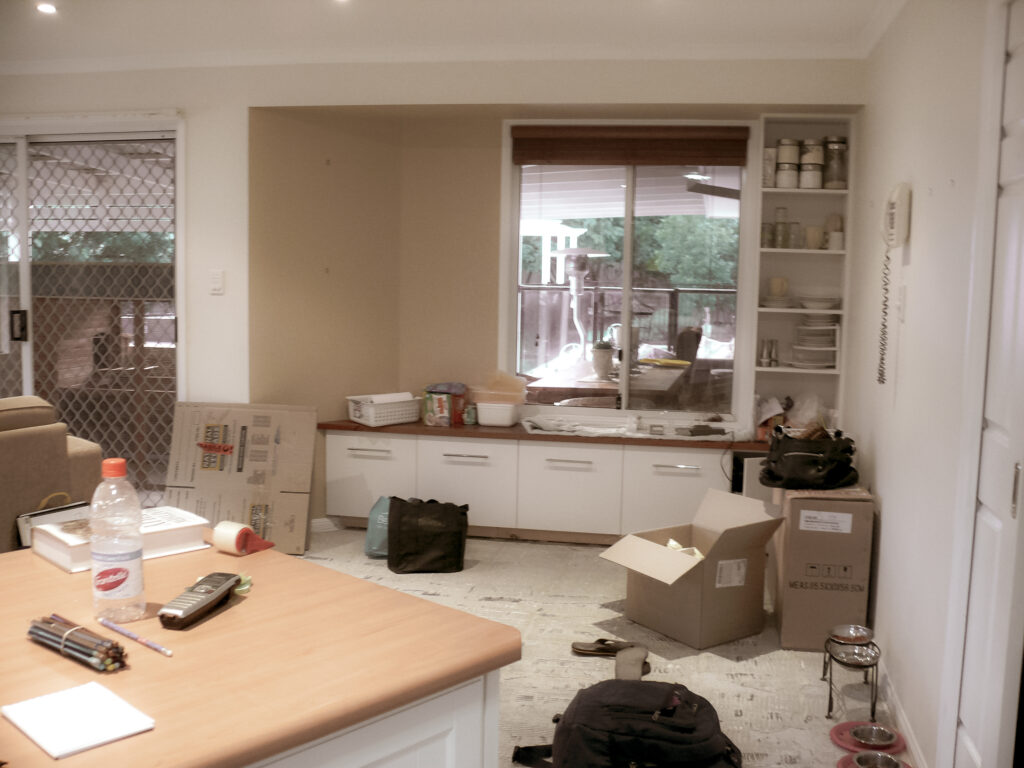
Our Starting Point (And the Problems We Needed to Solve)
Our kitchen renovation was the first major project in our home. We knew getting this space right would set the tone for everything else we wanted to do.
But there were a few challenges we had to work through first.
The biggest one?
The size.
It was a small kitchen, with a layout that simply didn’t work for everyday living.
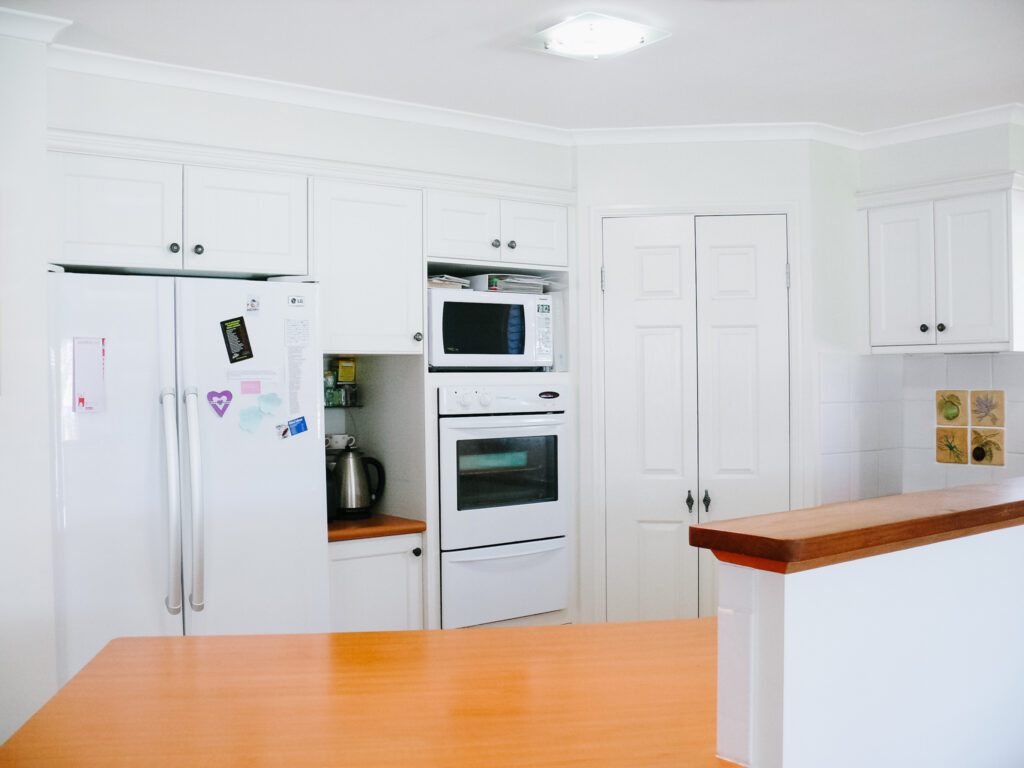
A very narrow entry into the kitchen—right where the fridge was positioned
A large pantry with deep shelves that made it impossible to access items at the back
A microwave installed far too high (I actually burnt myself once trying to use it)
Not nearly enough practical storage
It wasn’t just about updating how it looked—it needed to function properly for our day-to-day life.
The Reality of Kitchen Renovation Planning
Before we even touched a hammer, I spent six months researching and planning.
Looking at layouts.
Saving ideas.
Working out what we really needed—not just what looked nice.
At the time, we were completely naive about what a kitchen renovation actually involved. We thought it might take about four weeks.
In reality?
We were without a functioning kitchen for four months.
During that time, we created a makeshift kitchen using the BBQ, slow cooker, and microwave. It wasn’t ideal—but it worked.
And to be honest, there was one small upside… the house was in such disarray that I didn’t worry about housework at all (which felt quite freeing at the time!).
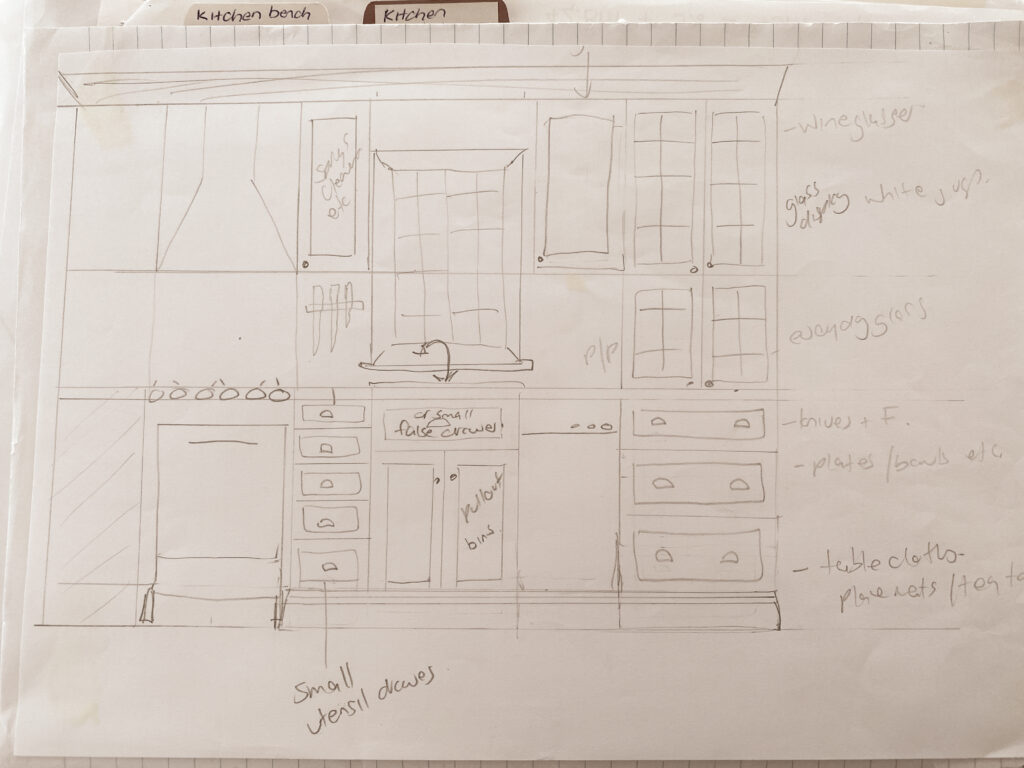
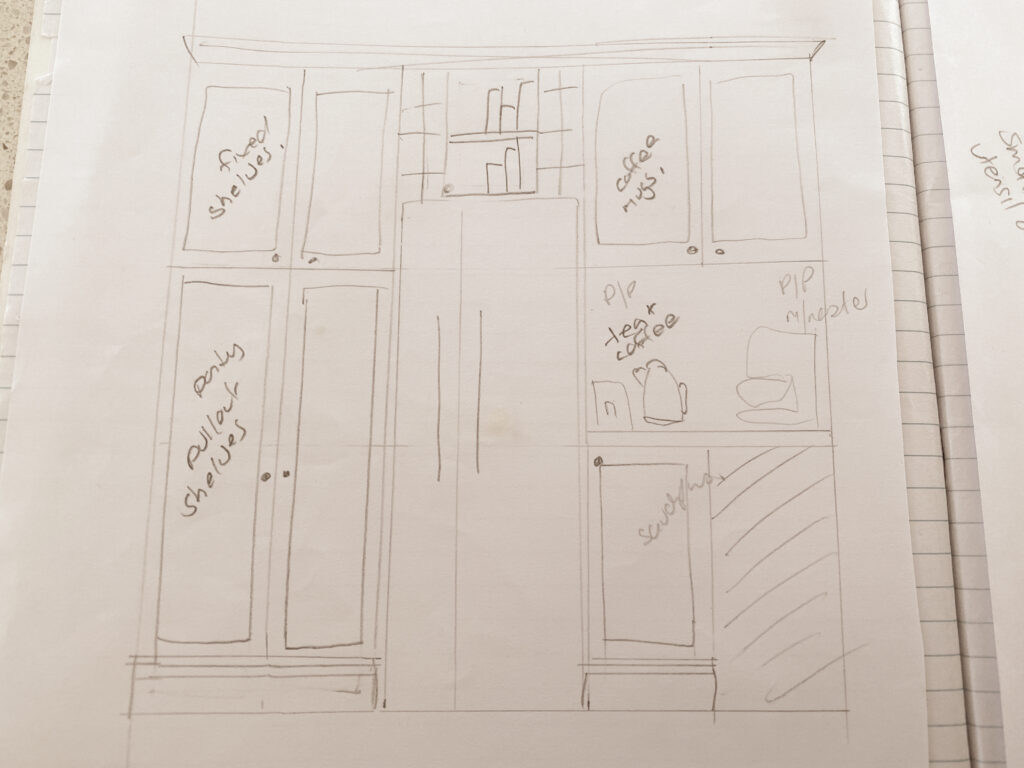
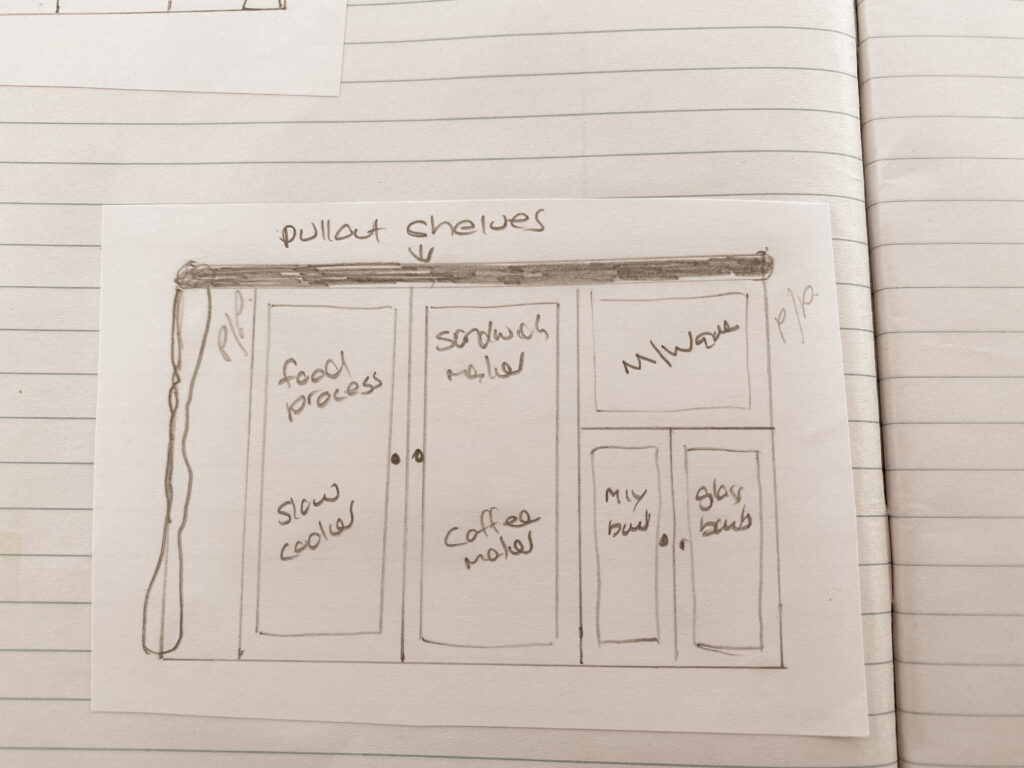
My hand-drawn final kitchen plans—where I carefully mapped out what would be stored in each area to ensure the layout was both functional and suited to how we live.
Kitchen Demolition: What We Learned
Once the planning was done, it was time to begin demolition.
We managed to sell our existing kitchen cabinets for $500, which was a great start and meant we weren’t completely starting from scratch.
We had a plumber and electrician come in to safely disconnect everything, but we chose to do the rest of the demolition ourselves to save money.
And while we were proud of that decision – it did come with trade-offs.
Because we were only able to work on weekends, it significantly slowed the process down.
The hardest part by far was removing the tiles. It was messy, exhausting, and took far longer than expected—but it was necessary to get the result we wanted.
Looking back, we’re incredibly proud of what we achieved.
But if I’m being completely honest?
If time is important to you, this is one area where I would seriously consider bringing in professionals.
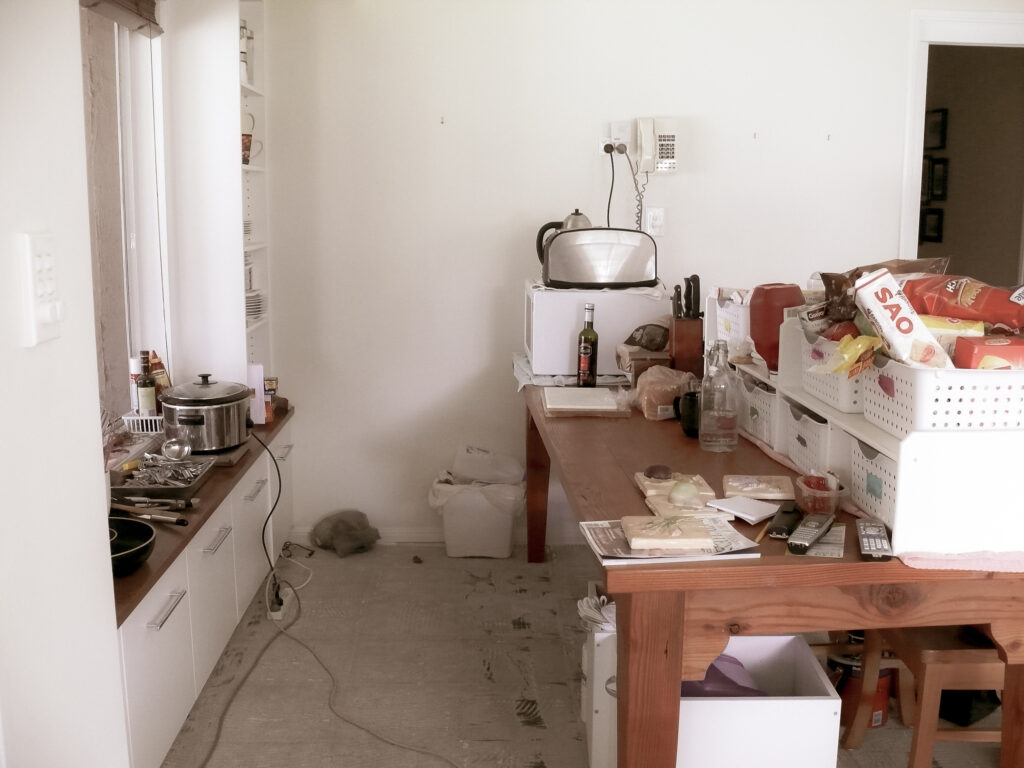
OUR TEMPORARY KITCHEN
What I’d Do Differently
Renovating a kitchen teaches you a lot.
If we were to do it again, I would:
1. Plan for more time than you think you’ll need
2. Consider outsourcing the most time-consuming tasks (like tile removal)
3. Focus just as much on functionality as aesthetics
4. Think carefully about storage—it makes all the difference
Because a beautiful kitchen is wonderful – but a functional kitchen is life-changing.
What’s Next in the Series
In the next part of this series, you’ll start to see the kitchen come to life—the layout decisions, design choices, and how everything began to take shape.
You can continue reading here:
👉 Kitchen Renovation – Part 2