Wardrobe Door Makeover: A Simple DIY Shaker Style You Can Do in a Weekend
If you love a simple home project that makes a big impact, this wardrobe door makeover is one of those transformations you’ll come back to again and again.
There’s something so satisfying about taking something plain and giving it new life—especially when it can be done in a weekend, on a budget, and without complicated tools.
Today I’m sharing how we gave our spare bedroom wardrobe doors a simple shaker-style makeover—one that instantly lifted the entire room.
Where We Started
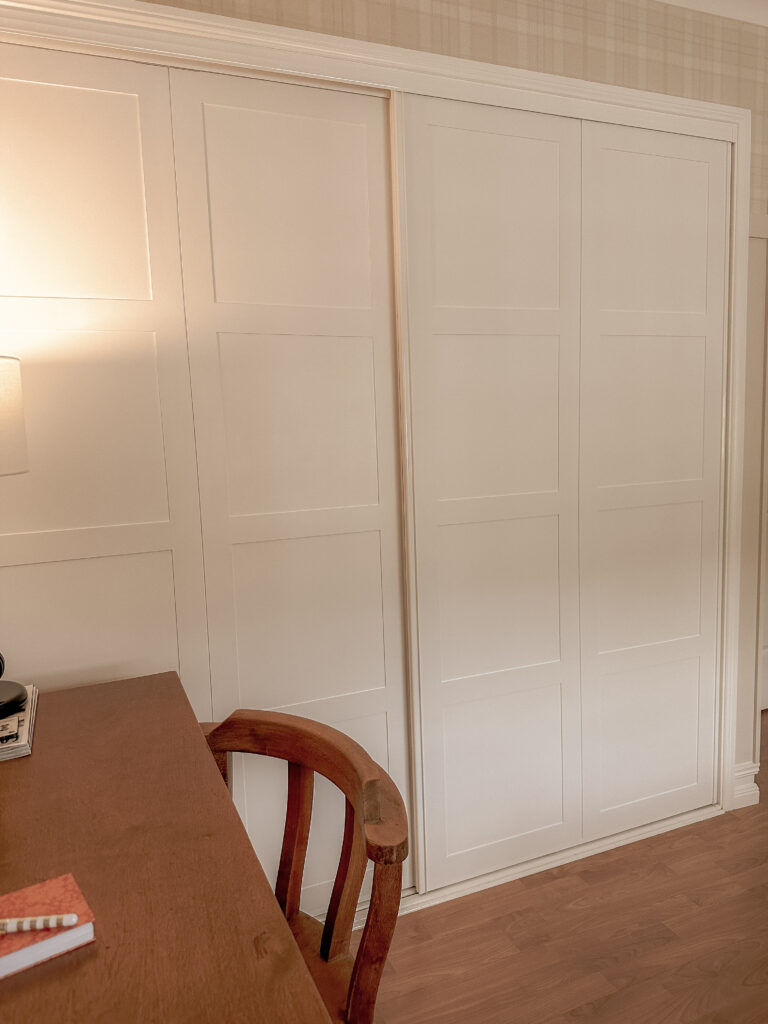
The wardrobe doors in this bedroom were basic vinyl sliding doors—functional, but completely lacking in character.
They felt tired and dated, and while replacing them would have been ideal, it simply wasn’t necessary.
What they really needed was a little creativity.
Tony and I wanted to add interest without adding too much weight to the doors, keeping everything practical while still achieving a beautiful result.
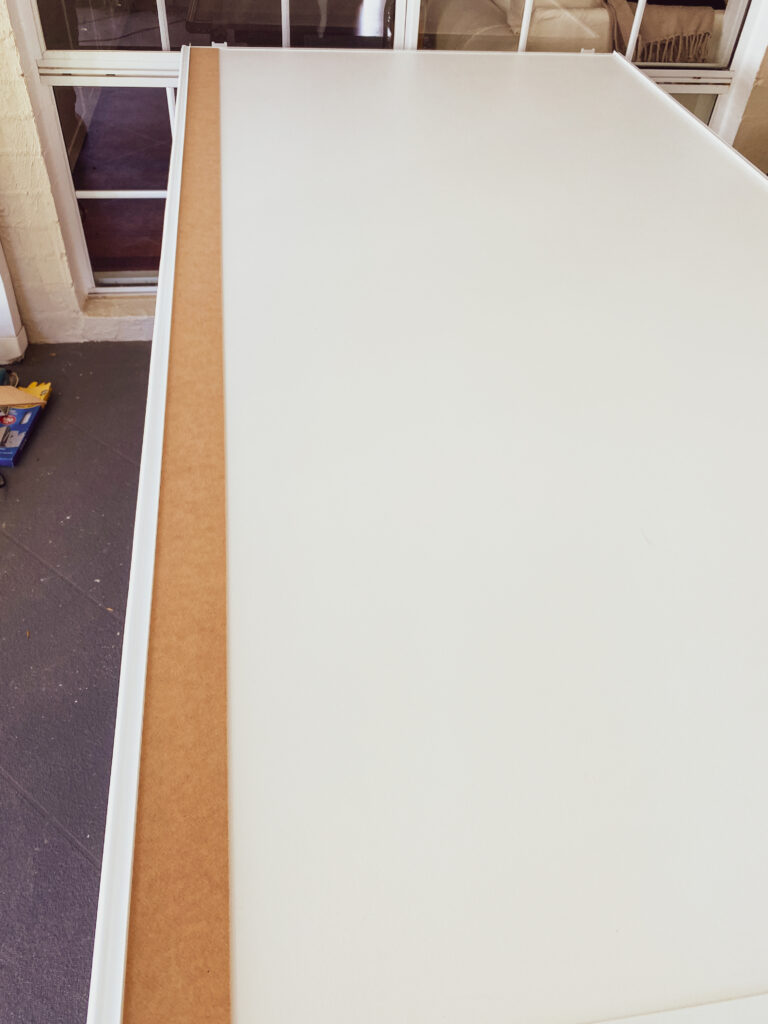
Creating the Shaker Profile
To achieve that classic, timeless look, we decided to replicate the shaker-style cabinetry we’ve used throughout the rest of our home.
We used 3mm MDF panels from Bunnings, which kept the doors lightweight and easy to work with.
Here’s how we did it:
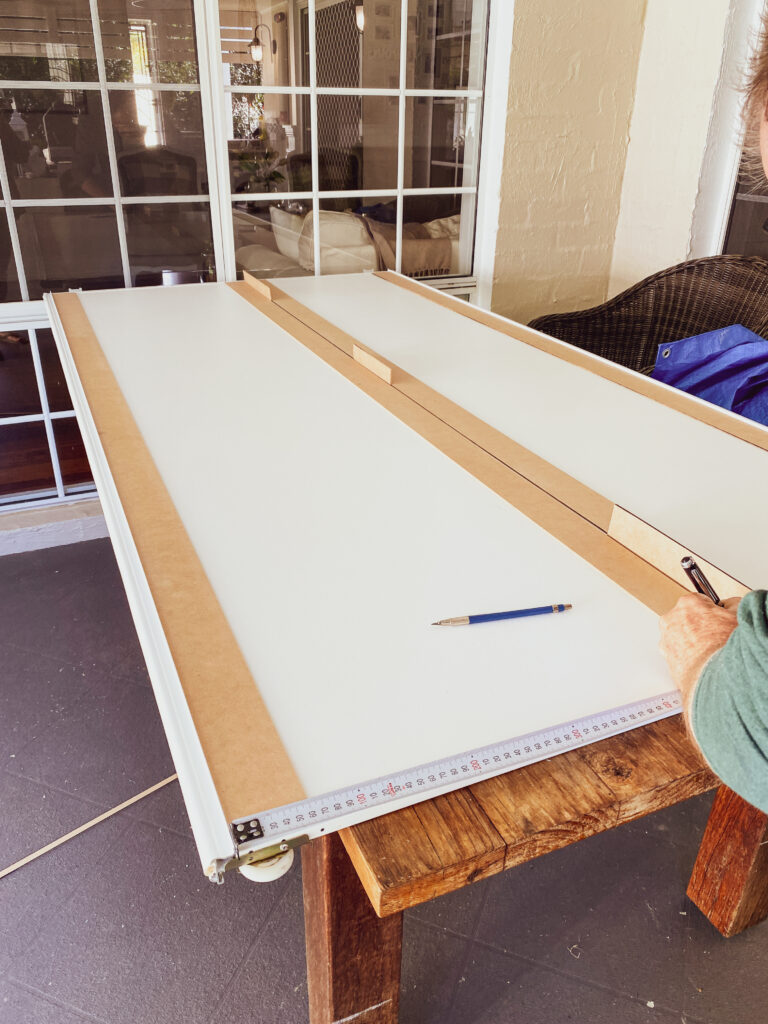
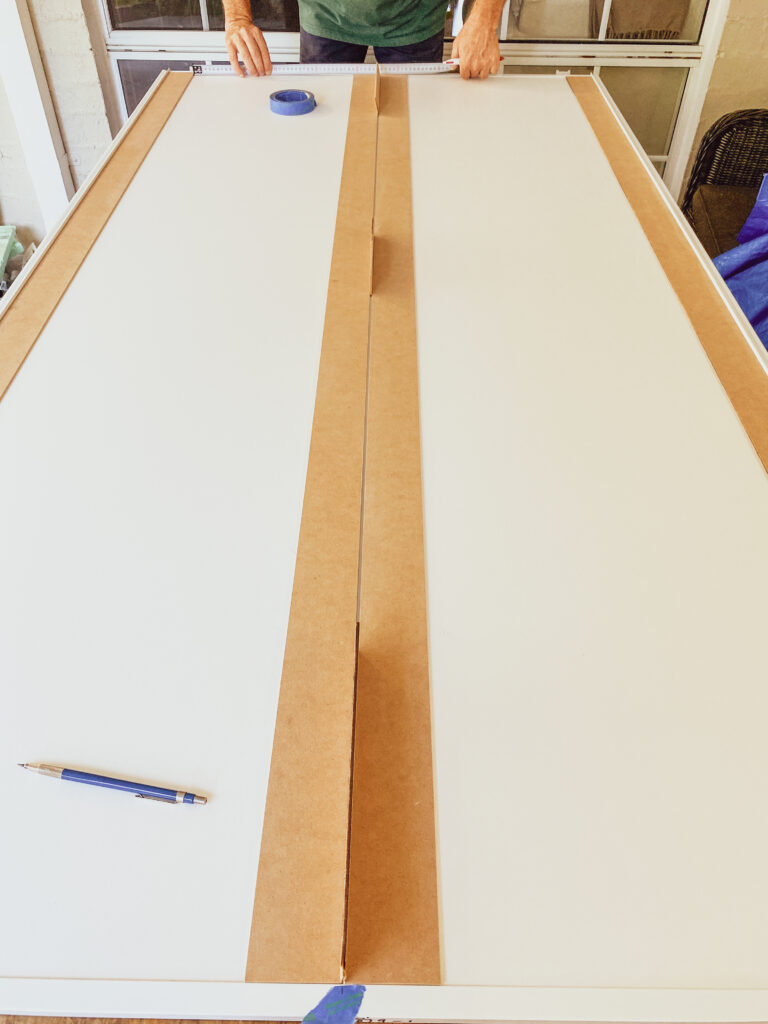
Measured the existing door panels carefully
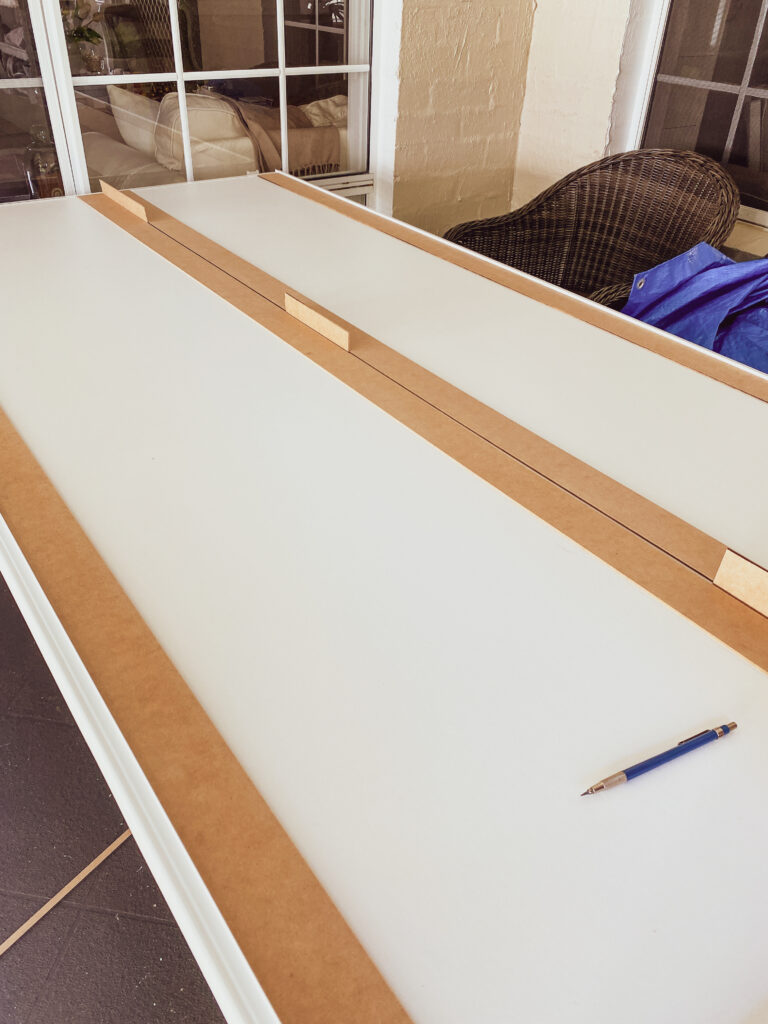
Created a consistent frame using 60mm-wide strips
Used a 3mm spacer between the centre pieces to give the illusion of two separate doors
Laid everything out first before attaching—this step made all the difference
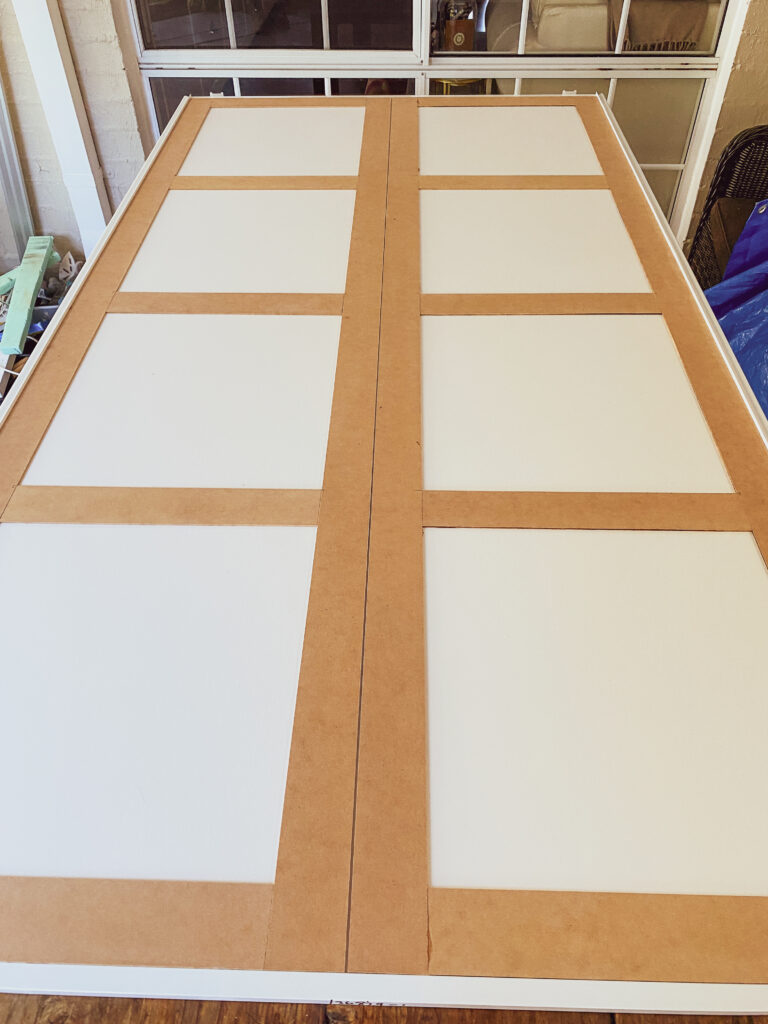
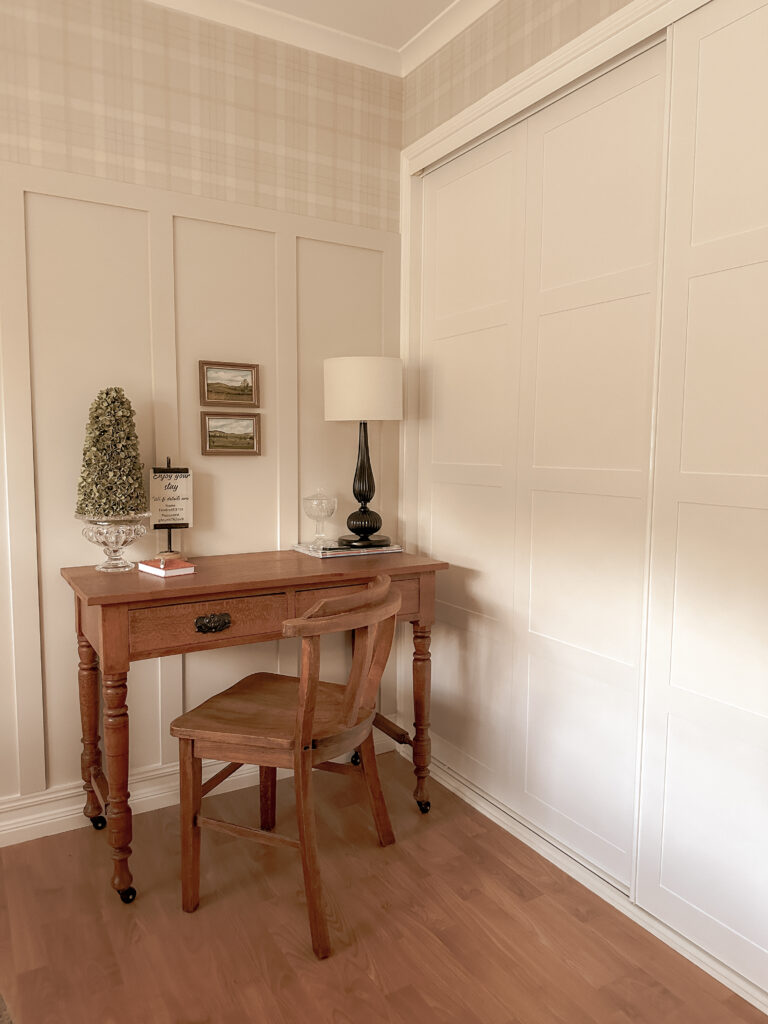
Originally, we planned a simple border detail. But once we saw it in place, we knew it needed a little more structure—so we extended the design into a full shaker-style panel.
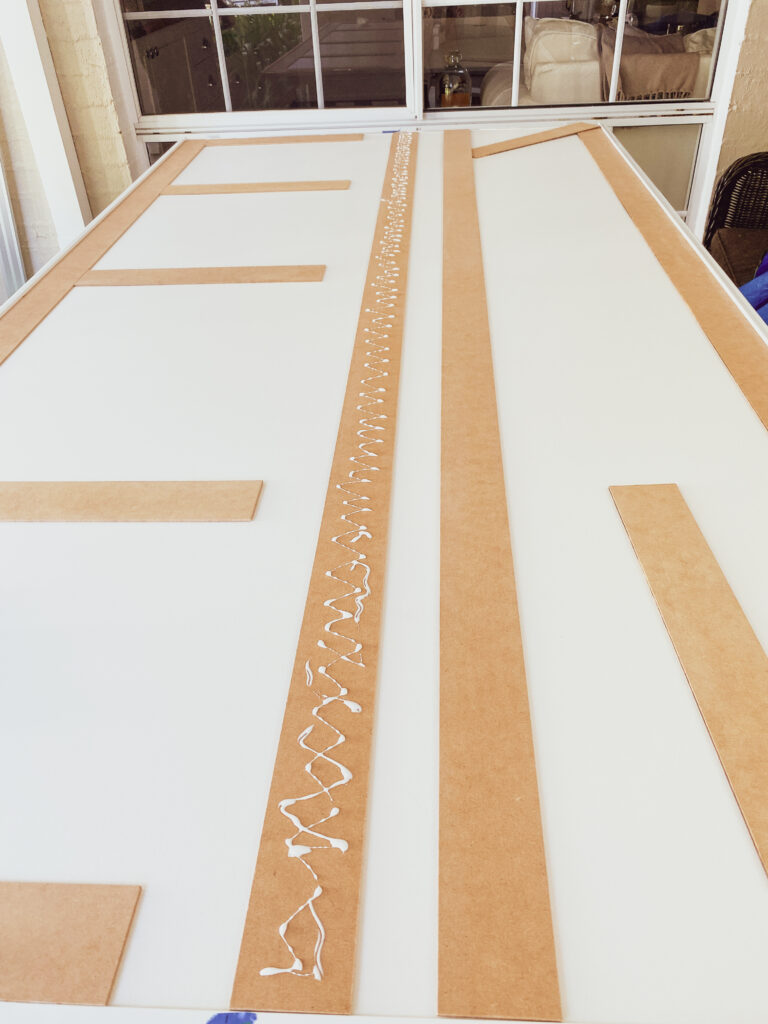
Attaching the Panels
For fixing the MDF in place, we used:
Selleys Aquadhere (for strong adhesion)
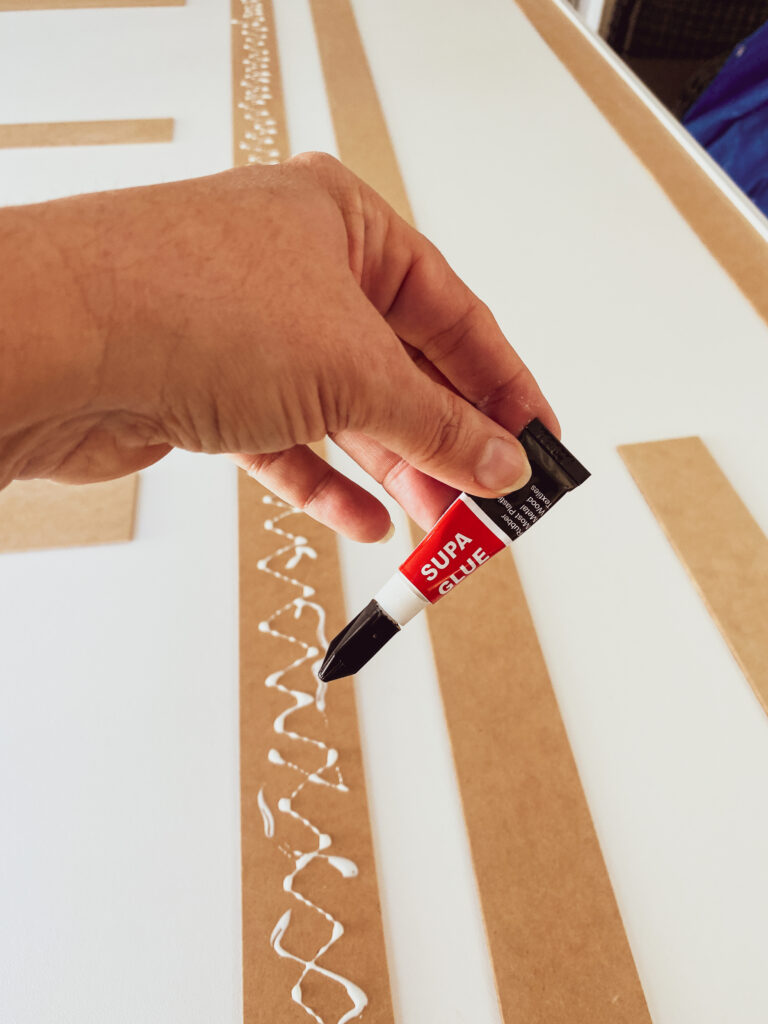
Small dots of superglue (to hold everything in place while drying)
This combination worked beautifully and made the process surprisingly straightforward.
Painting for a Professional Finish
Painting is where the transformation truly comes to life.
Because we were painting over vinyl, proper preparation was essential.
Here’s what we did:
Applied a high-quality primer/undercoat to ensure adhesion
Followed with two coats of Dulux Lexicon Quarter, the same colour used throughout our trims
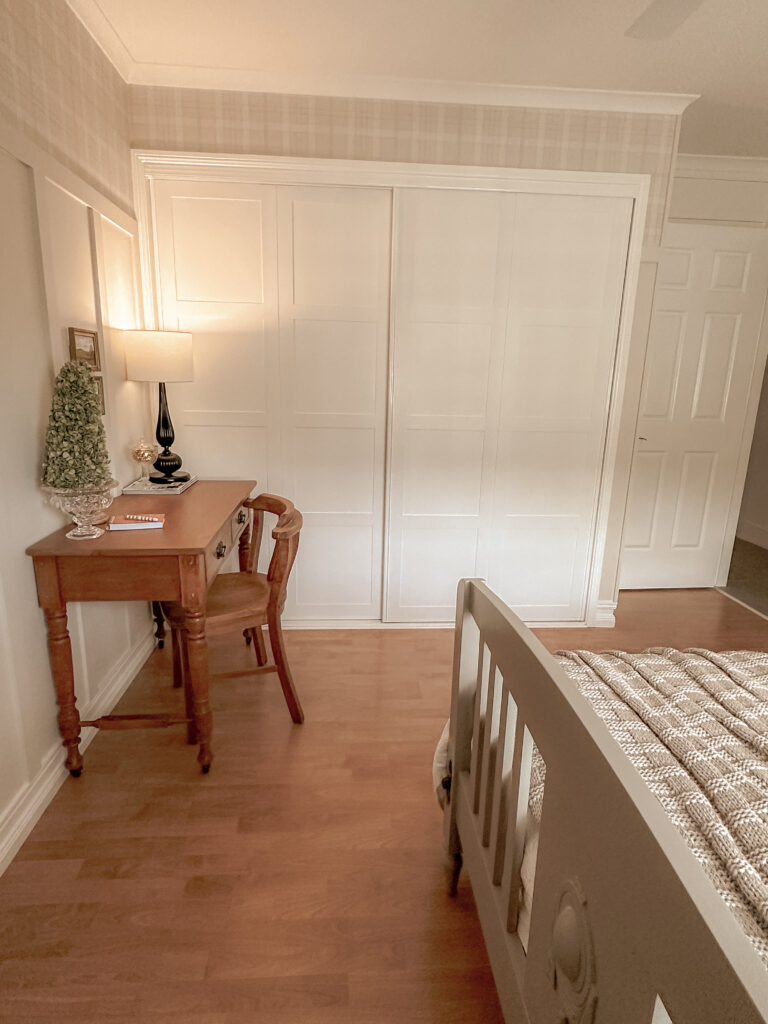
The result is a soft, clean white that feels fresh, cohesive, and quietly elegant.
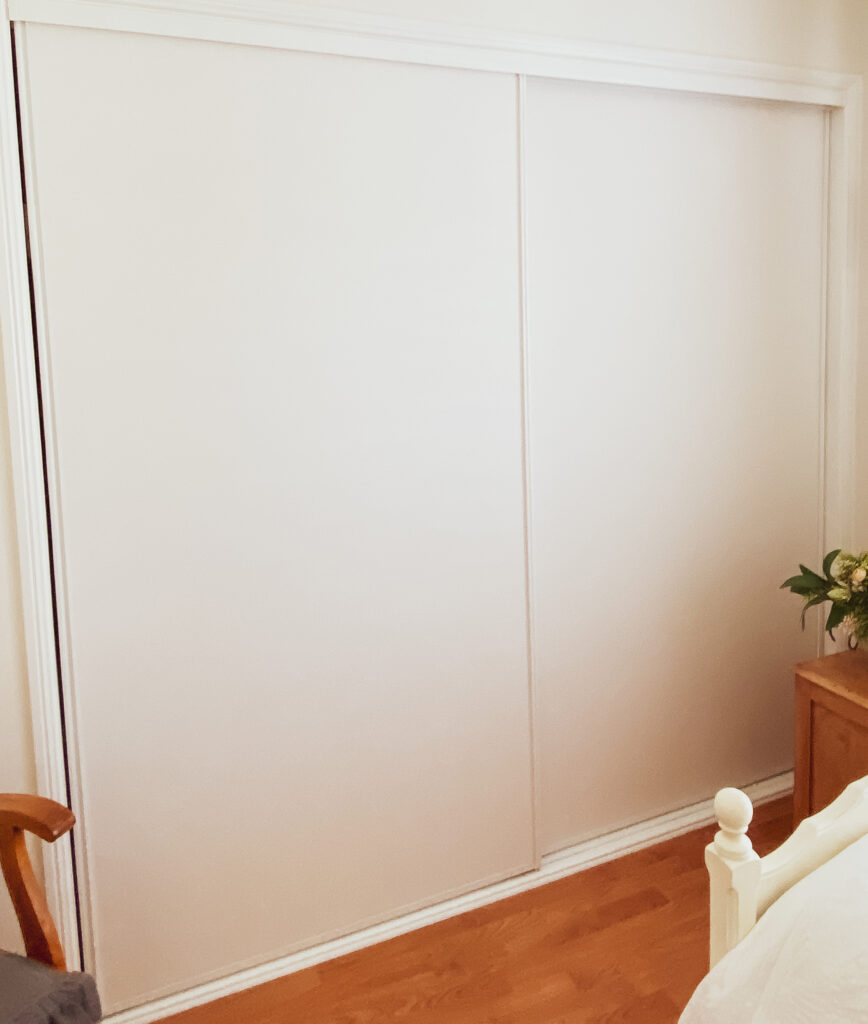
The Finished Result
This is easily one of my favourite DIY projects we’ve completed.
What was once a plain, overlooked feature has become a beautiful focal point in the room.
And the best part?
It was:
Budget-friendly
Completed in a weekend
Simple enough for anyone with basic DIY skills
It’s proof that you don’t always need a full renovation to create a home you love.
Sometimes, a small, thoughtful change is all it takes.
A Simple Way to Update Your Bedroom
If you have old vinyl wardrobe doors that feel a little tired, this DIY shaker-style upgrade is such a worthwhile project.
It’s an easy way to:
Add character and detail
Create a more custom look
Refresh your space without replacing everything
And it fits beautifully into a home that values simplicity, warmth, and thoughtful design.
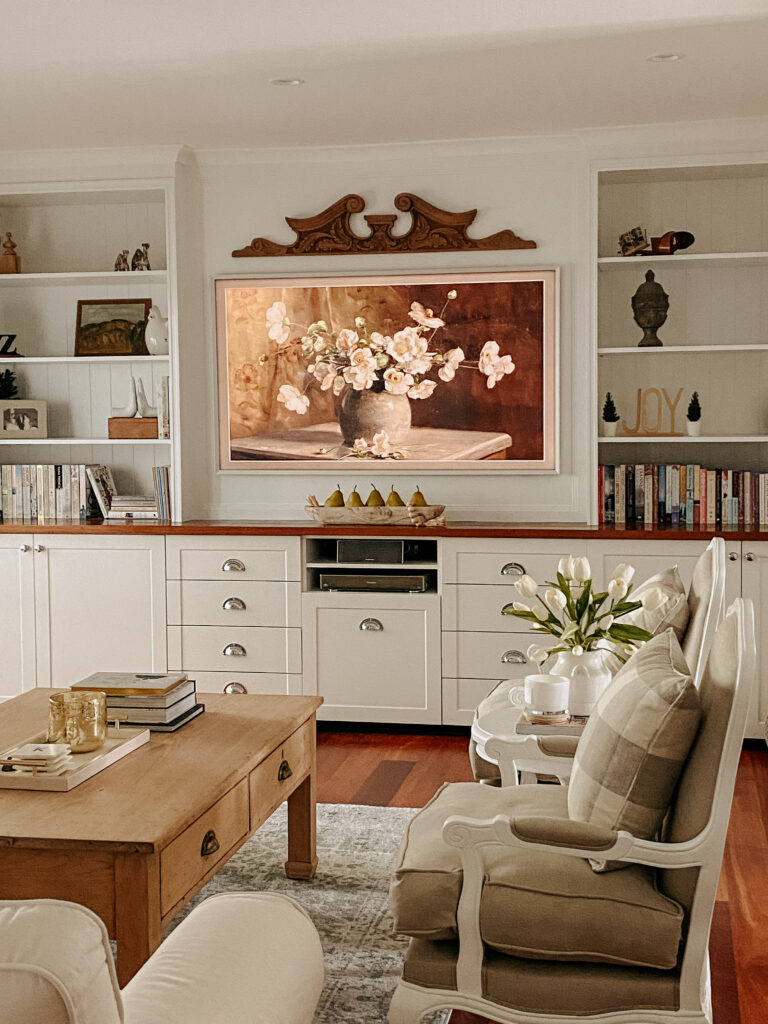
If you love simple home updates like this, you might also enjoy seeing how we refreshed our living room—another project where small changes made a big difference.
Let’s Chat
I’d love to know—what’s your favourite DIY project you’ve done at home?
Or is this one going on your weekend list?

This makes such a big difference! what a great job you and Tiny did on this project.
Thanks Wendy I’ll pass that on to Tiny!!!😂