Small Master Bathroom Remodel: Creating a Beautiful Bathroom That Works for Everyday Life
When we renovated our master bathroom, one thing was obvious from the very beginning—it was never going to be a large bathroom.
There simply wasn’t enough room for double vanities or two sinks, so instead of trying to squeeze everything in, I decided to focus on creating a space that worked beautifully for the way we actually live.
Over the years I’ve learnt that creating a beautiful home isn’t about having the biggest rooms or the most expensive finishes. It’s about improving the spaces you already have so they support the life you want to live.
This little ensuite is a perfect example of that.
Although it’s one of the smallest rooms in our home, it’s also one of my favourites. Every cupboard has a purpose, every design decision was carefully considered, and years later there isn’t much I would change.
If you’re planning your own small master bathroom remodel, I hope our renovation gives you a few ideas and perhaps a little confidence that even the smallest spaces can become beautiful, practical and a joy to use every day.
Bathroom at a Glance
Style: Traditional / Modern Country
Room: Small Master Ensuite
Favourite Feature: Dedicated hair and makeup vanity
Best Budget Decision: Using marble as a feature instead of tiling the entire shower
Biggest Splurge: Custom cabinetry
Would We Do It Again? Absolutely, without hesitation.
What We Wanted From Our Small Master Bathroom Remodel
We weren’t working with an unlimited budget, so before we drew a single plan I made a list of everything I wanted this bathroom to achieve.
Rather than designing around trends, I wanted to design around our everyday routines.
Our wish list included:
- A dedicated space to do my hair and makeup instead of squeezing in a second sink.
- Somewhere comfortable to shave my legs in the shower.
- Much more storage.
- Beautiful tapware that would add a touch of timeless luxury.
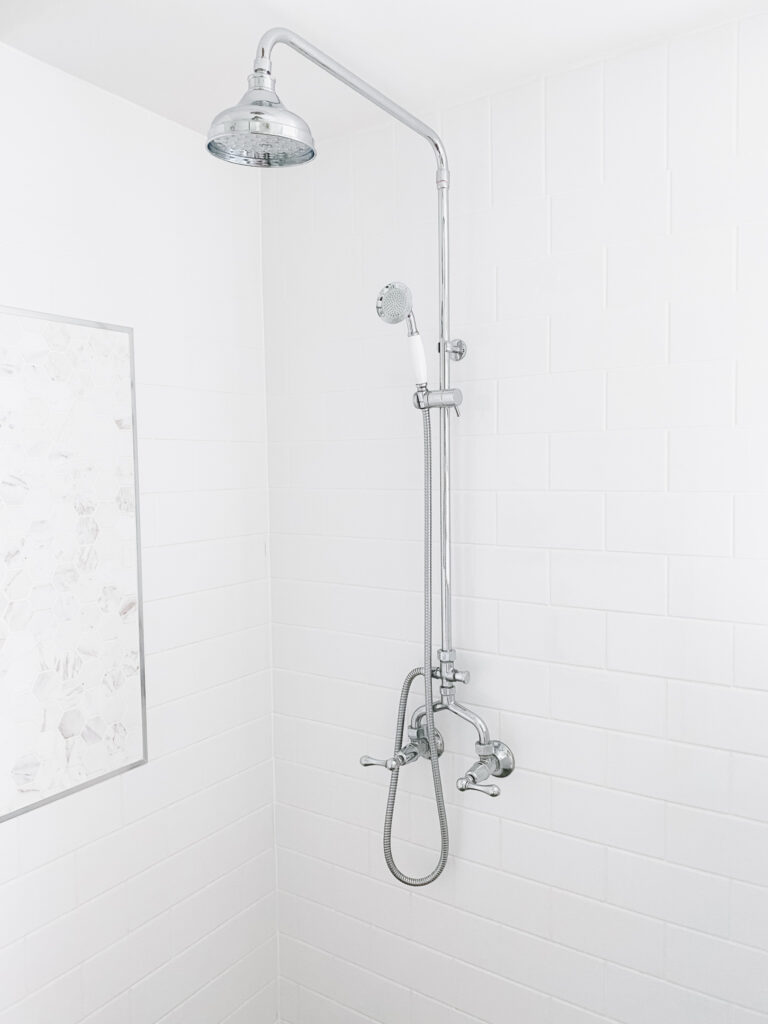
- A handheld shower to make cleaning easier.
- Excellent lighting.
- A layout that felt spacious despite the room’s small footprint.
Having those priorities written down made every decision throughout the renovation much easier.
Whenever we had to compromise because of budget or space, we simply came back to the list and asked ourselves whether the change would affect the way we actually used the room.
That approach made all the difference.
🌿 Tip
Before choosing tiles or colours, think about how you use your bathroom every day. Designing around your daily routine will always create a space you’ll love living with long after the trends have changed.
Before the Renovation
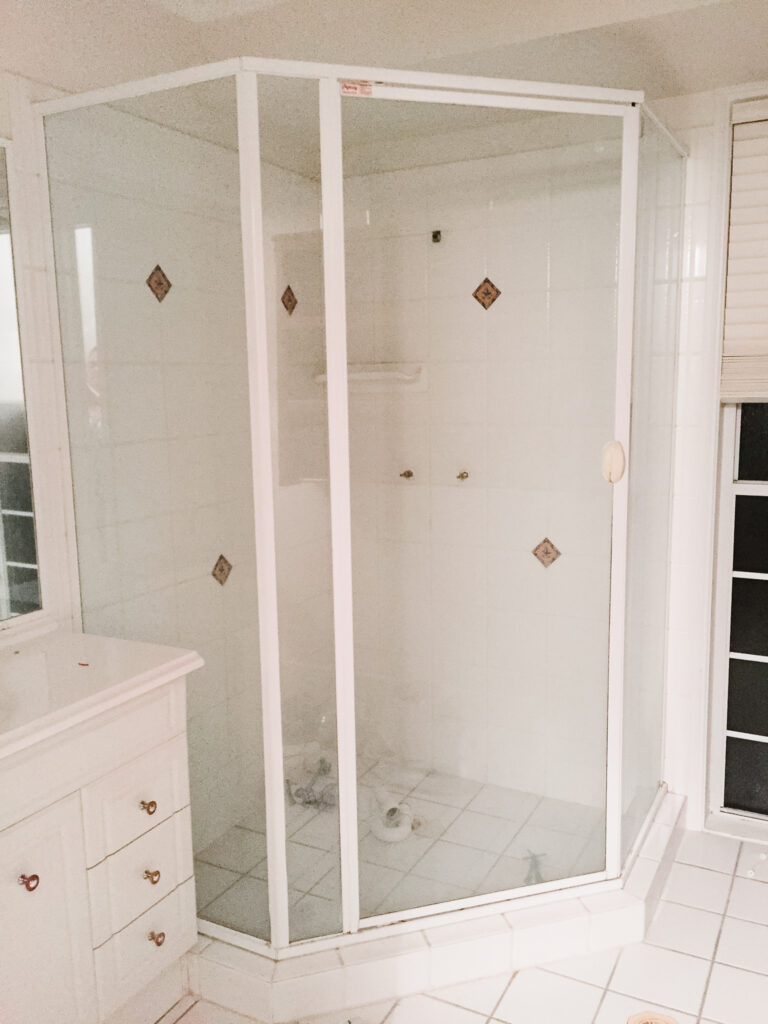
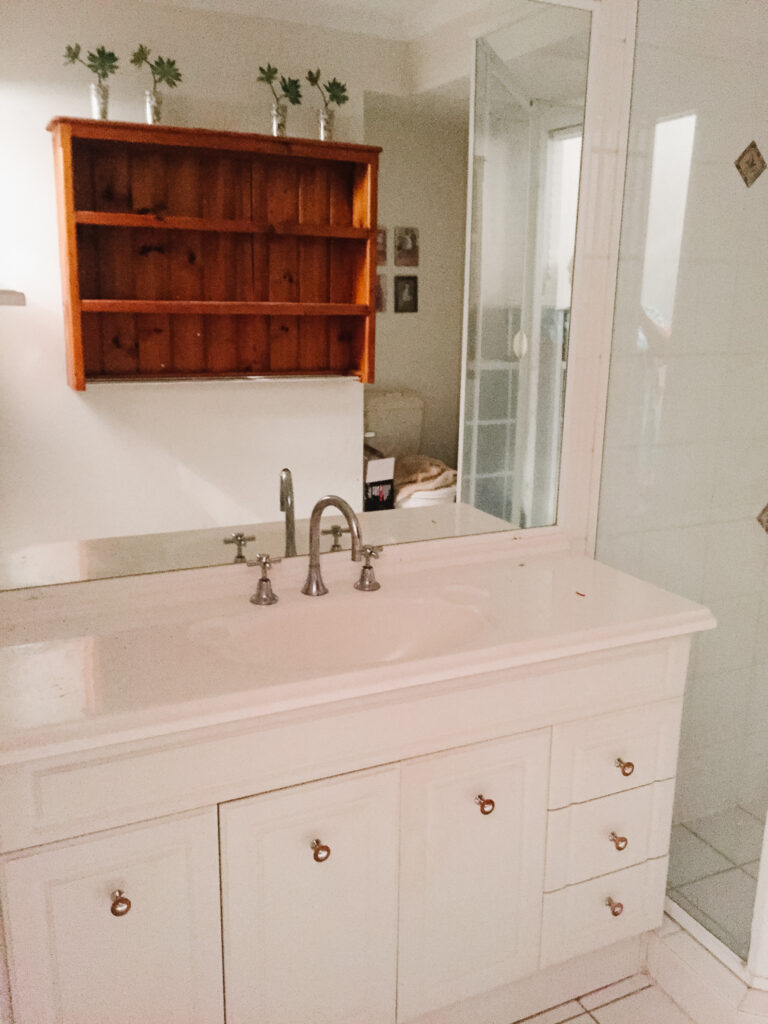
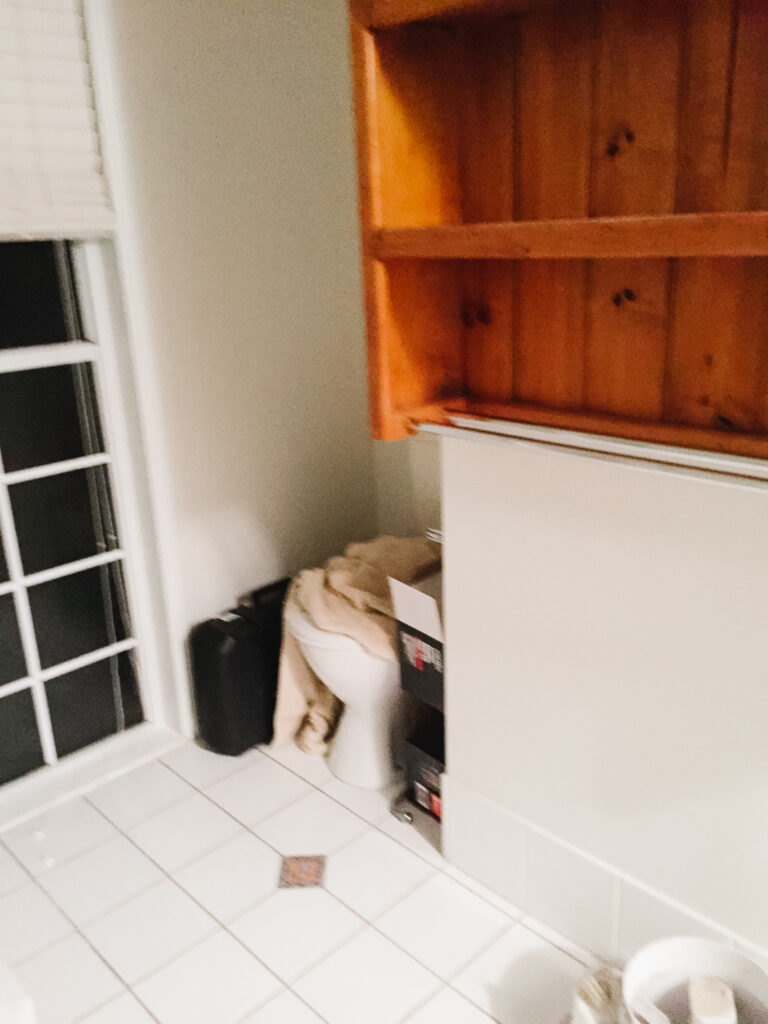
Like many homes built in the 1990s, our ensuite wasn’t terrible…
It just wasn’t very functional.
Thankfully everything was white, which gave us a good starting point, but that was probably its biggest strength.
The vanity had awkward gaps down each side that couldn’t be cleaned properly, the vinyl wrap was beginning to peel away from the cupboard doors, and there simply wasn’t enough storage for two people.
The one redeeming feature was the shower. It was a generous size, so we knew we had something worthwhile to work with.
As with many renovations, the room wasn’t beyond saving—it simply needed a better layout and more thoughtful design.
Demolition
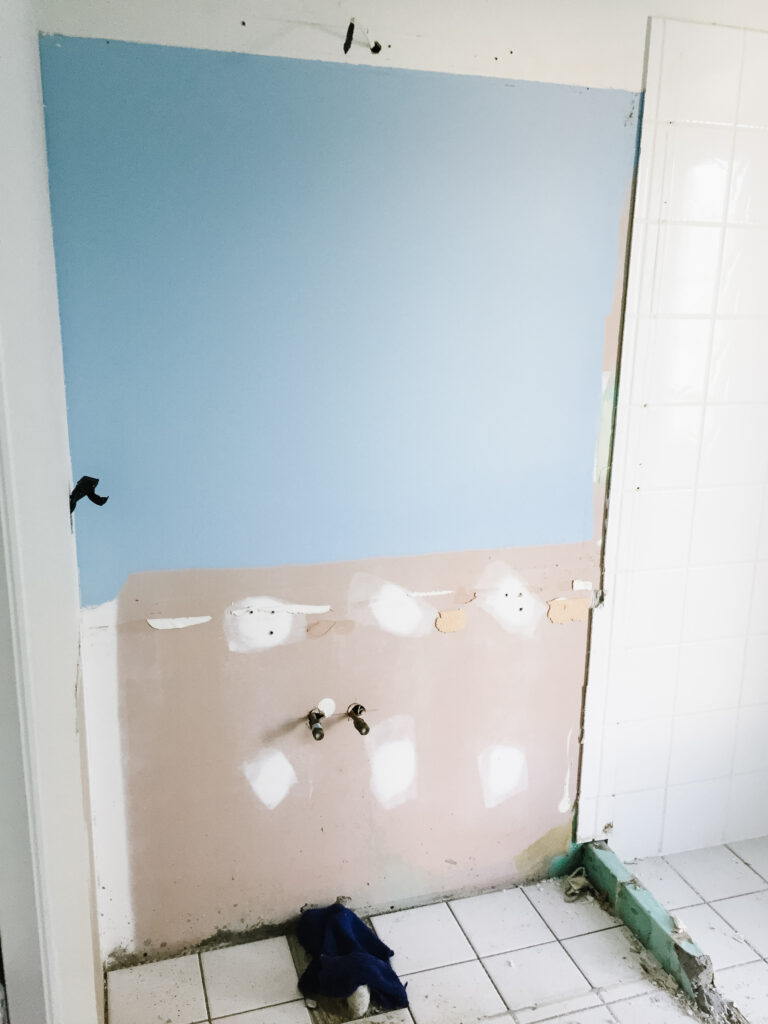
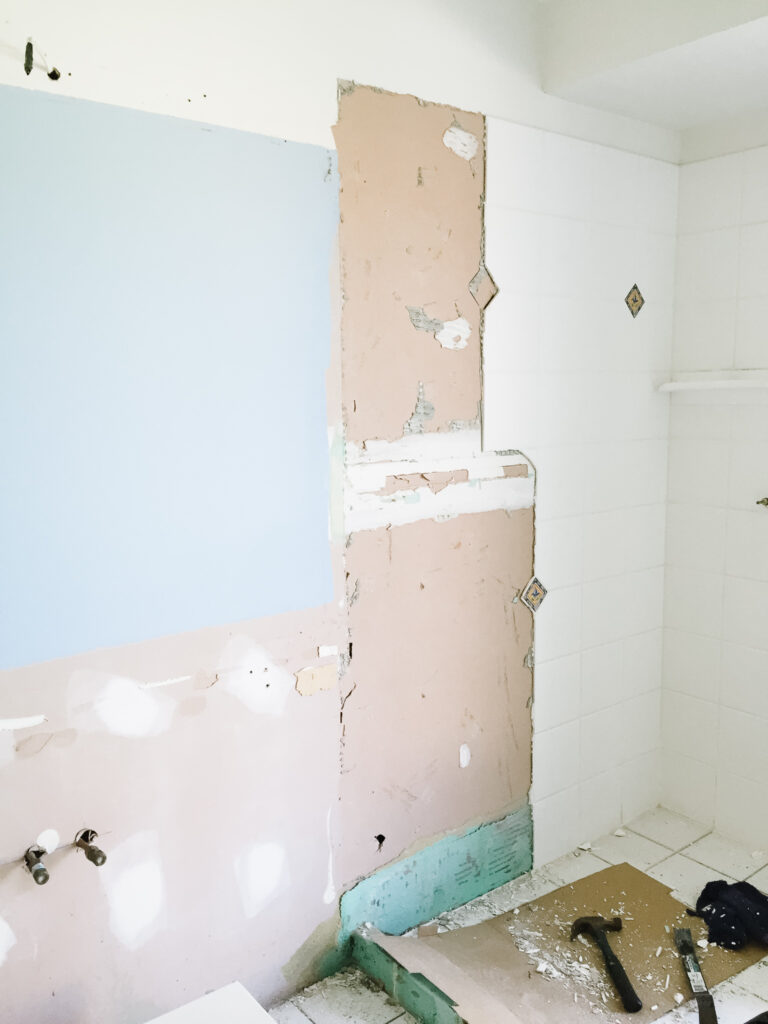
I project-managed the renovation while Tony and I completed the demolition ourselves before bringing in the professionals.
After disconnecting the electricity and water, we began the rather satisfying job of pulling everything apart.
Well… satisfying after the first few hours!
One lesson I learnt very quickly was not to spend hours trying to chip individual tiles from the walls.
After what felt like forever with a hammer and chisel, we realised the far easier approach was to simply cut the plasterboard away with the tiles still attached.
It would have saved us hours of work!
If you’re planning a renovation yourself, that’s one tip I’d happily pass on.
Tony tackled the floor tiles, which wasn’t much fun in such a confined space, but once the demolition was complete it finally felt like we were making progress.
Designing a Bathroom That Worked for Us
This was easily my favourite part of the entire project.
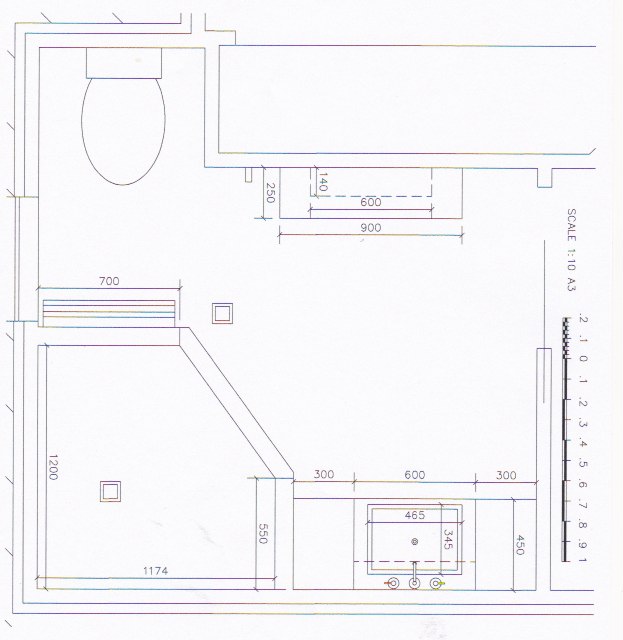
Instead of trying to fit everything into the room because that’s what bathrooms are “supposed” to have, we designed the space around the way we actually live.
That meant letting go of the idea of two sinks.
To be honest, I didn’t need another basin.
What I really wanted was somewhere do my hair and makeup each morning.
So instead of squeezing in a second vanity that would rarely be used, we created a small dedicated makeup station—and years later I still think it was one of the best decisions we made.
Our final design included:
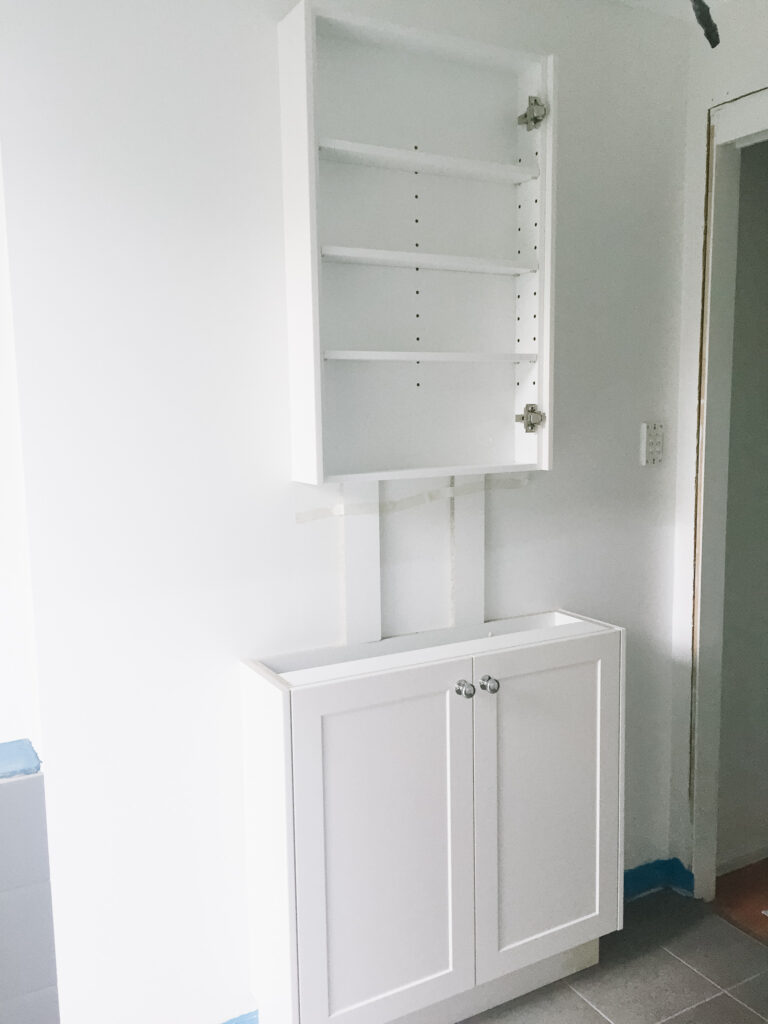
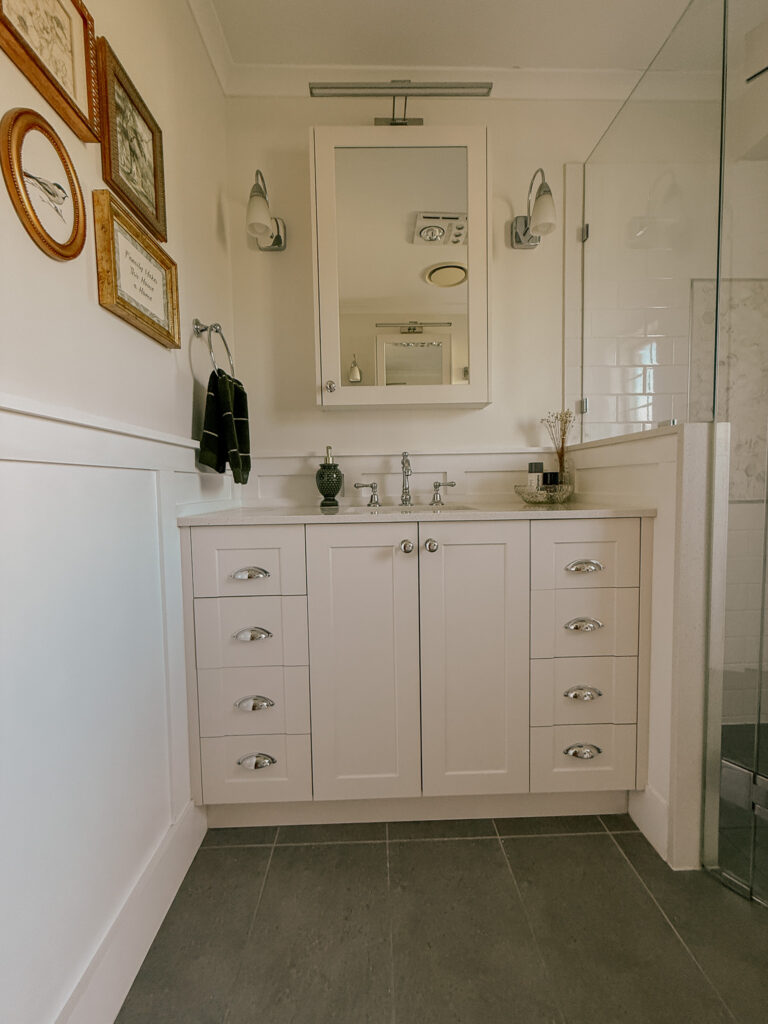
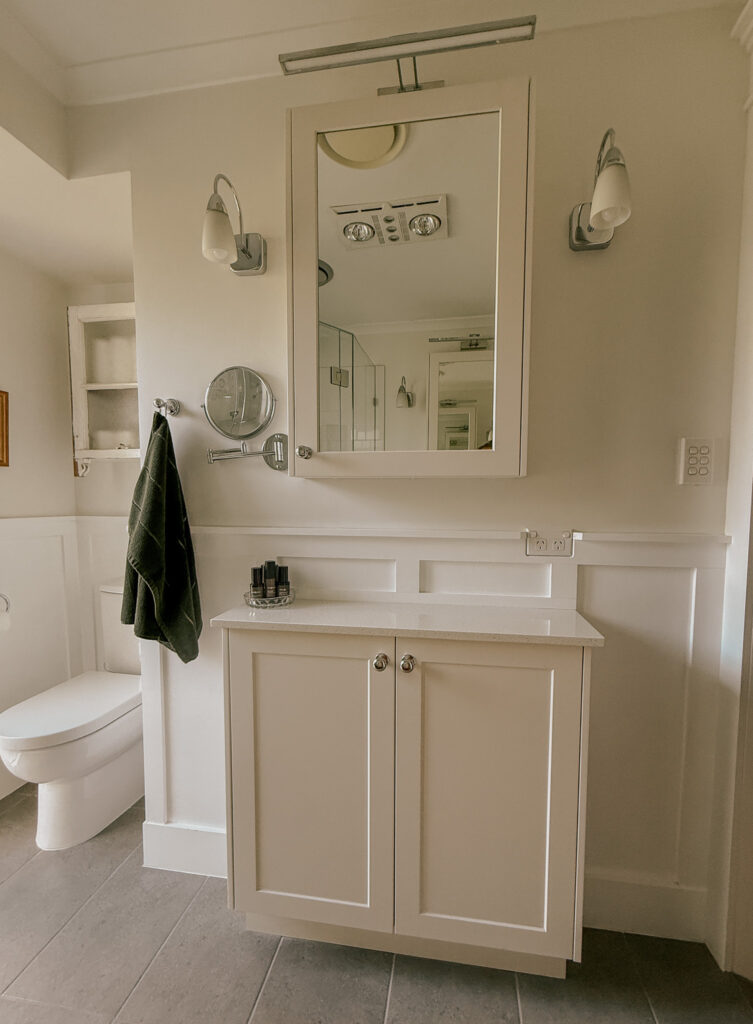
- Custom cabinetry designed specifically for the room.
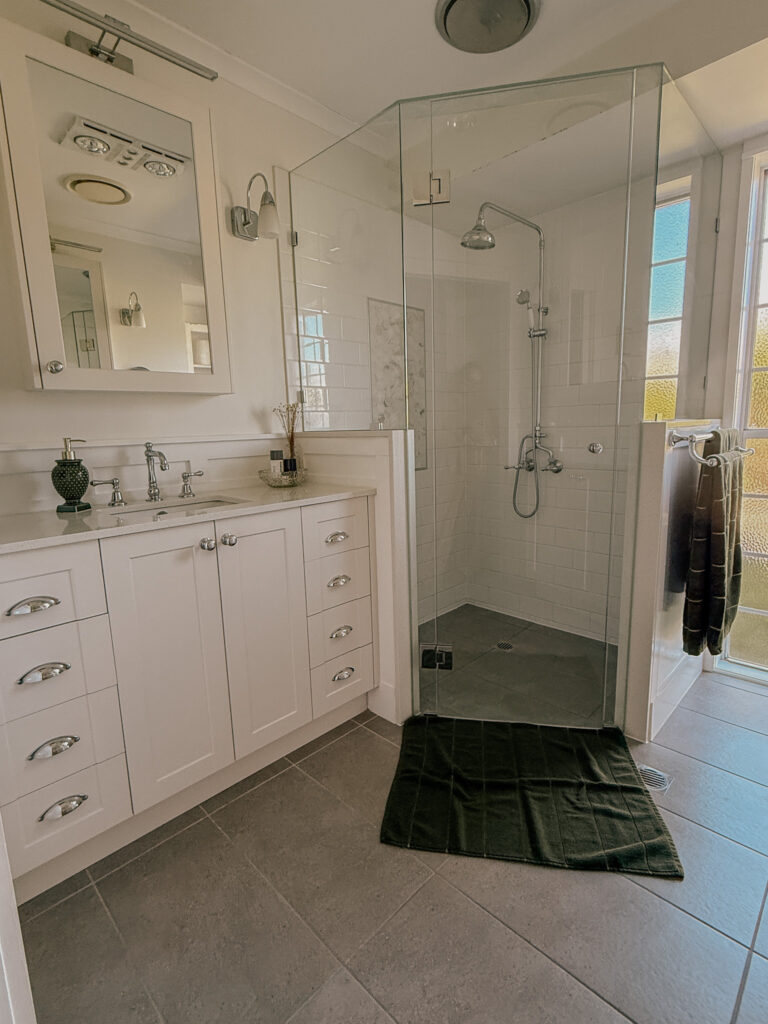
- One full-size vanity with basin.
- A separate makeup and hair vanity.
- Two tall wall cupboards for additional storage.
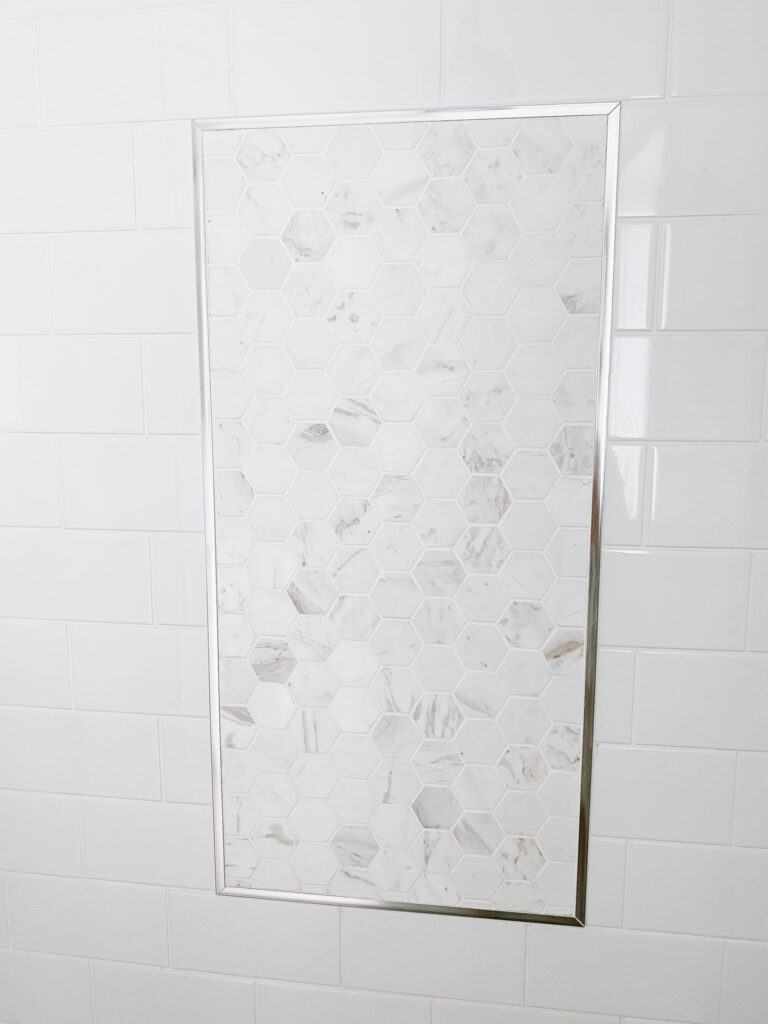
- Two half-height shower walls—one housing a shower niche and the other providing somewhere to mount a towel rail.
- A shower niche positioned at the perfect height to comfortably rest my foot while shaving my legs.
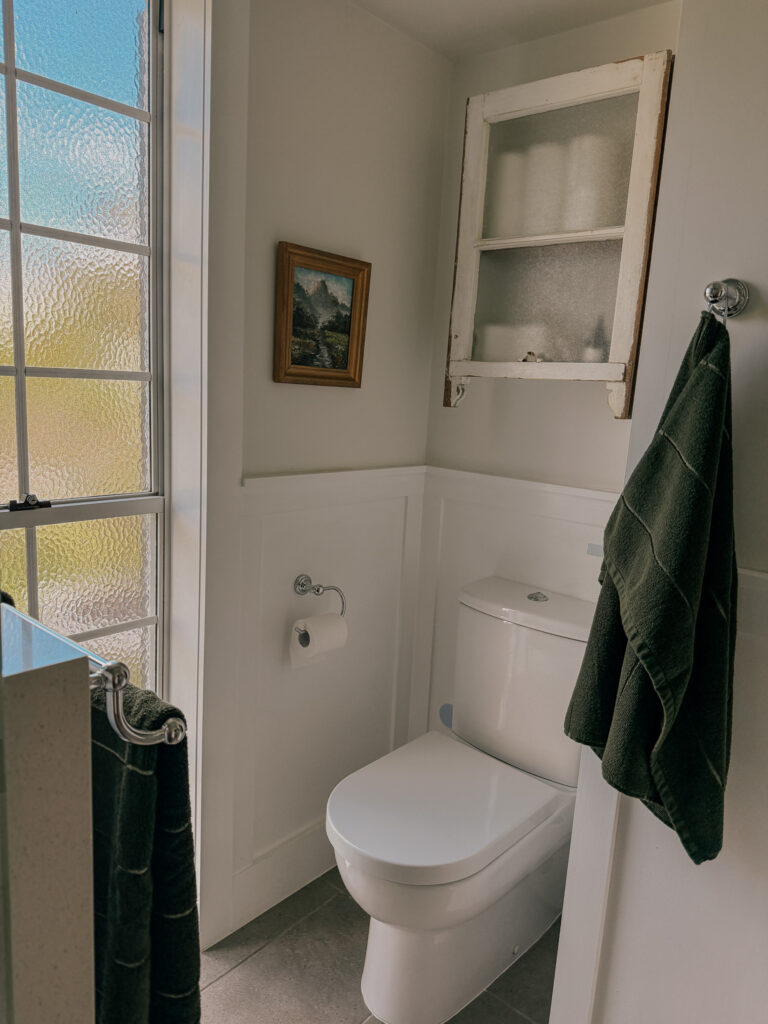
- Board and batten wall panelling.
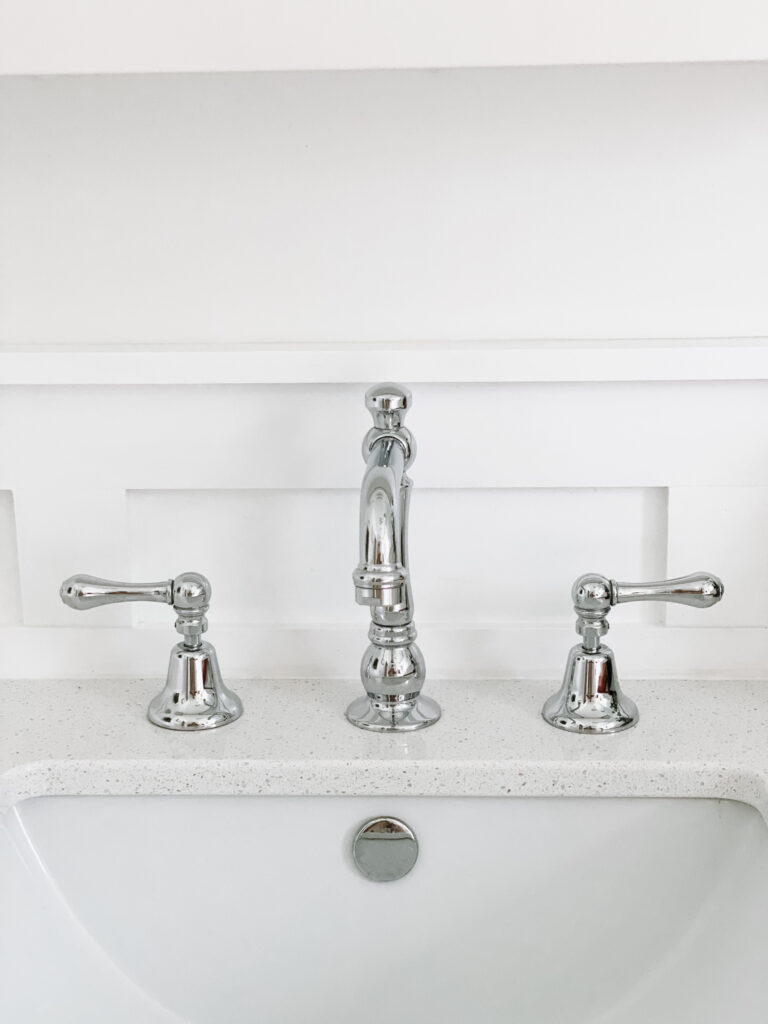
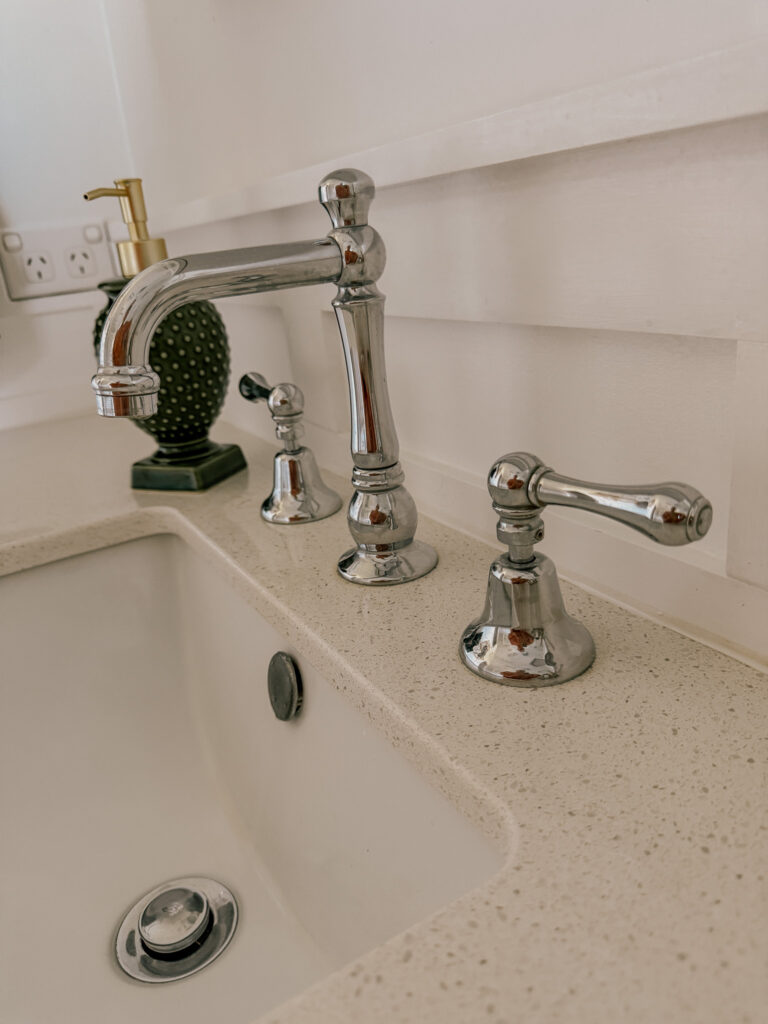
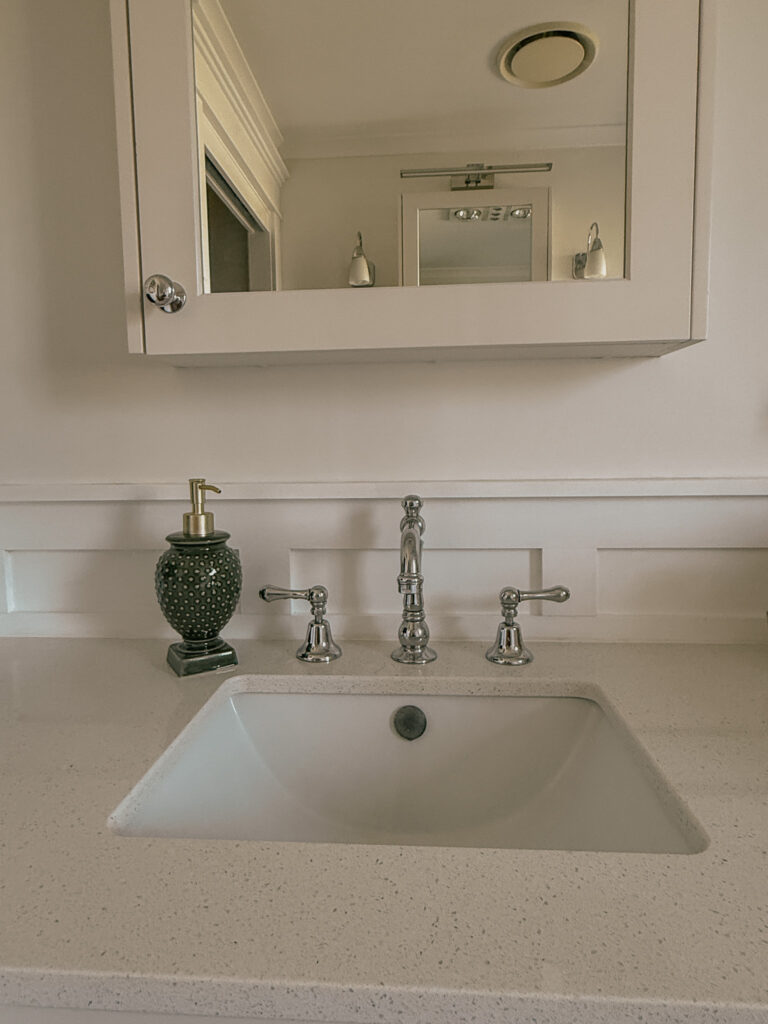
- Astra Walker tapware throughout.
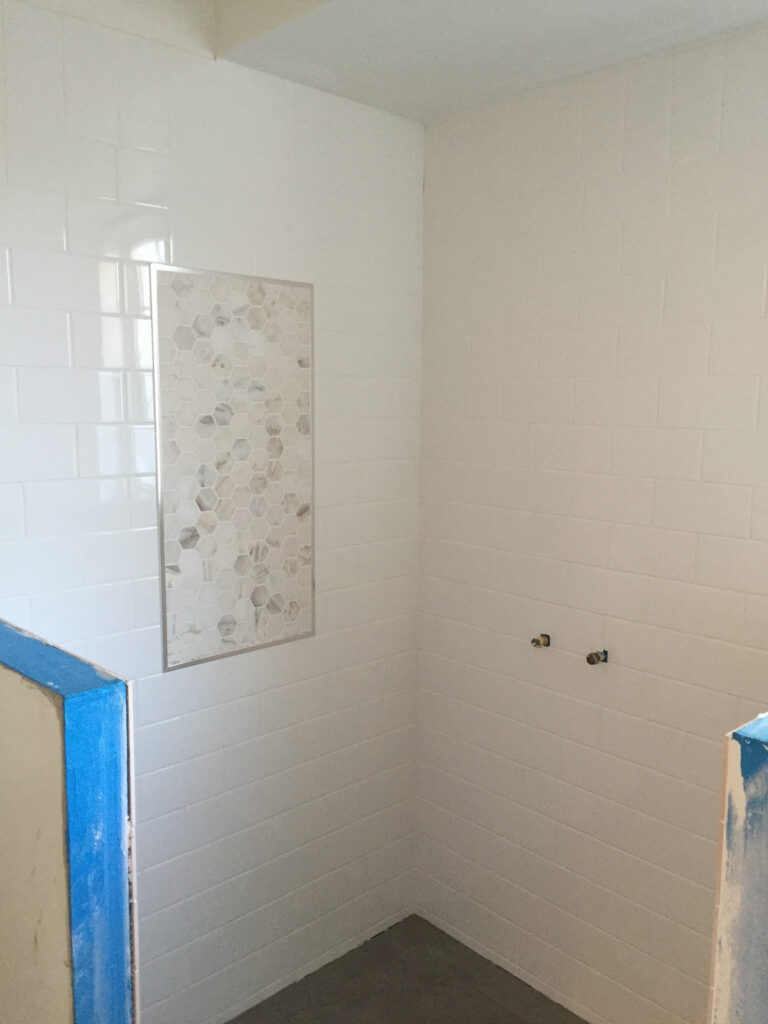
Originally I’d planned to tile the entire shower in marble.
However, once the custom cabinetry quotes came back, it became obvious that our budget wasn’t going to stretch that far.
Rather than giving up on the look altogether, we used marble as a feature instead.
Looking back, I’m actually glad we did.
It became one of those happy compromises that ended up making the room even more interesting while keeping the renovation within budget.
Sometimes our favourite design decisions are the ones we never originally planned.
Time to Rebuild
With demolition complete, the exciting part finally began.
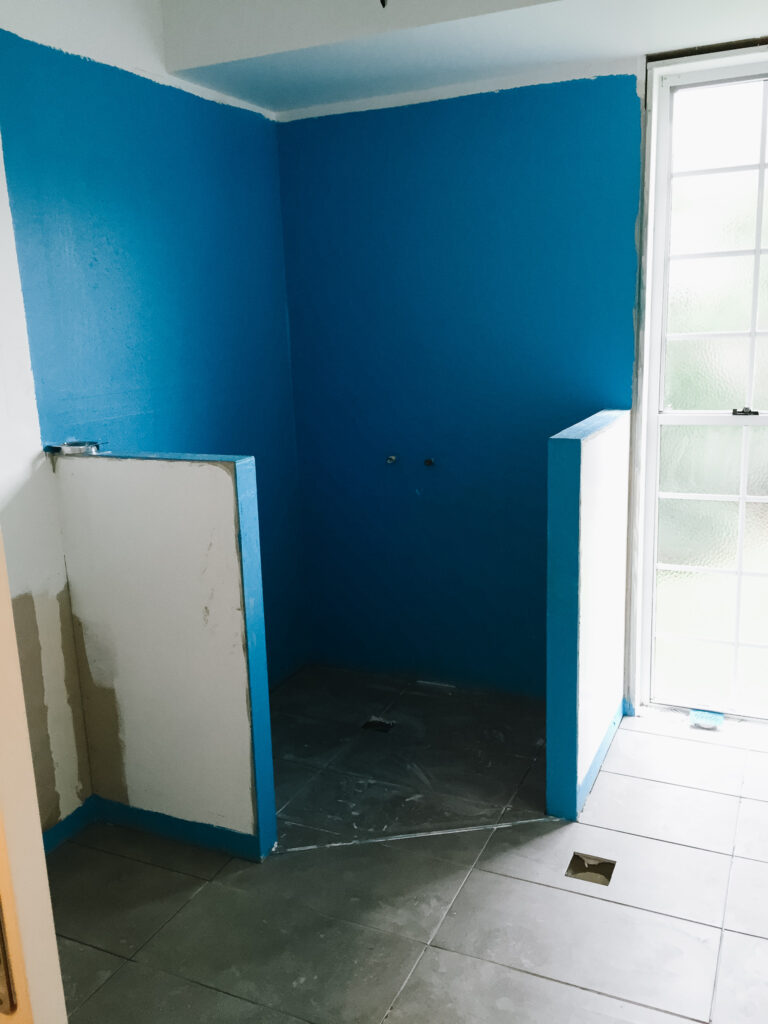
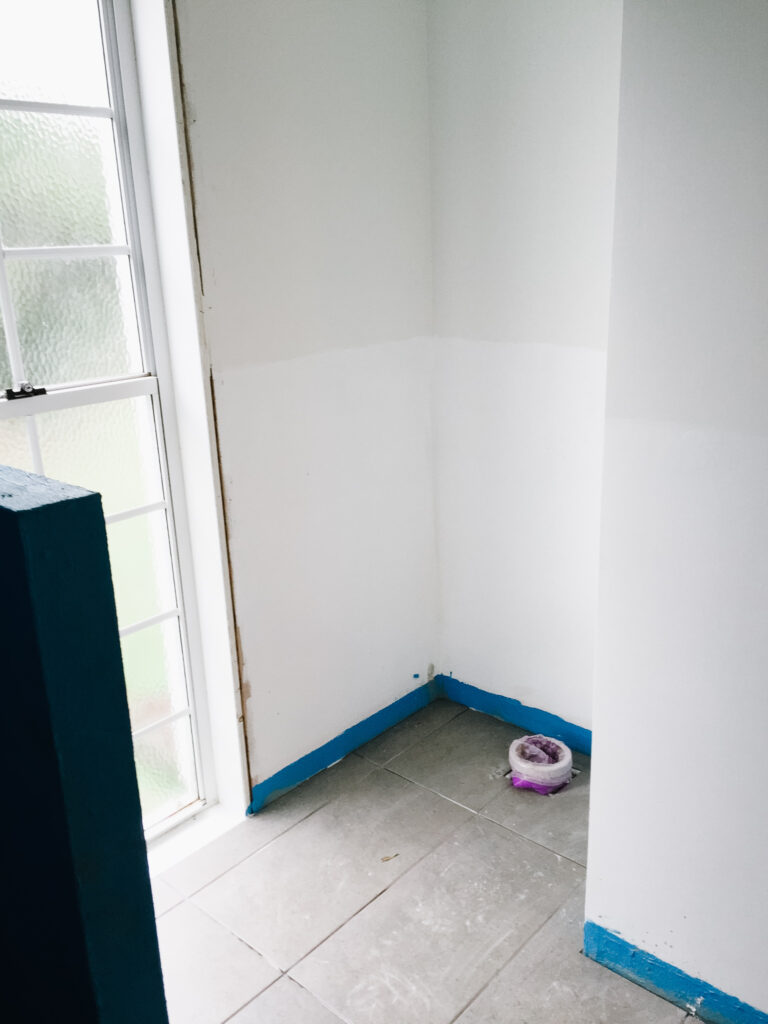
Tony and I replaced the plasterboard inside the shower, built the two half walls and repaired the remaining plasterboard throughout the room before handing things over to the trades.
The waterproofer completed the shower and floor before the tiler laid the large-format grey floor tiles—the same tiles we’d previously used in our laundry renovation.
While the tiling was underway, I started painting.
Because we’d chosen to install board and batten wall panelling, I wanted a subtle contrast between the upper and lower walls.
We used:
- Upper walls: Dulux Natural White
- Board and batten: Dulux Lexicon Quarter
The difference is very subtle but adds lovely depth without feeling busy.
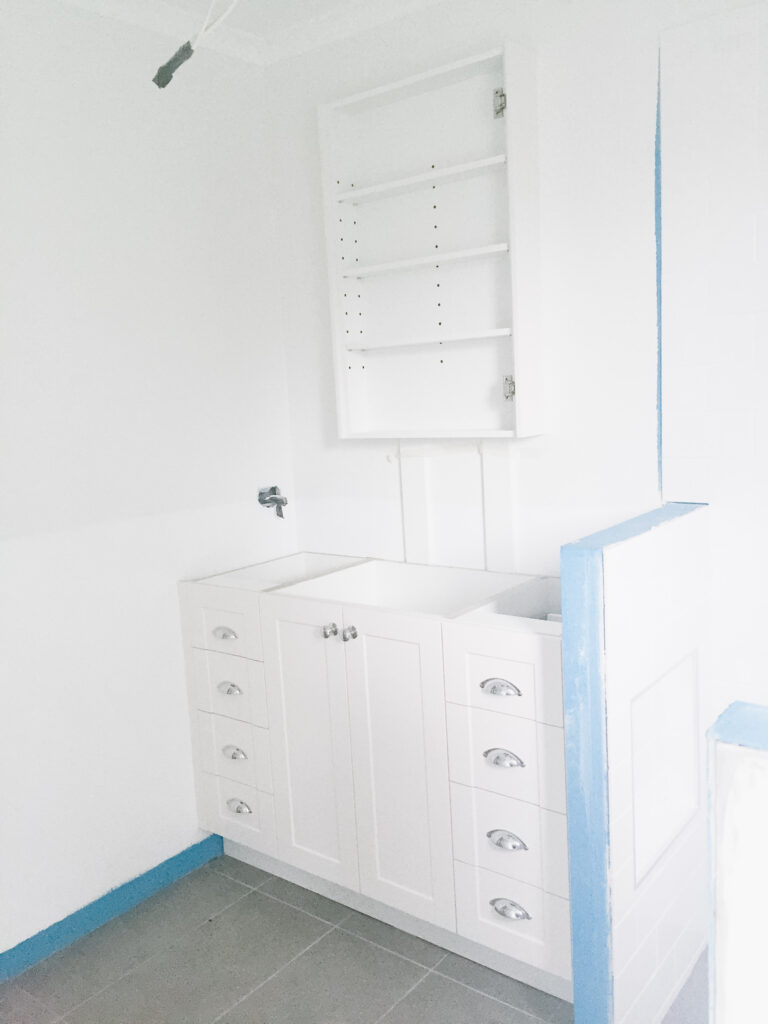
Once the shower was tiled, our custom cabinetry was installed and it was exactly what we’d imagined.
One design choice I’m especially pleased with was using our engineered stone benchtop material across the tops and sides of the half shower walls rather than continuing the tiles.
It gives the room a cleaner, more custom-built look and ties everything together beautifully.
🌿 Joyful Tip
If you’re investing in stone bench tops, consider using off cuts in other parts of the bathroom. They often create a more seamless finish than additional tiles.
Lighting Makes All the Difference
One thing I was determined not to compromise on was lighting.
Bathrooms are where we start and finish each day, so good lighting makes an enormous difference—not only to how the room looks, but to how it functions.
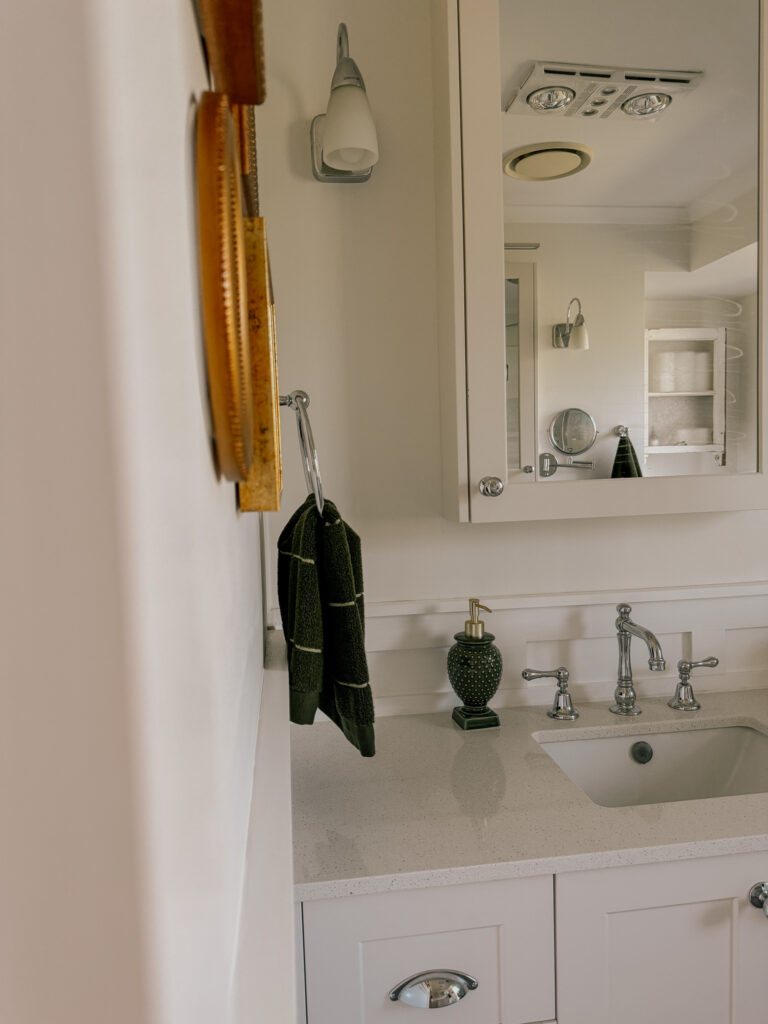
We chose a long feature light above the vanity from Beacon Lighting to provide plenty of even light across the mirror, making everyday tasks like applying makeup much easier.
The wall lights came from Bunnings and cost around $20 each. Unfortunately they’re no longer available, but they prove that not every beautiful finishing touch needs to come with a designer price tag.
I think the combination of lighting and the lighter colour palette helps this small bathroom feel much larger than it actually is.
Beautiful Finishing Touches
Once the electrician had finished, our plumber installed the toilet and all of the tapware.
We chose the Olde English Collection by Astra Walker, and even now, years later, I wouldn’t change a thing.
The traditional styling suits our home perfectly and adds just the right amount of elegance without ever feeling overdone. Beautiful tapware was one of the items on my original wish list, and it still makes me smile every time I walk into the room.
One Thing I’d Do Differently
The very last trade to come in was the shower screen installer.
This is where we learnt another valuable lesson.
If you’re planning a frame less shower screen, involve your installer before your renovation begins.
We didn’t.
Because we’d designed two half-height shower walls, the angles created a few unexpected challenges when it came time to install the glass.
Thankfully, our installer was incredibly experienced and managed to work around the problem without compromising the finished result, but it certainly would have made the process easier if he’d seen our plans beforehand.
Sometimes the best renovation advice comes from the mistakes you’ve already made!
🌿 Joyful Tip
Before finalising your bathroom plans, ask your shower screen installer to have a quick look over the design. It could save time, money and unnecessary headaches later.
Adding Character
Once all of the trades had finished, it was finally time for my favourite part.
Tony and I completed the board and batten wall panelling, finished the painting and installed the towel rails, hooks and accessories.
I absolutely love what the board and batten adds to this room.
Without it, the bathroom would have been perfectly functional, but perhaps a little plain. The panelling brings warmth, texture and character while still allowing the room to feel calm and uncluttered.
Because the rest of our home leans towards a traditional, modern country style, I also wanted to include something with a little history.
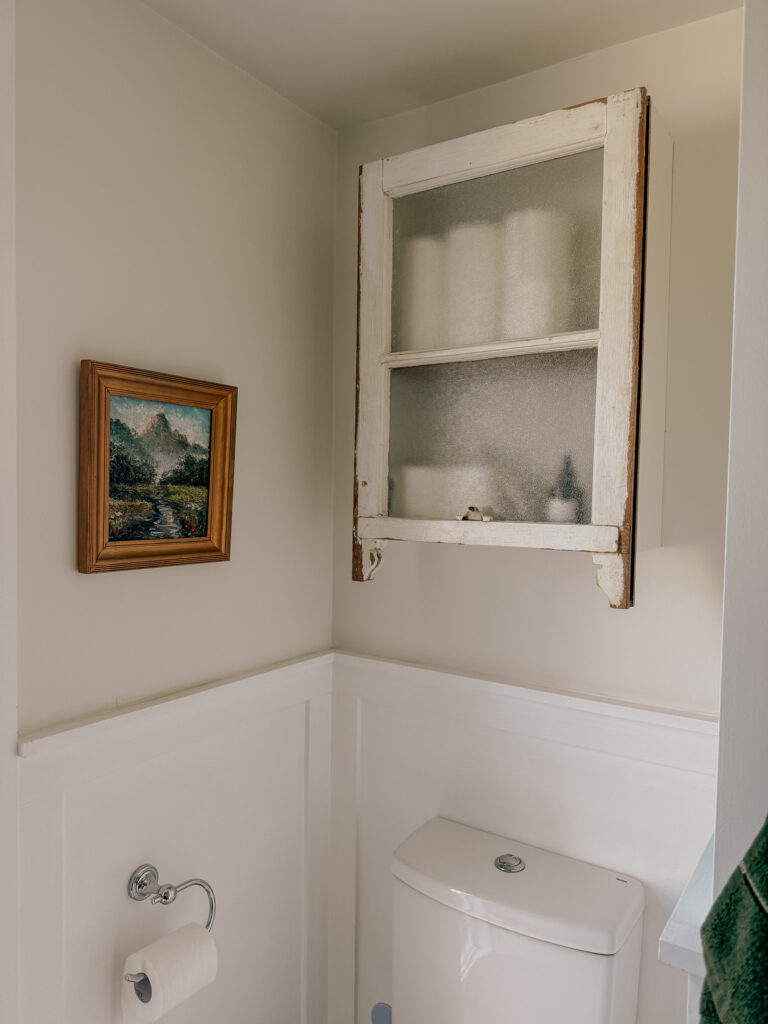
We visited our local salvage yard and found a beautiful old timber window.
Tony then built a simple cupboard from new timber, added a reclaimed timber shelf we already had, and used the old window as the cupboard door.
It’s become one of my favourite pieces in the bathroom.
Not only does it add warmth and character, but it also gives us somewhere practical to store spare toilet paper and other everyday essentials.
It’s proof that storage doesn’t have to be hidden away to be beautiful.
The Little Idea That Became a Game Changer
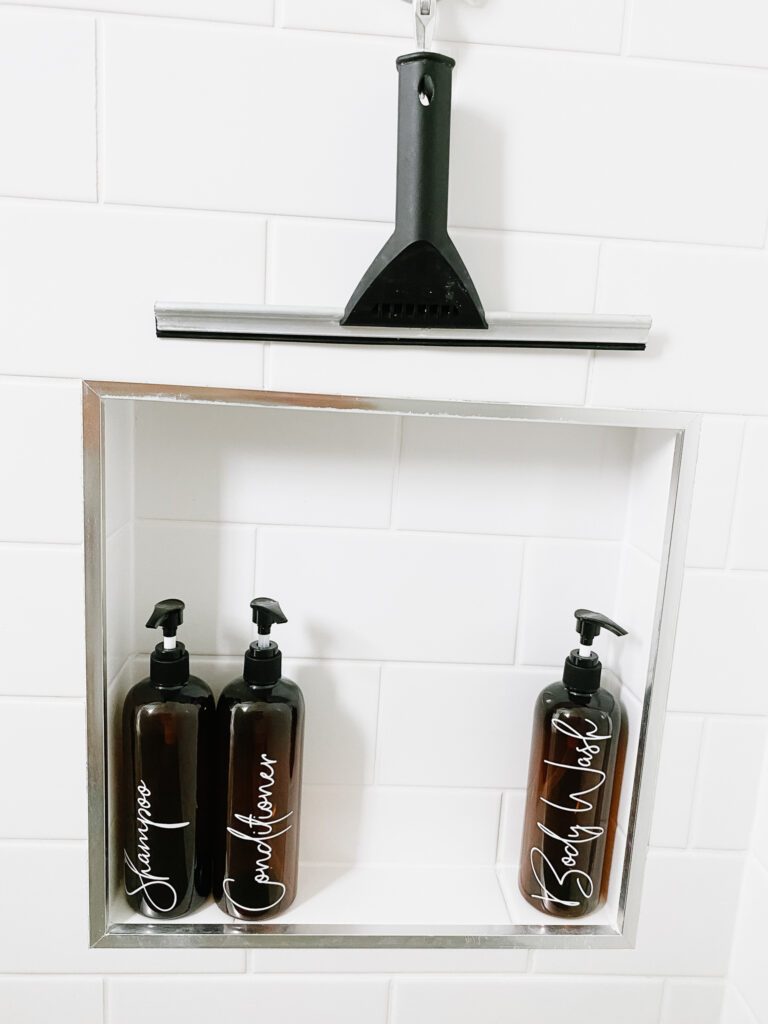
If I had to choose one practical feature I still appreciate almost every day, it would be the shower niche.
Rather than positioning it at the standard height, we deliberately built it lower so I could comfortably rest my foot while shaving my legs.
It sounds like such a small thing…
But honestly, it’s been a complete game changer.
It’s one of those little design decisions that doesn’t necessarily stand out when people visit, but it makes everyday life so much easier.
Those are often the best kinds of renovations.
Styling the Bathroom
Once all of the building work was finished, I finally got to enjoy my favourite part—adding the finishing touches that make a house feel like home.
Over the years, the styling in this bathroom has evolved, just as the rest of our home has. I don’t believe a room is ever really finished. I enjoy collecting pieces I love and slowly updating our spaces as our style changes.
Today, the bathroom feels even more like us.
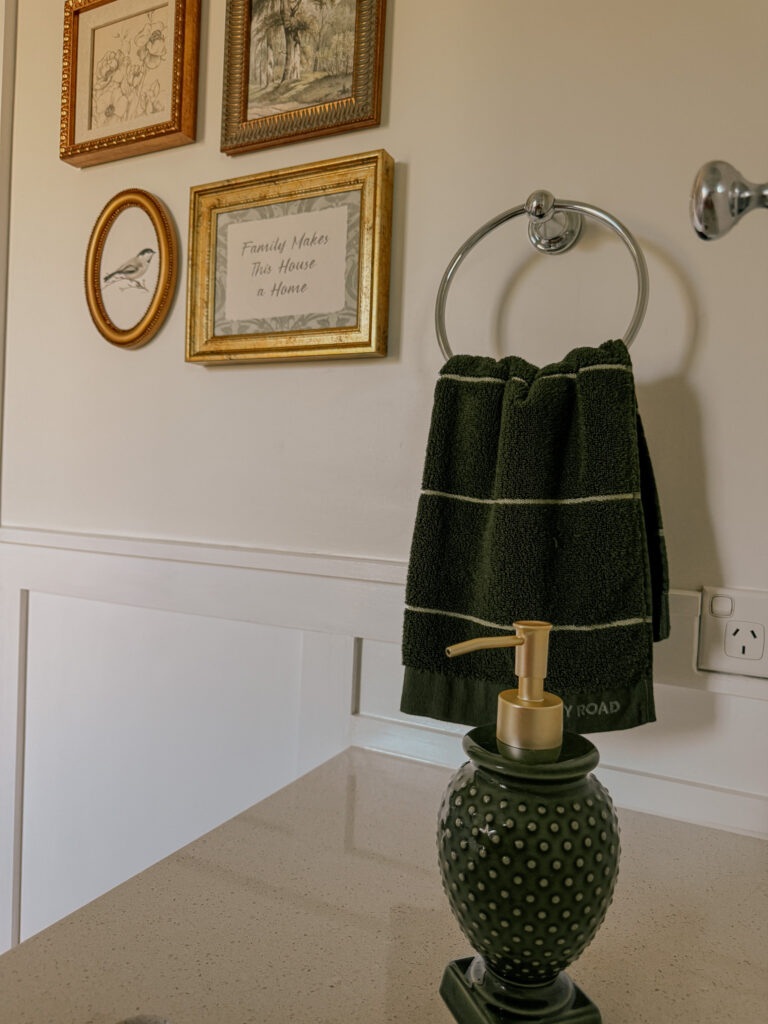
The towels are from Country Road Home, and I love the beautiful quality they bring to the room. They’re one of those everyday luxuries that make an ordinary morning feel just a little more special.
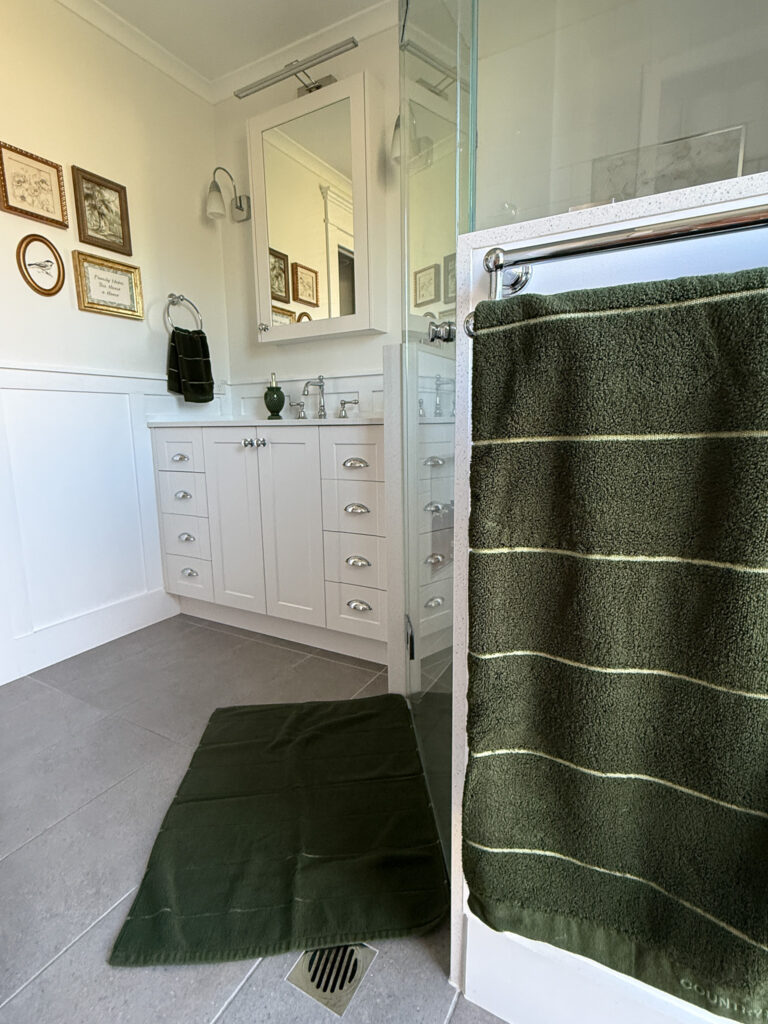
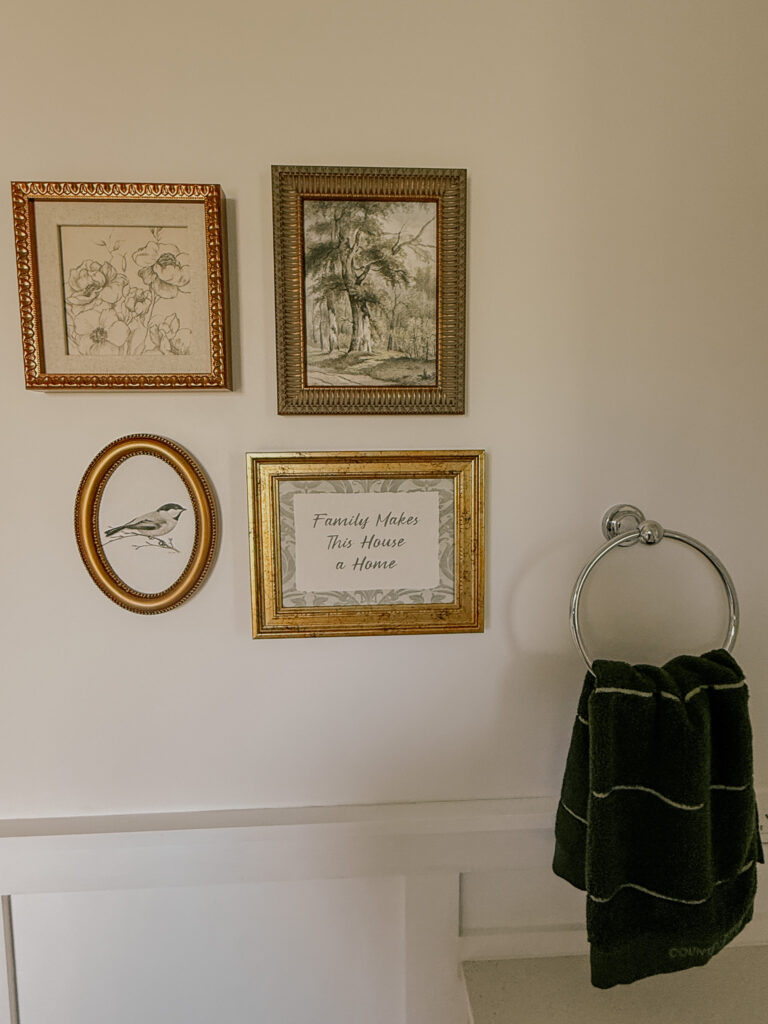
The framed artwork was a wonderful find from TK Maxx. Adding artwork to a bathroom might seem unexpected, but I think it’s one of the easiest ways to soften the space and make it feel like a true extension of your home rather than simply a functional room.
One styling detail that has stayed the same over the years is the amber bottles in the shower. They’re from Pretty Little Designs, along with the matching waterproof labels.
Decanting our everyday products into matching bottles instantly reduces visual clutter and gives the shower a much calmer, more considered look. It’s such a simple change, but one that makes a surprisingly big difference.
I’ve found that the rooms I love most aren’t necessarily the ones with the biggest budget—they’re the ones that have been thoughtfully layered over time with pieces that are both beautiful and practical.
What I’d Do Again (And What I’d Change)
Now that we’ve lived with this bathroom for several years, there are quite a few decisions I’d happily make all over again—and one thing I’d do differently.
✔ Custom cabinetry was worth every cent.
In a small bathroom, every centimetre matters.
Having cabinetry designed specifically for the room gave us far more storage than any standard vanity could have offered. Every cupboard has a purpose, and there isn’t an inch of wasted space.
If you’re renovating a small bathroom, this is probably the investment I’d recommend above anything else.
✔ I wouldn’t add a second sink.
Many people automatically assume a master ensuite needs two basins.
For us, that simply wasn’t true.
What has been far more valuable is having a dedicated space where I can do my hair and makeup each morning.
It’s one of the features I still appreciate every single day.
✔ Positioning the shower niche lower was a simple but brilliant decision.
Resting my foot on the niche while shaving my legs might sound like a small detail, but it’s one of those practical touches that makes everyday life so much easier.
It’s often the little things that end up making the biggest difference.
✔ Good lighting is always worth investing in.
Lighting completely changes the way a room feels.
Whether you’re getting ready for work, putting on makeup or simply cleaning the bathroom, good lighting makes the room feel brighter, larger and far more welcoming.
✔ Mixing quality pieces with affordable finds worked beautifully.
We chose to invest in the things we’d use every day—our cabinetry, tapware and bench tops—while saving money on decorative lighting and accessories.
Looking back, I think we found the right balance.
Beautiful homes don’t need to be filled with expensive pieces. They simply need thoughtful choices.
If I could change one thing…
The only thing I’d do differently would be to involve the shower screen installer much earlier in the planning process.
frame less shower screens can be surprisingly technical, and small changes to wall angles can make a big difference to installation.
Thankfully our installer was incredibly skilled and everything worked out perfectly, but having his advice before we built the half walls would have saved everyone a little stress.
Frequently Asked Questions
Is a double vanity worth it in a small bathroom?
Not always.
For us, choosing one larger vanity and a separate makeup station worked much better than squeezing in two basins. It gave us more usable bench space and made the room feel less crowded.
Is custom cabinetry worth the extra cost?
For a small bathroom, I think so.
Because every centimetre counts, custom cabinetry allows you to maximise storage and eliminate wasted space. Years later, it’s still one of the best investments we made.
What’s the one feature you couldn’t live without now?
Without question, it’s the dedicated makeup vanity.
It wasn’t the obvious choice, but it’s probably the feature that has improved my daily routine the most.
What helped make the bathroom feel bigger?
Keeping the colour palette light, choosing quality lighting, limiting visual clutter and including plenty of storage all helped create a calmer, more spacious feeling.
Final Thoughts
Looking back now, this renovation was never really about creating a beautiful bathroom.
It was about creating a room that made everyday life easier.
A place where everything had a home.
A room that felt calm first thing in the morning and peaceful at the end of the day.
I’ve learnt over the years that creating a beautiful home isn’t about having the biggest rooms or the highest budget.
It’s about thinking carefully about how you live and designing your spaces to support that life.
This little ensuite proves exactly that.
It may not be the largest room in our house, but it’s one of the spaces that brings me the most joy because every decision was made with intention. From the custom cabinetry and makeup vanity to the shower niche and reclaimed timber cupboard, every feature works hard while adding warmth and character.
Creating a joyful home doesn’t happen all at once.
It’s built one thoughtful decision at a time.
One room.
One project.
And to me, that’s what makes a house feel like home.
Creating a Joyful Home
Creating a joyful home isn’t about finishing every room at once or chasing perfection.
It’s about making thoughtful changes over time until your home becomes a place that truly reflects the people who live there.
Whether it’s a complete renovation or simply adding a favourite piece of artwork, every little improvement helps create a home that feels welcoming, comfortable and lived in.
One small project at a time, that’s exactly what we’re doing.
If you’re planning your own bathroom renovation and have a question, I’d love to hear from you. Feel free to leave a comment below or send me a message—I’m always happy to share what we’ve learnt along the way.
If you enjoy seeing how we’ve made our home work better for the way we live, you might also like our Living Room Built-In Cabinets makeover. It’s another project where we focused on combining practical storage with a beautiful, timeless look — and making better use of the space we already had.