How to Make the Best Baked Christmas Ham with Jam
There are some dishes that just belong on the Christmas table, and for our family, a beautiful baked Christmas ham is definitely one of them.
I’ve been making my Christmas ham this way for years, and I honestly can’t imagine doing it any other way. It’s incredibly simple, requires very little preparation, and the result is a delicious ham with a beautiful, sticky glaze that looks fabulous sitting in the centre of the Christmas table.
And the best part? You don’t need to make a complicated glaze with a long list of ingredients. All you need is a jar of your favourite jam!
I also have a little trick for making the clean-up easier, because after preparing Christmas lunch for everyone, the last thing I want to do is spend ages scrubbing a roasting dish.
The real secret to this baked Christmas ham recipe is giving it plenty of time to cook slowly. Trust me, it makes all the difference.
Why I Love This Easy Baked Christmas Ham Recipe
Christmas entertaining can involve a lot of preparation, so whenever I find a way to make something easier without compromising on flavour, I’m all for it.
This recipe has become a favourite for several reasons:
- Very little preparation: Once you’ve removed the skin and scored the fat, most of the work is done.
- A simple glaze: There’s no need to make a separate glaze. Your favourite jam does the job beautifully.
- Perfect for entertaining: The ham can cook away slowly while you get on with other preparations.
- Easy clean-up: A disposable baking tray means one less roasting dish to wash. You can use your favourite baking tray though.
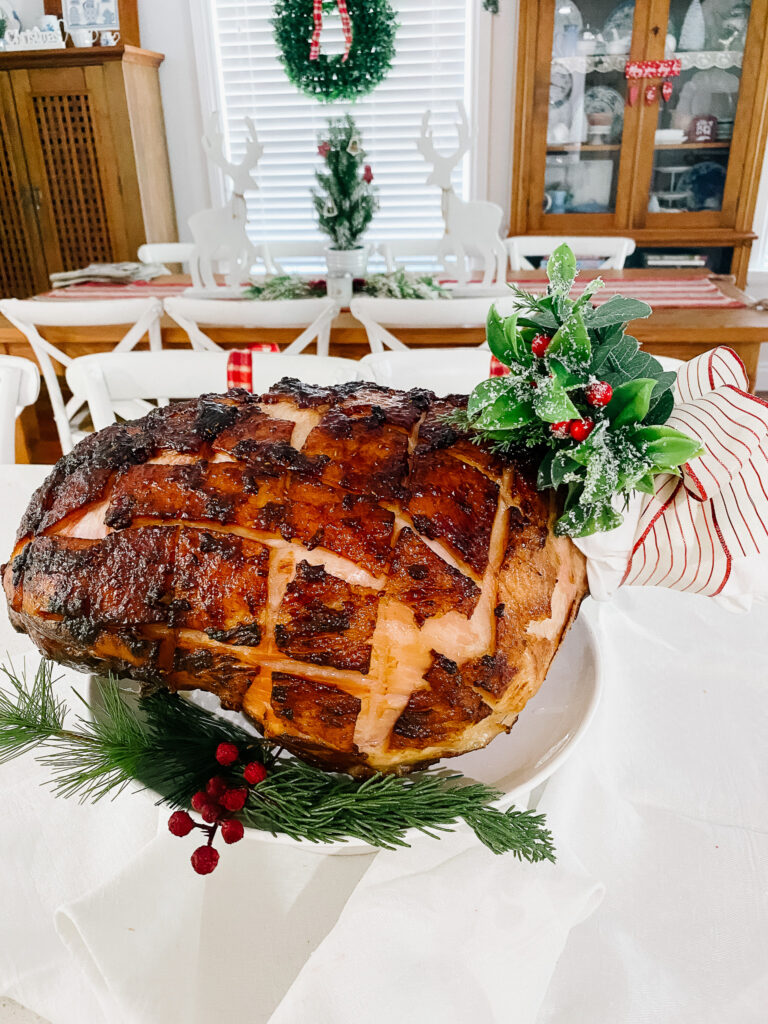
- Beautiful presentation: A little festive decoration around the shank turns your ham into a lovely centrepiece.
And of course, there’s the added bonus of leftover Christmas ham, which I think is almost as good as Christmas lunch itself!
What You’ll Need for Your Baked Christmas Ham
One of the things I love most about this recipe is how little you need.
Ingredients
- 1 bone-in Christmas ham (fully cooked, ready-to-eat ham)
- 1 jar of your favourite jam, or enough to coat the fat generously
- Water, for the baking tray
Equipment
- A large disposable aluminium baking tray or your favourite non stick tray
- A sturdy wire roasting rack that fits inside the tray
- A metal oven tray to support the disposable tray
- Aluminium Foil for covering the shank end
- A sharp knife for scoring
- A pastry brush or spoon for spreading the jam
- A festive ribbon or Christmas decoration for presentation
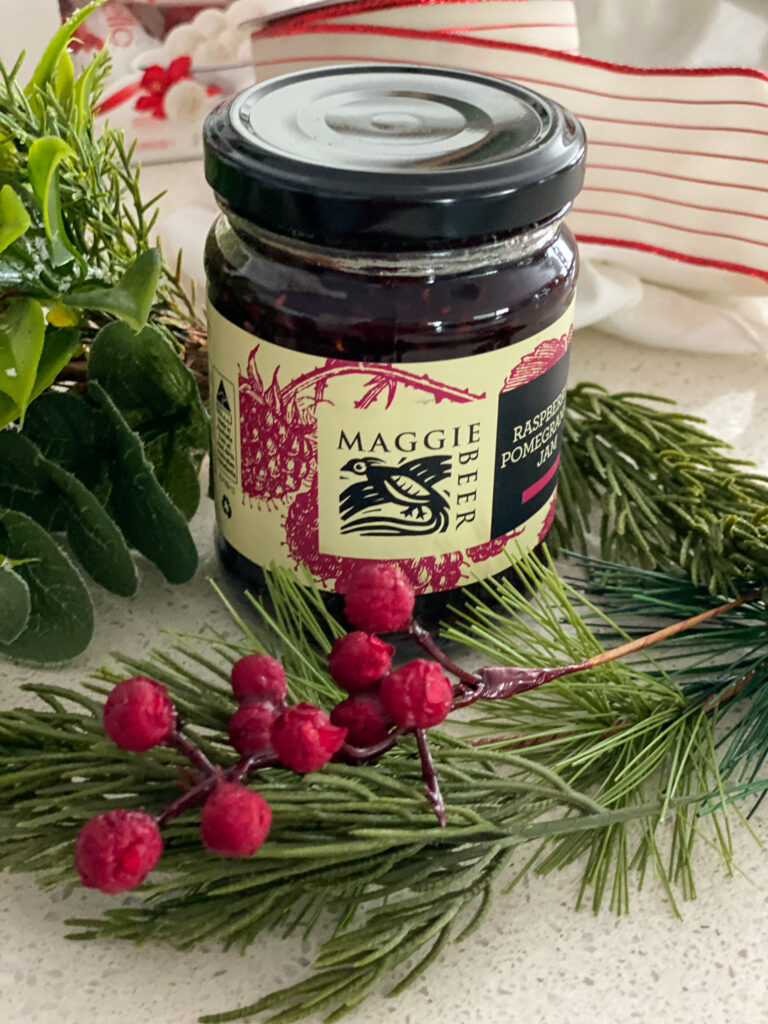
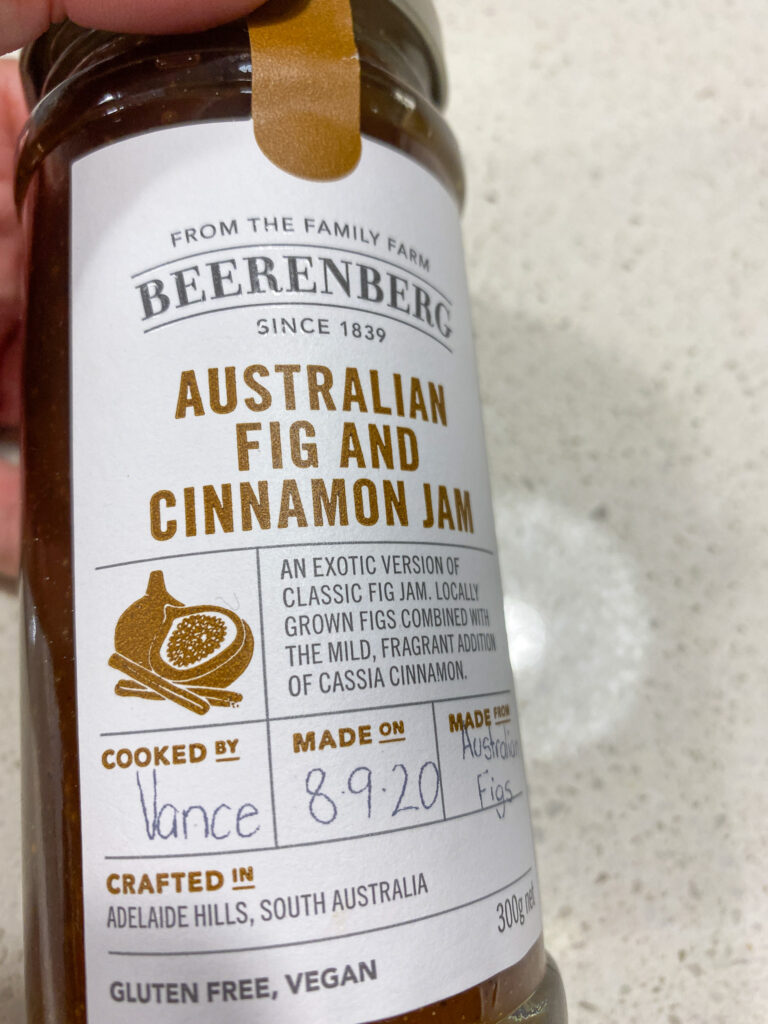
A little note about the jam: Use whichever flavour you enjoy. I love some of the fancier options like pear and vanilla, Orange and cinnamon, Cherry or even your favourite berry jam can work beautifully. Different jams will give slightly different flavours, so feel free to experiment.
What Size Christmas Ham Should You Buy?
We generally have quite a large gathering at Christmas, so I usually buy a bone-in ham weighing around 8 kg. However, a 6–8 kg ham works beautifully for this recipe.
I always prefer to have more than enough food, particularly at Christmas, because I love having leftovers in the fridge for the following days. There’s something wonderful about opening the fridge on Boxing Day and knowing that lunch is already taken care of!
If you’re entertaining a smaller group, you can certainly use a smaller ham. Just adjust the cooking time to suit its size. Under 6kgs cook for around 2hrs.
How to Make My Easy Baked Christmas Ham
Step 1: Remove the Skin
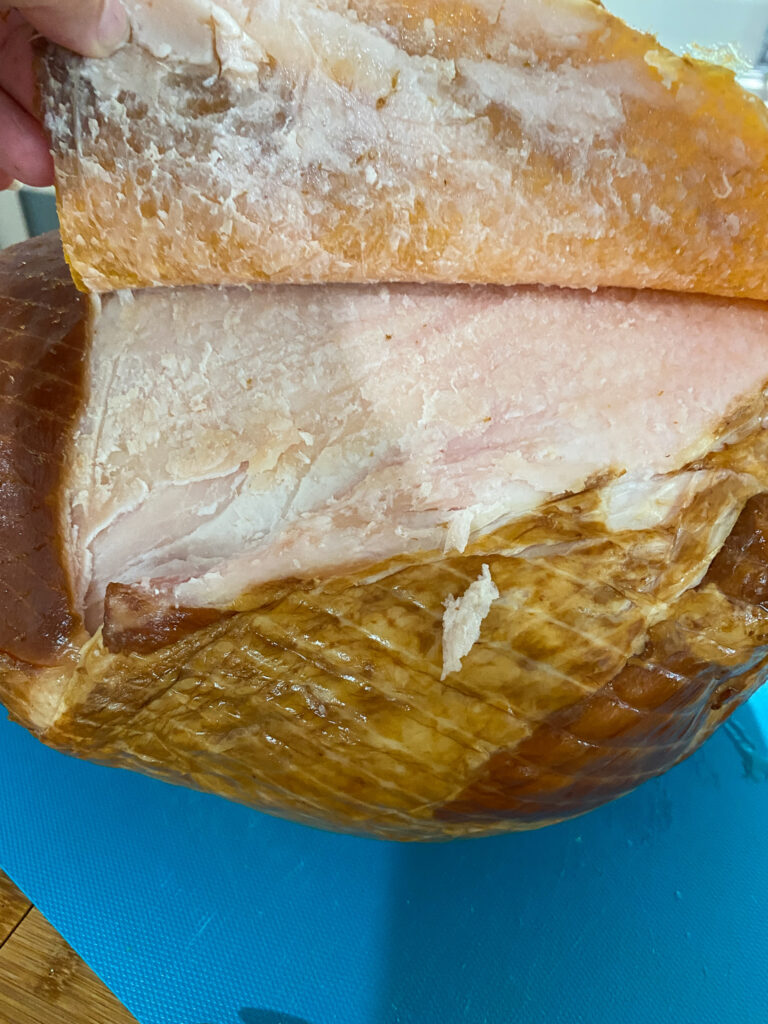
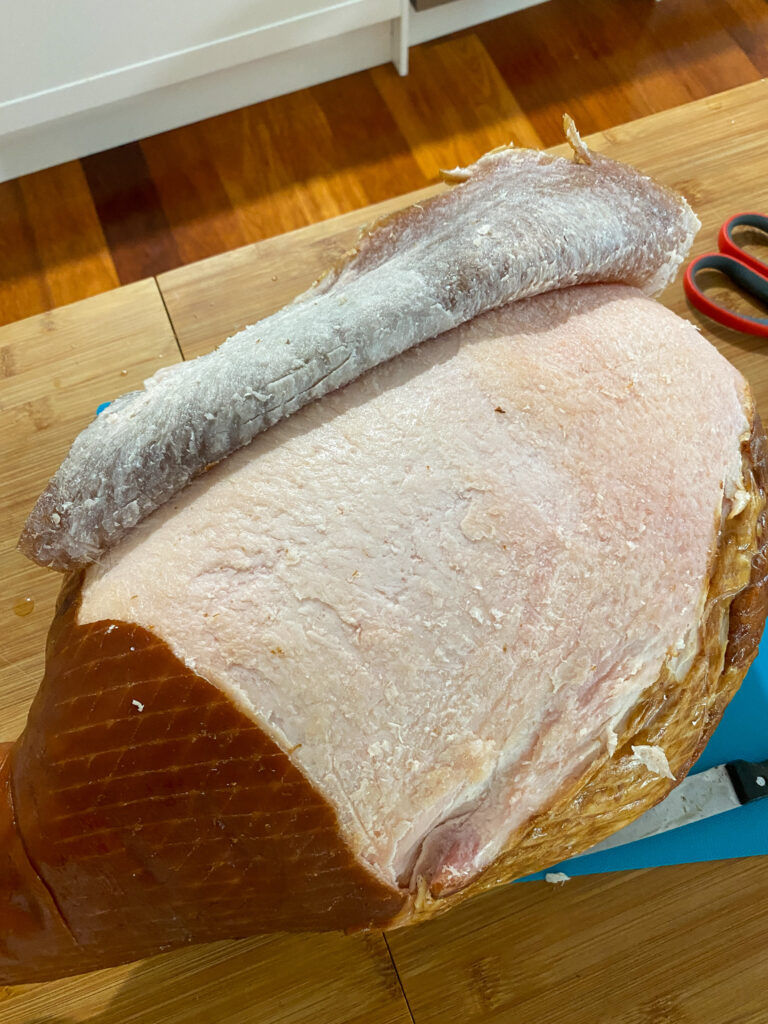
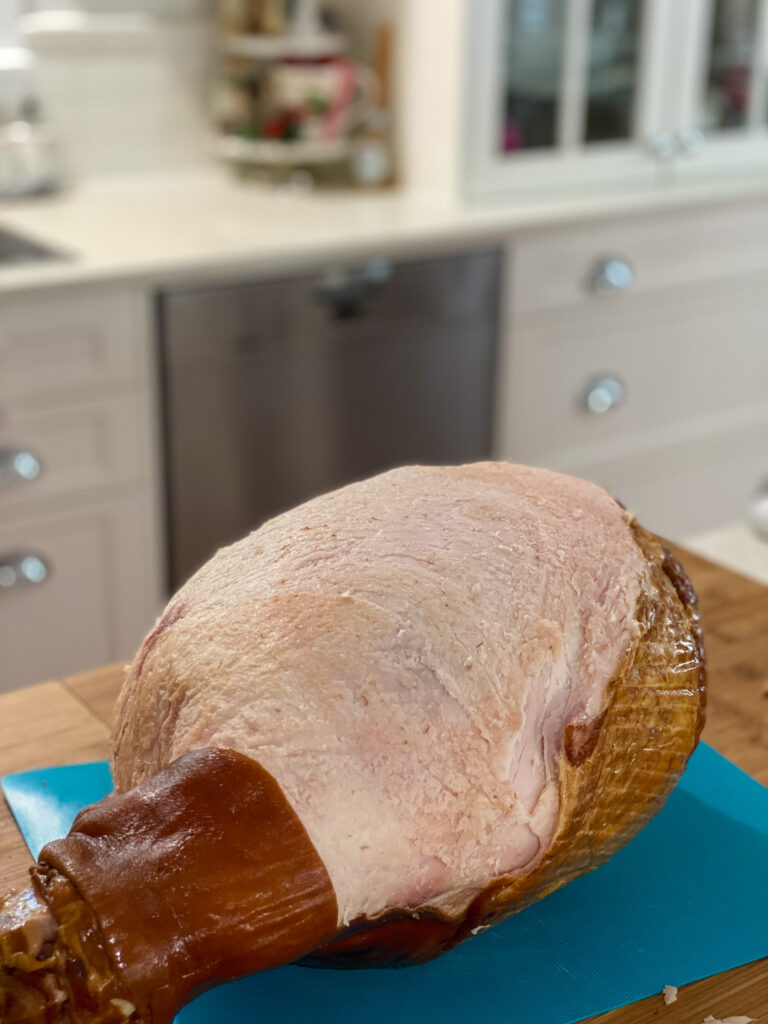
Start by removing the skin from your ham, being careful to leave as much of the lovely layer of fat underneath as possible.
The easiest way I’ve found to do this is to gently work your fingers beneath the skin, separating it from the fat as you go.
Take your time with this step. You want to remove the skin without taking too much of the fat with it, because that’s where your glaze will sit.
When you get to the shank end, you’ll need to be a little more careful. Use a sharp knife to cut around the shank, either in a straight line or a decorative zigzag pattern. This allows you to remove the skin from the main part of the ham while leaving the shank neatly covered. Have a look at my photos and video to see exactly how I’ve done this.
Step 2: Score the Fat
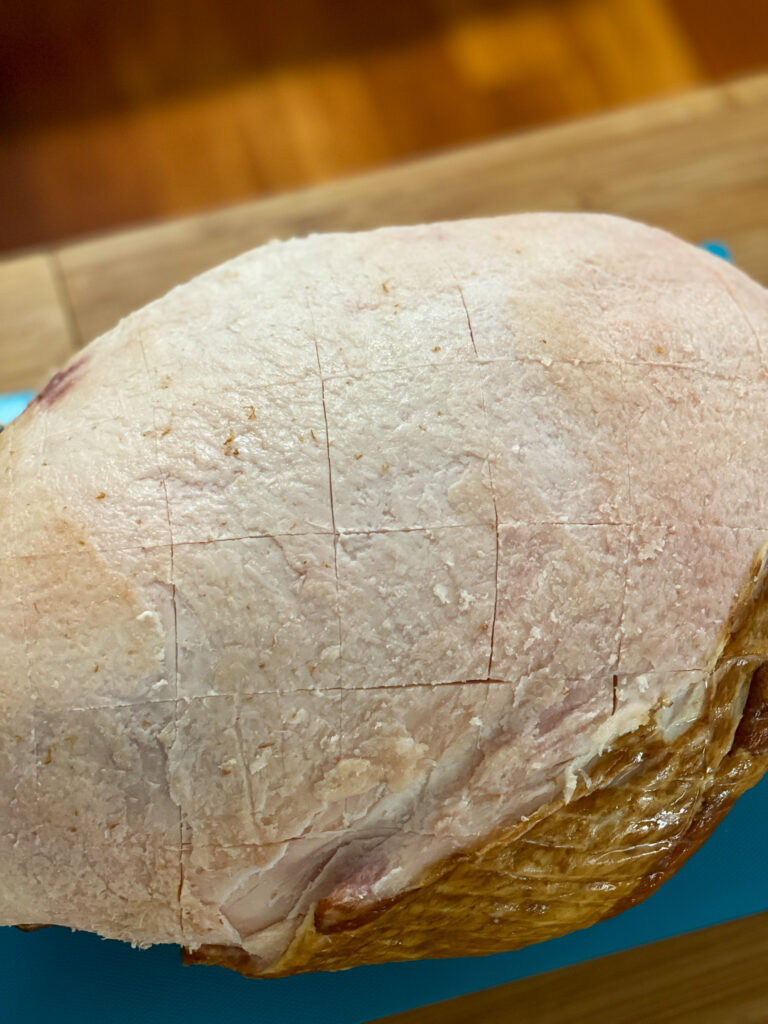
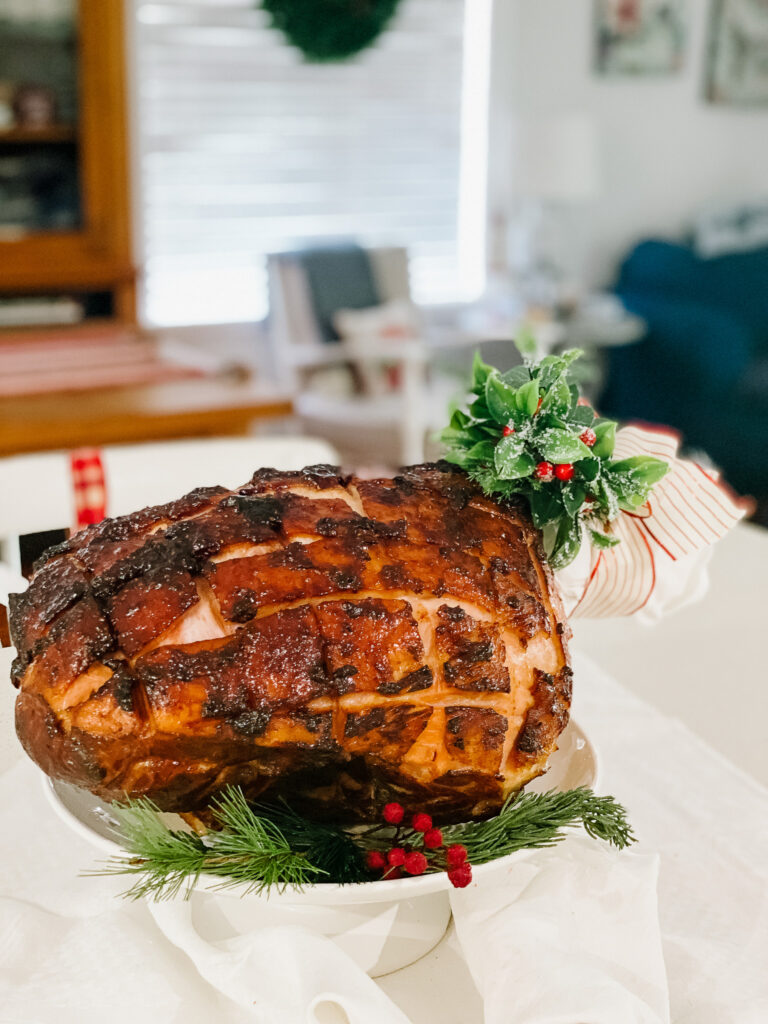
Once the skin has been removed, use a sharp knife to score the fat.
You can do this in straight lines or create a traditional crosshatch or diamond pattern.
Both look lovely, so it’s really a matter of personal preference.
Just be careful not to cut too deeply into the meat. You’re only trying to score the layer of fat.
Step 3: Prepare Your Baking Tray
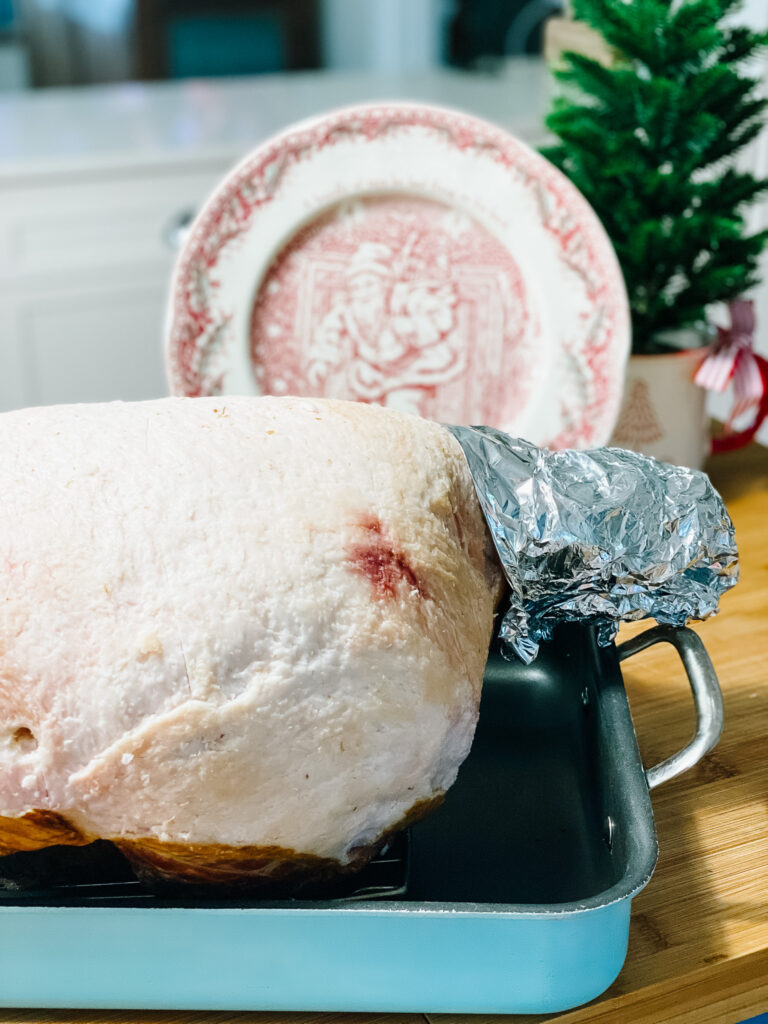
Place a sturdy wire rack inside your disposable baking tray and sit the ham on top.
The rack is important because we’re going to add water to the bottom of the tray, and we want the ham sitting above the water rather than in it.
I always place my disposable baking tray on top of a sturdy metal oven tray before moving it.
These disposable trays are wonderful for clean-up, but they can be quite flimsy, particularly when you’re dealing with a heavy ham and hot water.
Having that extra support makes everything much easier and safer to handle.
Cover the shank end with aluminium foil.
Step 4: Add Your Jam Glaze
Now for the easiest glaze you’ll ever make!
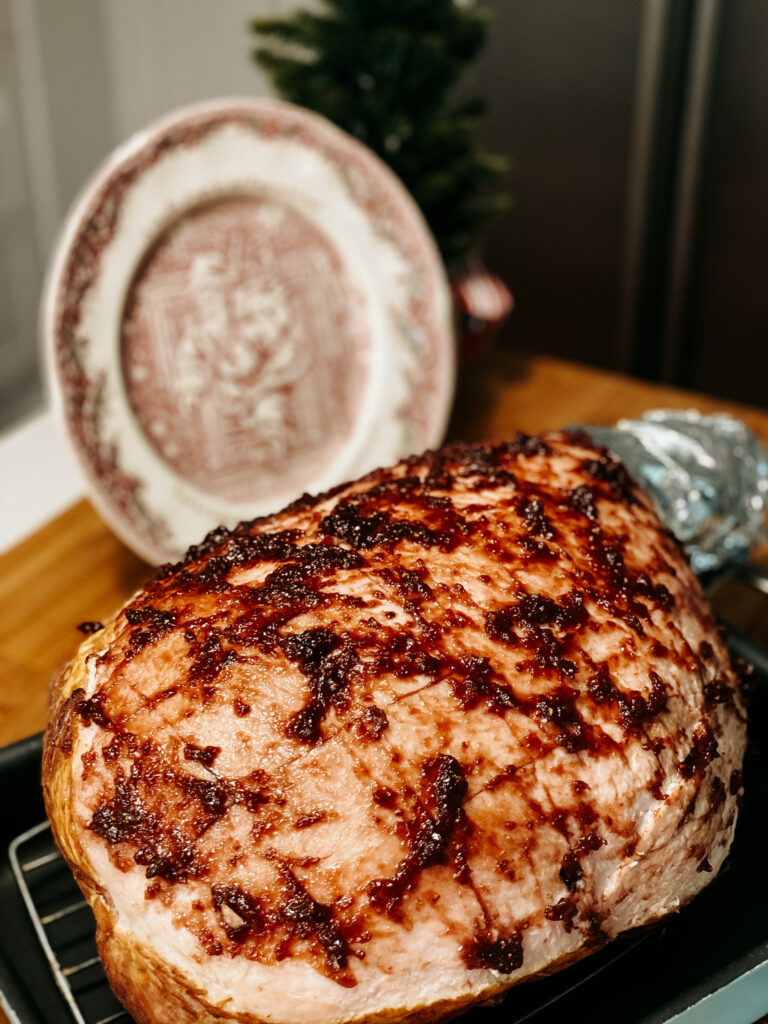
Open your jar of jam and spread it generously and evenly over the scored fat of the ham.
There’s no need to heat it or mix it with anything else, although you can give it a stir first if that makes it easier to spread.
Make sure you cover all the exposed fat, leaving the shank end.
As the ham cooks, the jam will gradually form a lovely sticky glaze.
It’s such a simple way to add flavour without creating any extra work.
Step 5: Bake Your Christmas Ham Slowly
Preheat your oven to 150°C.
I actually prefer to cook my Christmas ham in our hooded BBQ, keeping the temperature nice and low. It works beautifully and has the added advantage of freeing up the kitchen oven for everything else I’m preparing.
A conventional oven works just as well.
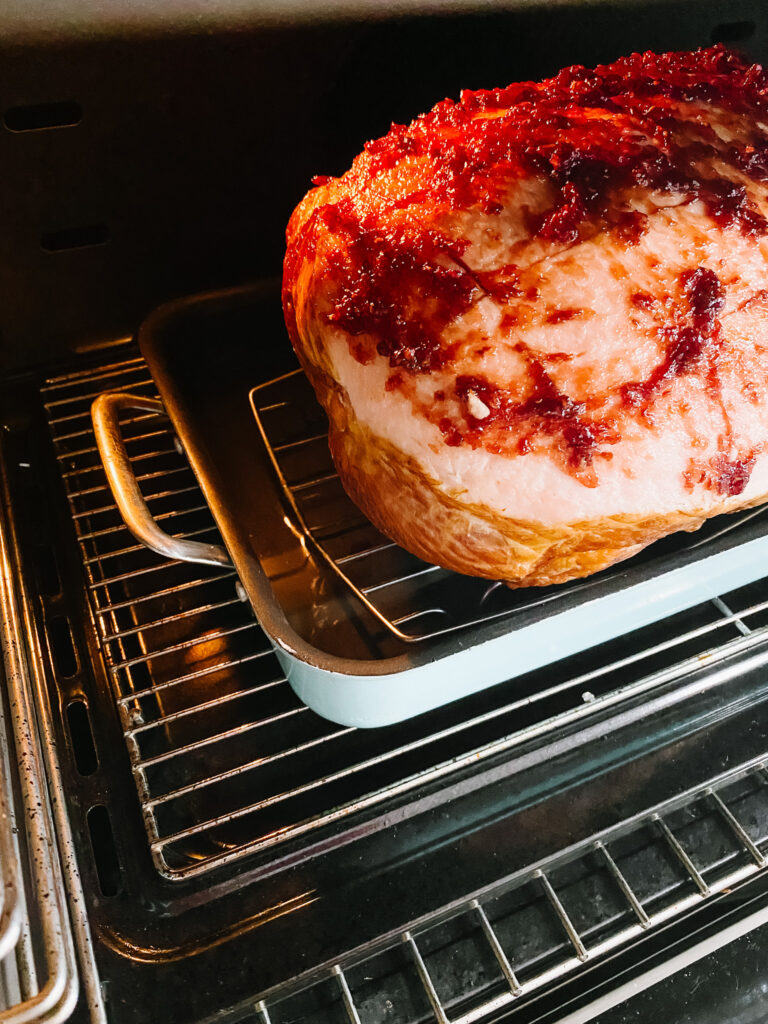
Carefully transfer your ham, sitting in its disposable tray and supported by the metal oven tray, into the oven or hooded BBQ.
Once it’s in position, take a jug of water and pour it into the disposable tray until you have approximately 2 cm of water covering the base.
The water helps create a moist cooking environment and prevents the sugary drippings from burning on the bottom of the tray.
Important: Keep an eye on the water level throughout cooking. It will gradually evaporate, so you’ll need to top it up with water when necessary.
Step 6: Give It Plenty of Time
Now comes the part that I think makes all the difference.
Allow your Christmas ham to bake slowly for approximately 3 hours, depending on its size.
I really encourage you not to rush this step. In my experience, allowing the ham plenty of time at a low temperature gives the glaze a chance to develop and makes the finished ham absolutely delicious.
Check the ham after the first hour, and then approximately every 30 minutes.
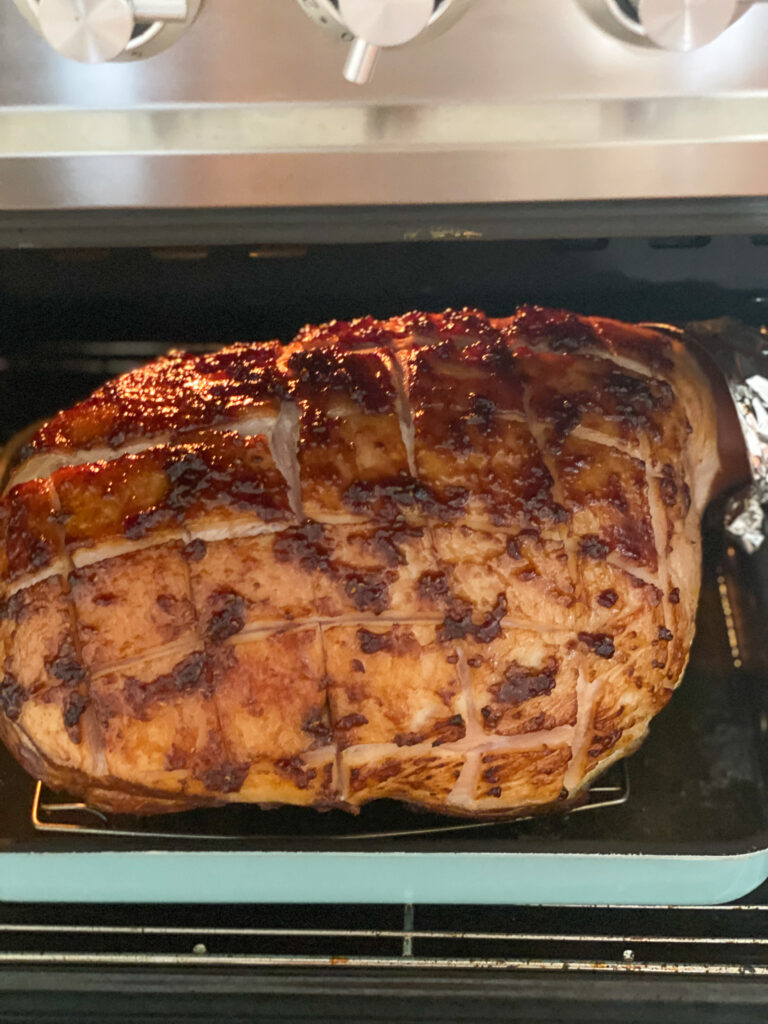
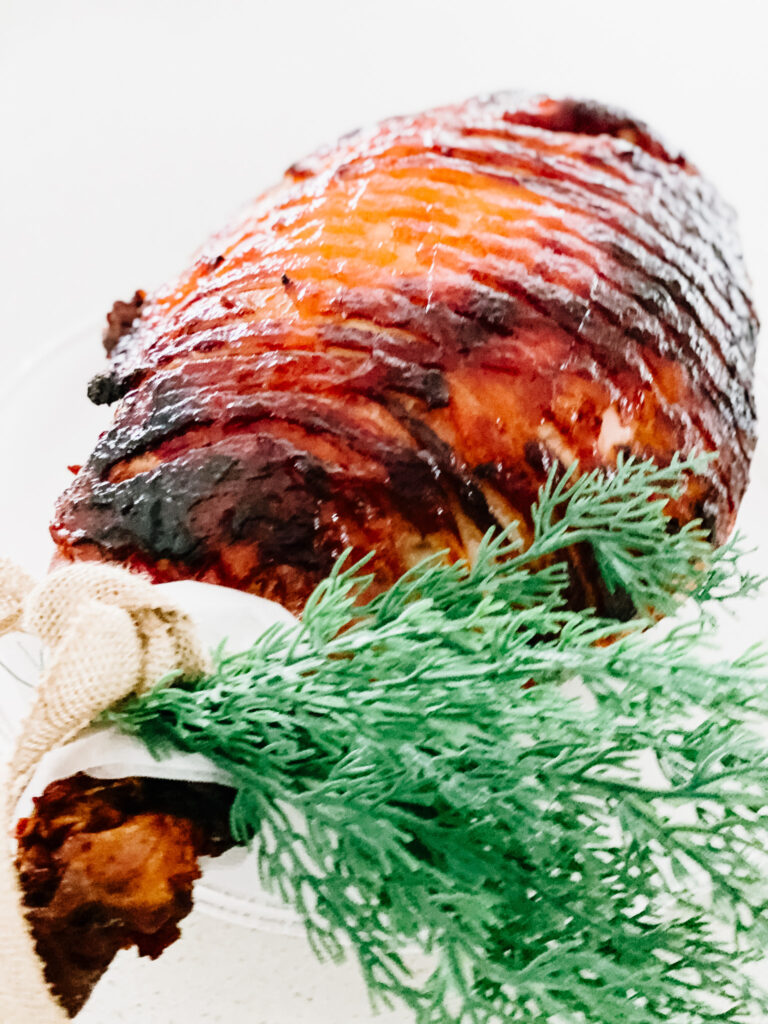
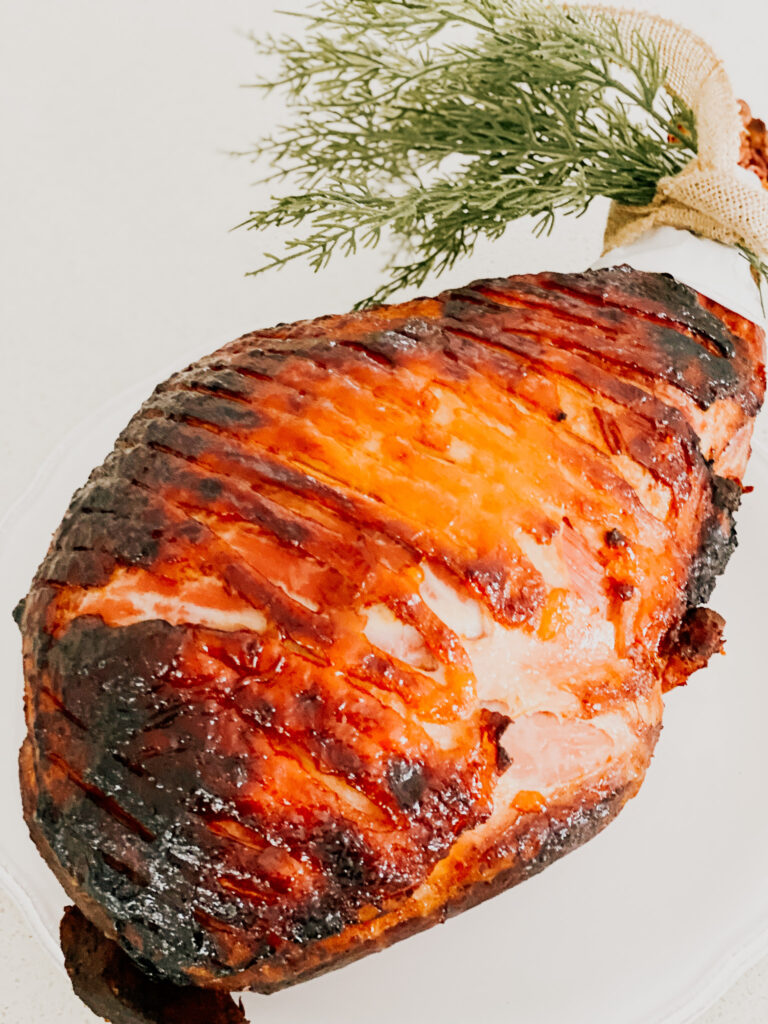
You’re looking for a beautifully glazed surface, not one that’s becoming too dark or burnt.
If you notice the glaze browning too quickly, reduce the temperature a little.
If your oven or BBQ has hot spots, you may need to rotate the ham during cooking to help it brown evenly.
Be particularly careful when doing this. A bone-in ham is heavy, and disposable baking trays aren’t designed to carry that weight without support.
Always use your sturdy metal oven tray when moving or turning the ham.
Because Christmas hams vary in size, use the cooking time as a guide and adjust as needed. This method is for a fully cooked ham that you’re reheating and glazing, not a raw leg of pork.
Step 7: Add a Little Christmas Magic
Once your ham is beautifully glazed and heated through, carefully remove it from the oven and allow it to rest briefly before serving.
Now comes my favourite finishing touch.
I love to decorate the shank end of the ham with a beautiful festive ribbon.
Is it necessary? Absolutely not.
Does it make the ham look fabulous on the Christmas table? I certainly think so!
It’s such a simple little detail, but it makes the finished ham feel that bit more special.
Just keep the ribbon away from the oven and add it after cooking.
My Tips for the Best Baked Christmas Ham
Over the years, I’ve found that a few simple things make this recipe even easier.
Don’t remove too much fat. That lovely layer of fat is what holds your jam glaze and gives the ham its beautiful finish.
Use a jam you love. There’s no need to buy anything particularly fancy. A good-quality jam in your favourite flavour is all you need.
Keep the temperature low. The sugar in jam can burn if the heat is too high, so slow and gentle cooking is the way to go.
Don’t forget the water. Check the water level regularly and top it up when needed.
Support your disposable tray. I can’t stress this one enough. A heavy ham and a flimsy aluminium tray are not a combination you want to be juggling!
Give yourself plenty of time. This is not a recipe I like to rush. The slow cooking is what makes it so delicious.
Can You Cook Your Christmas Ham in a Hooded BBQ?
Absolutely! In fact, it’s my preferred way of cooking our Christmas ham.
I set the hooded BBQ to a low temperature and cook the ham exactly as I would in the oven.
Just make sure you’re using indirect heat, so the tray isn’t sitting directly above a strong flame.
I find this particularly helpful on Christmas Day because it leaves the oven free for all the other dishes.
And when you’re preparing lunch for a crowd, having that extra oven space is a wonderful thing.
Can You Prepare Your Christmas Ham Ahead of Time?
Yes, and this is another reason I love serving ham at Christmas.
You can remove the skin, score the fat and prepare the ham ahead of time, keeping it covered in the refrigerator until you’re ready to glaze and bake it.
You can also cook and glaze your ham ahead of your celebration, cool it promptly and refrigerate it, then serve it cold if you prefer.
Follow the storage instructions on your ham packaging, and keep leftovers refrigerated.
If you’re serving the ham hot, make sure it’s thoroughly heated through before serving.
What to Serve with Baked Christmas Ham
A beautiful baked ham works with so many different Christmas side dishes.
I particularly love serving it with a selection of vegetables, fresh salads and other Christmas favourites.
When I’m entertaining a larger group, I generally like to offer more than one protein so everyone has a little variety.
And I always prepare more food than we need.
I know some people prefer to avoid leftovers, but I absolutely love having enough Christmas food in the fridge to give myself a break from cooking for the next few days.
After all the preparation that goes into Christmas, I think we’ve earned it!
If you’re planning your Christmas menu, have a look at my collection of Christmas side dishes for more ideas to serve alongside your ham.
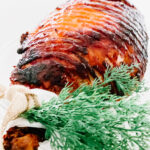
Baked Christmas Ham
Equipment
- 1 Baking Dish Disposable works well
- 1 Roasting rack that fits in baking dish
- 1 Baking tray to use with disposable tray, if using
- Aluminium foil
Ingredients
- 1 Leg of ham (full cooked) 6-8 kgs
- 1 Jar Jam of your choice
Instructions
- Preheat over to 150℃
- Remove Skin from ham, leaving the skin on the shank in tack
- Place ham on rack in baking dish.
- Cover shank end with aluminium foil
- Place ham on oven shelf (or hooded bbq)
- Pour water into the tray to the depth of 2cm
- Cook on 150℃ for approximately 3hrs. Check after 1hr to make sure the ham isnt burning. If it is lower the temperature and keep checking every 30 minutes. You will want your glaze to caramelise though (see pictures of fully cooked ham).
A Beautiful Christmas Ham Without the Fuss
I think sometimes we make Christmas cooking more complicated than it needs to be.
There’s certainly a place for elaborate recipes, but there’s also something wonderful about having a few reliable favourites that you know will turn out beautifully without requiring hours of preparation.
This baked Christmas ham is one of those recipes for me.
A good ham, a jar of jam, a little patience and a pretty ribbon are really all you need.
And when you bring that beautifully glazed ham to the Christmas table, nobody needs to know just how easy it was to prepare.
That’s my kind of Christmas entertaining!
I’d love to know — do you have a favourite glaze for your Christmas ham, or are you tempted to give my simple jam version a try? Let me know in the comments.
And if you’re looking for a beautiful way to set your Christmas table without all the stress, take a look at how I’ve styled our Christmas Celebration Box to create a festive table that’s ready to welcome family and friends.