Lollies Cake (Chocolate Birthday Cake with Kit Kats & Lollies)
There’s something so special about a homemade birthday cake — especially one covered in everyone’s favourite dtreats.
We recently celebrated a February birthday with a fun escape room party, and while the night was full of laughs, it simply wouldn’t have felt complete without a cake. This one was inspired by the birthday boys’ favourite sweets — Kit Kats, red snakes, raspberries and red frogs — and it turned into the most joyful, colourful centrepiece.
If you’re looking for an easy but impressive birthday cake idea, this lollies cake with chocolate base and buttercream is always a winner.
Why You’ll Love This Lollies Cake
A show-stopping party cake without complicated decorating
Simple to make
Perfect for kids and teens (and let’s be honest – adults too)
Completely customisable with your favourite lollies
The Chocolate Cake Base
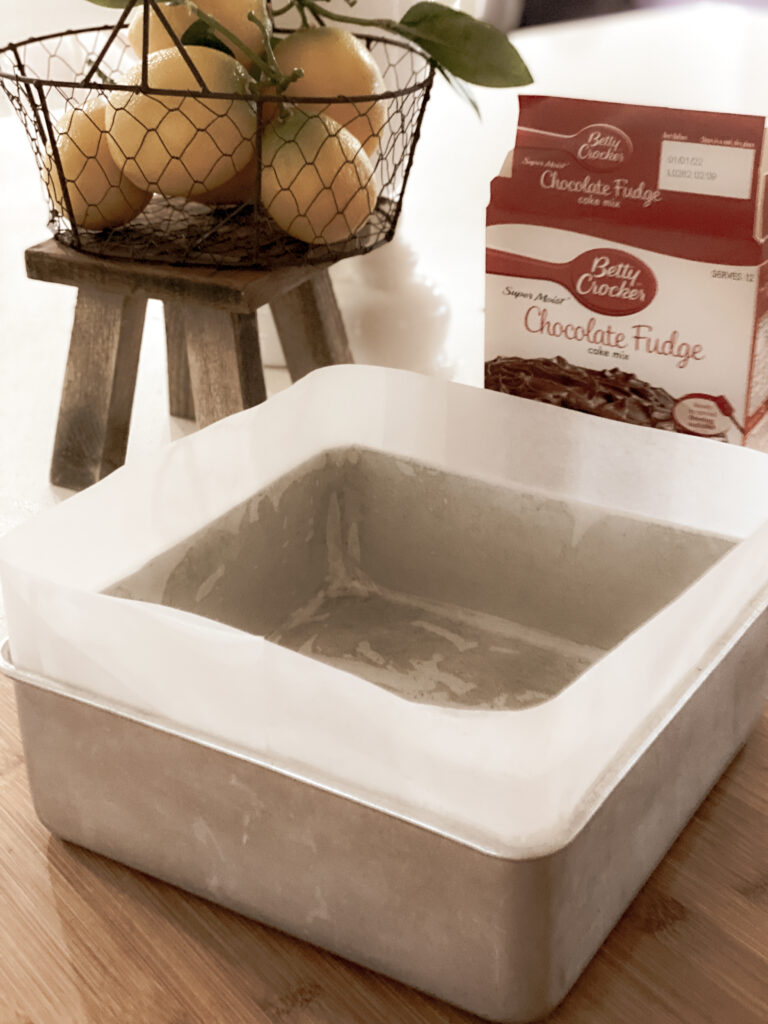
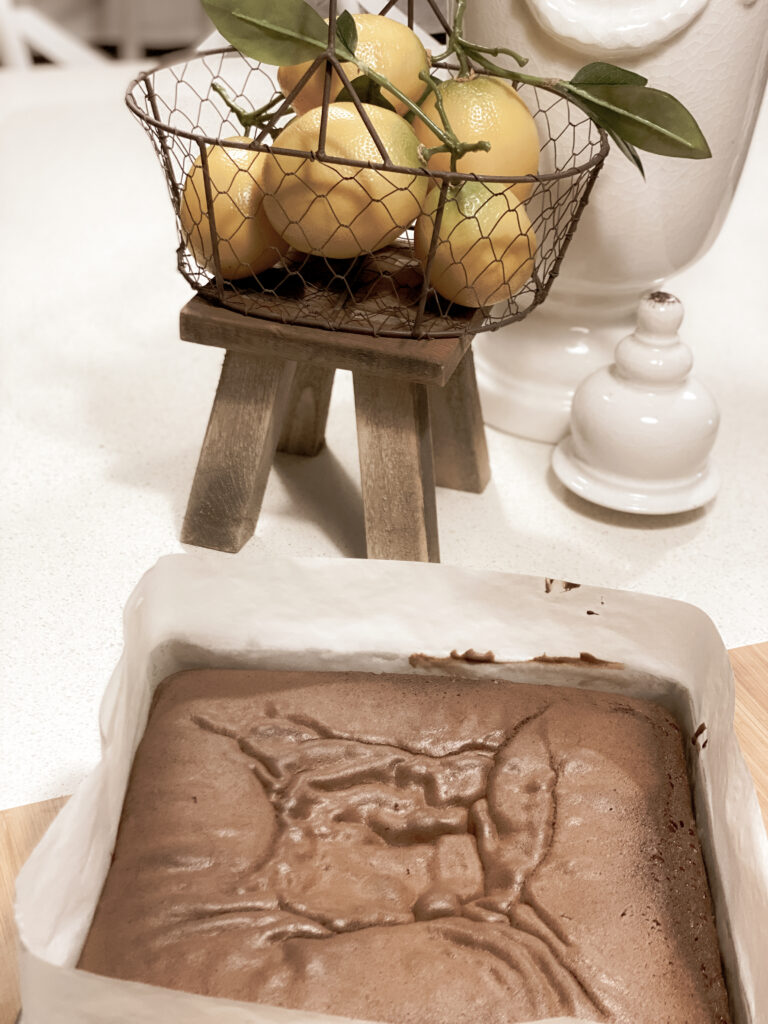
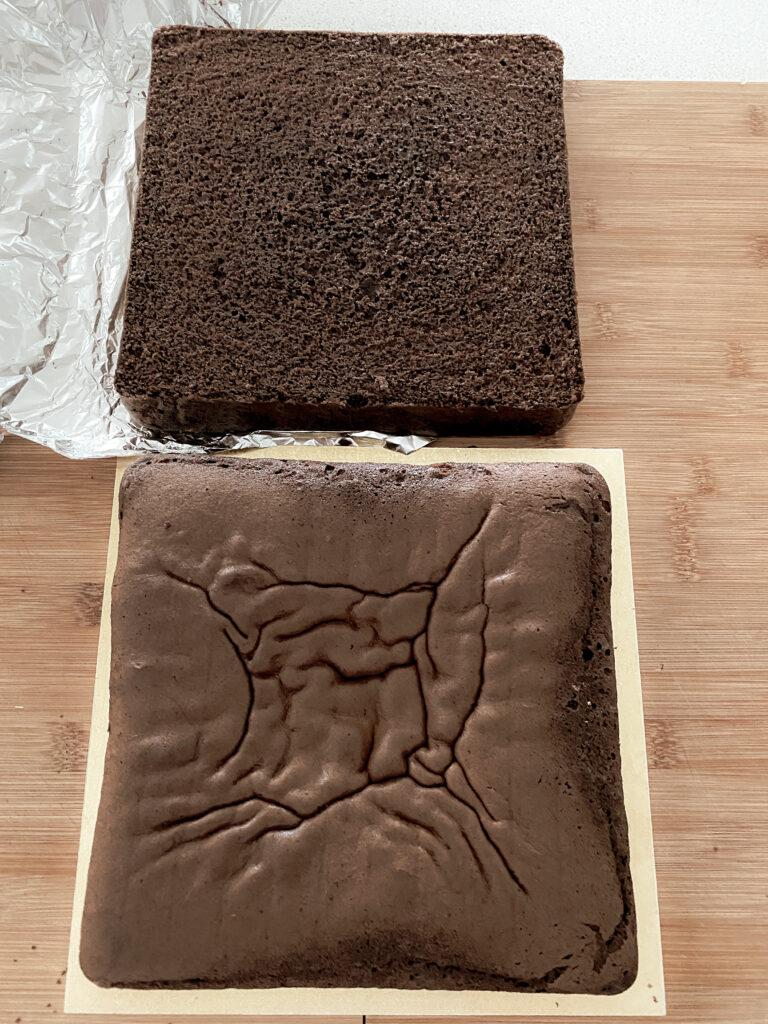
For this cake, I kept things simple and used a packet chocolate cake mix — something I often do when entertaining.
To elevate the flavour and texture, I always make a few small changes:
- Add extra butter (2 tablespoons)
- Add 3 extra eggs
This creates a richer, more moist cake that tastes far more homemade.
For a large celebration cake, I used two packets.
My Tip:
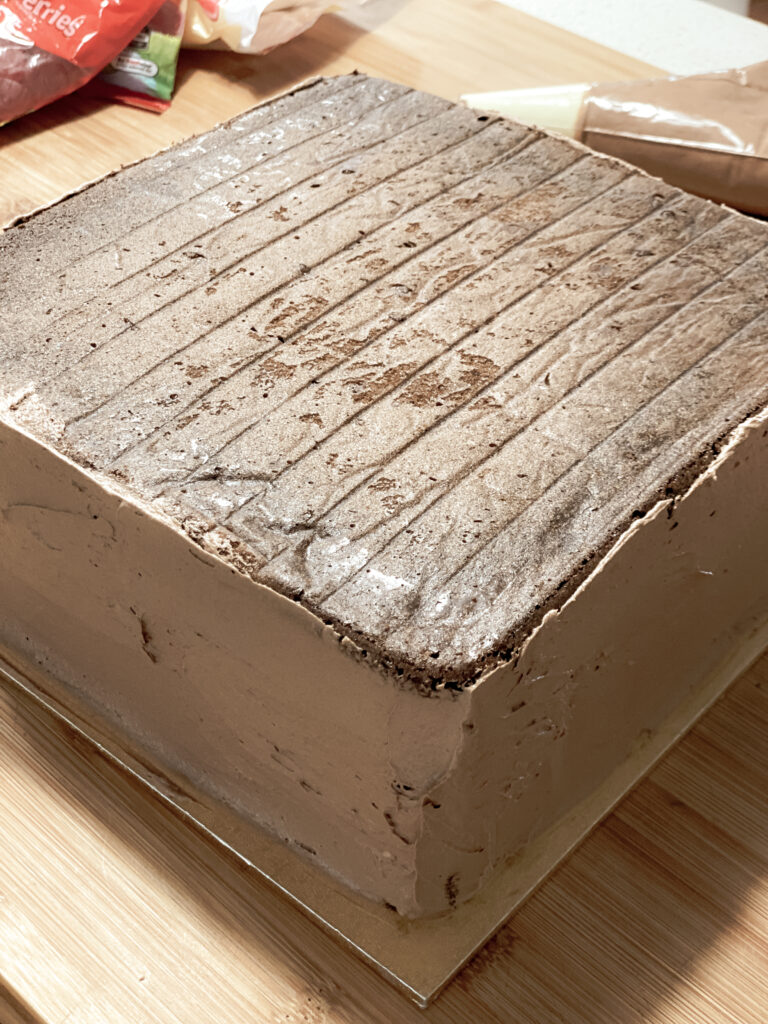
Bake the cake the day before and store it in the fridge. It makes slicing and layering so much easier.
If your cake sinks slightly in the middle (which happens sometimes!), don’t worry — simply flip it upside down when assembling. Once filled and decorated, no one will ever know.
How to Assemble the Cake
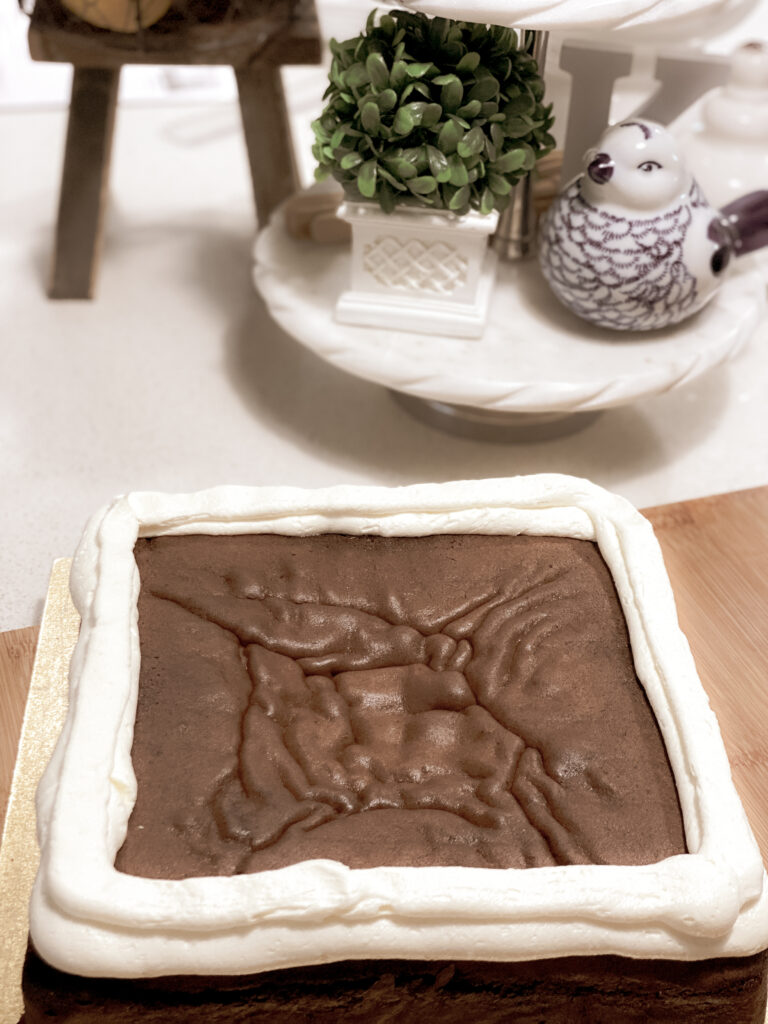
1. Slice and Fill
Cut the cake in half and prepare your filling.
For this cake, I chose a simple vanilla pudding filling — perfect for kids and not overly sweet.
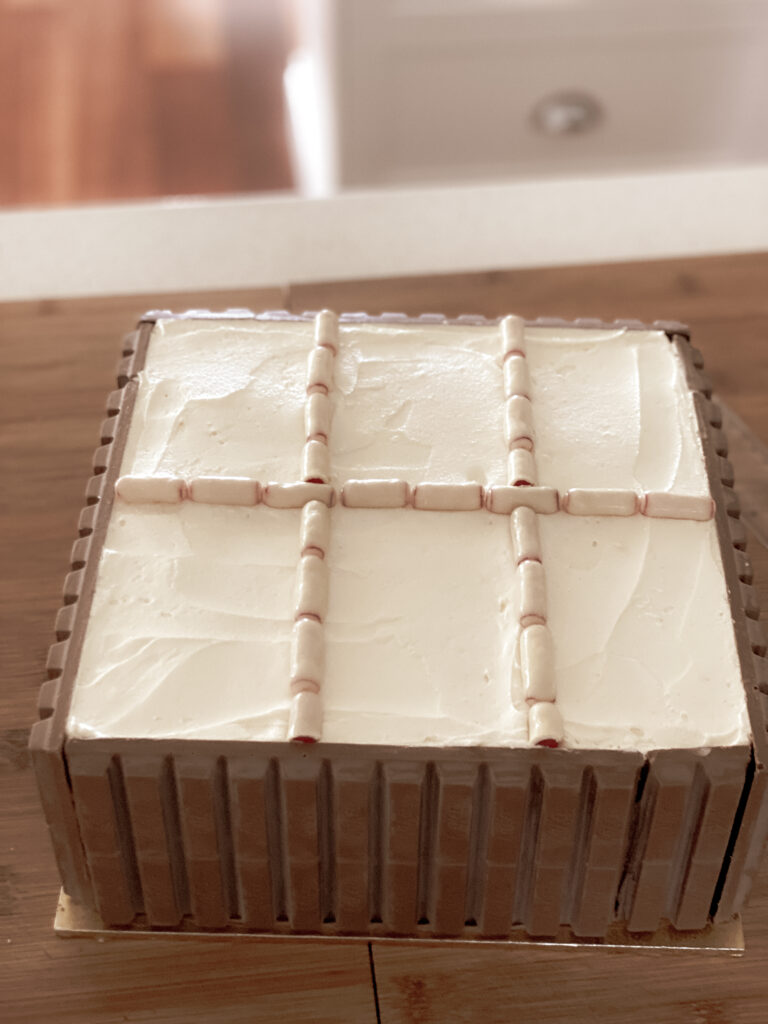
Before adding the filling, pipe a buttercream dam around the edge. This keeps everything neatly inside and prevents any mess.
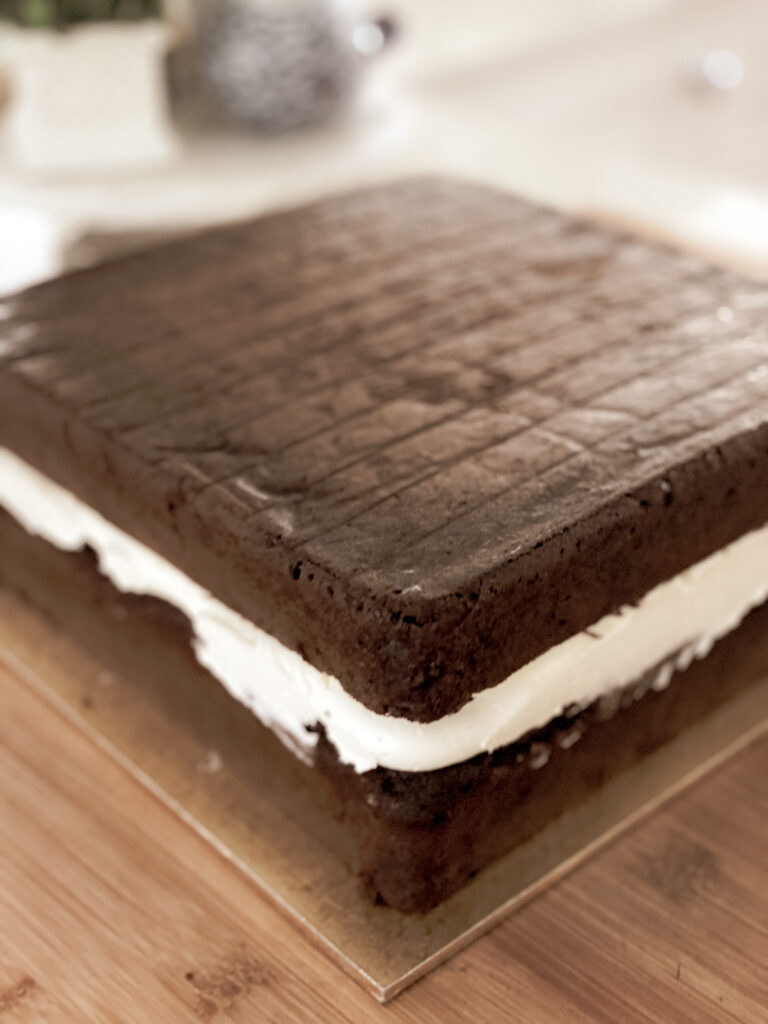
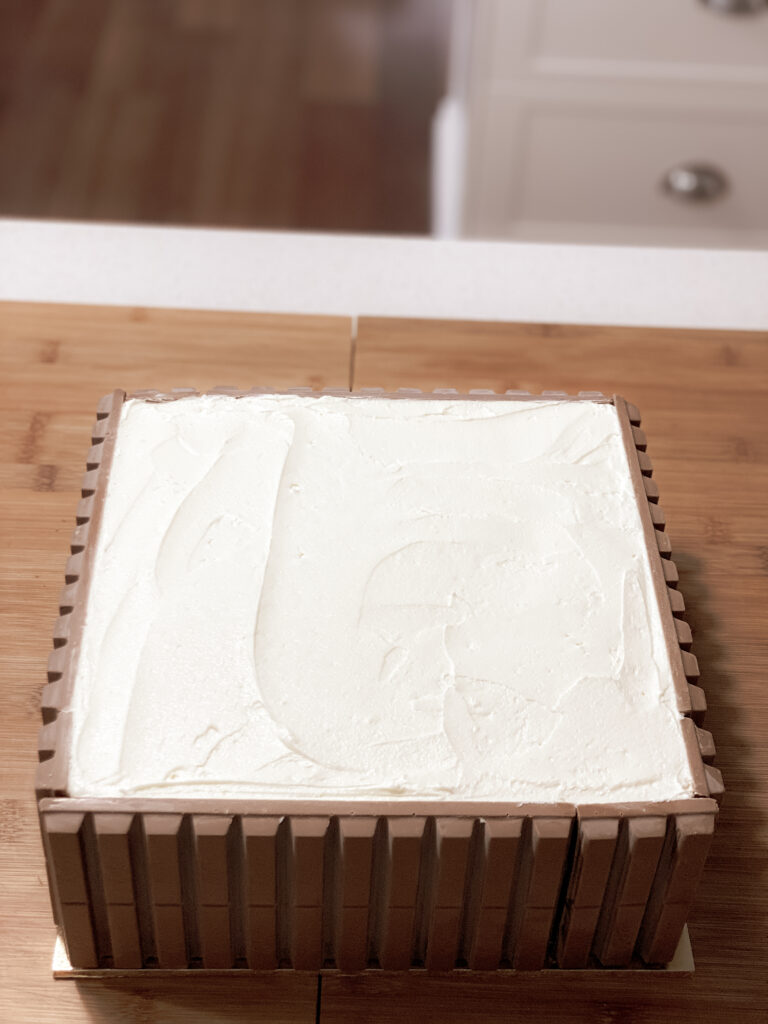
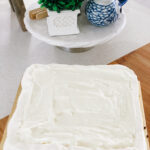
2. Buttercream Frosting
I made a large batch of vanilla buttercream and divided it into two:
Vanilla buttercream (for the top)
Chocolate buttercream (for the sides — add ¼ cup cocoa powder + 1 tbsp milk)
Because the cake is covered in lollies and chocolate, I kept the buttercream layer fairly light.
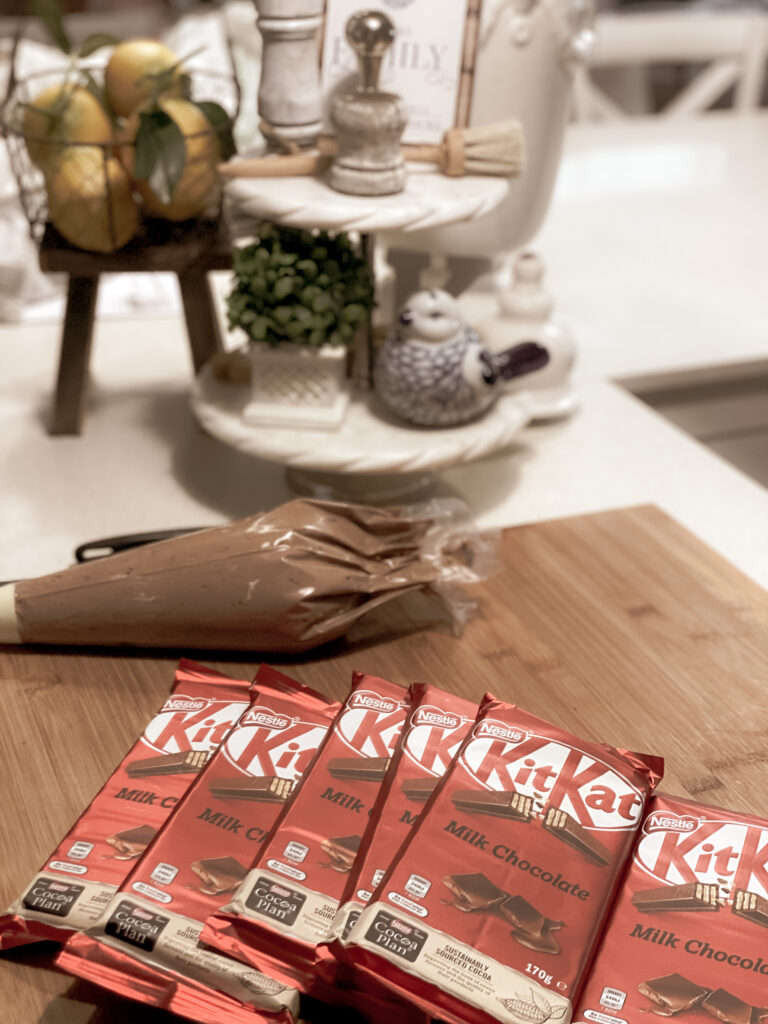
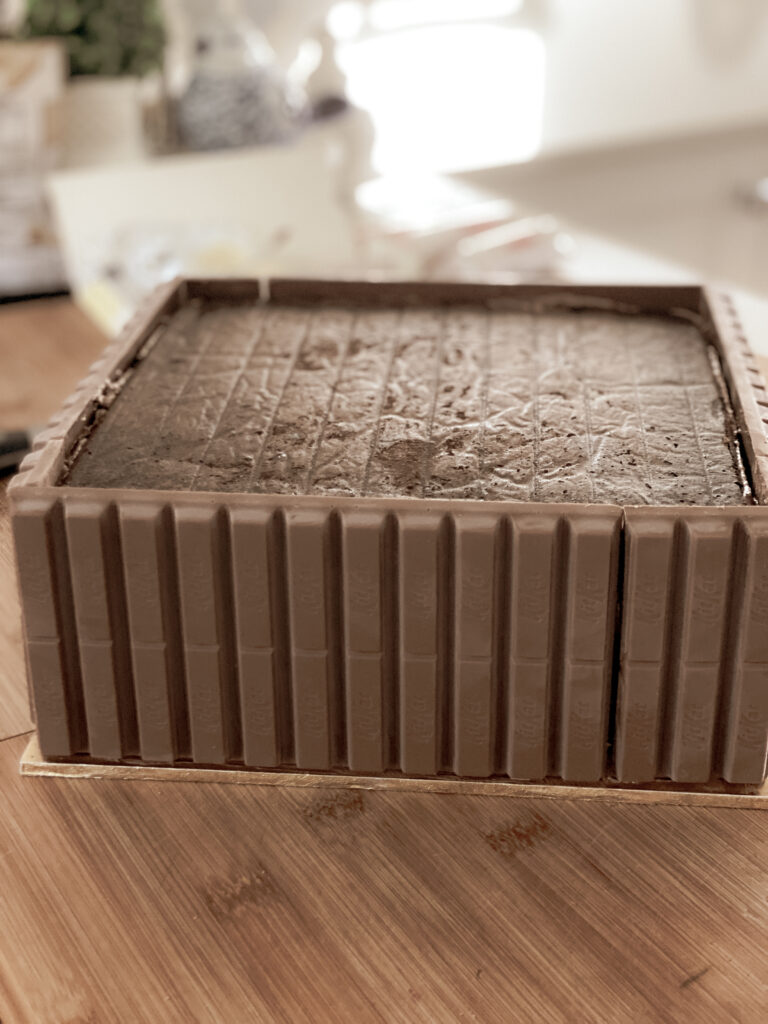
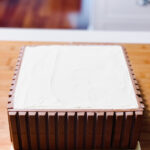
3. Create the Kit Kat Border
To form the outer wall of the cake, I used:
5 family blocks of Kit Kats
Press them gently around the sides of the cake while the buttercream is still soft
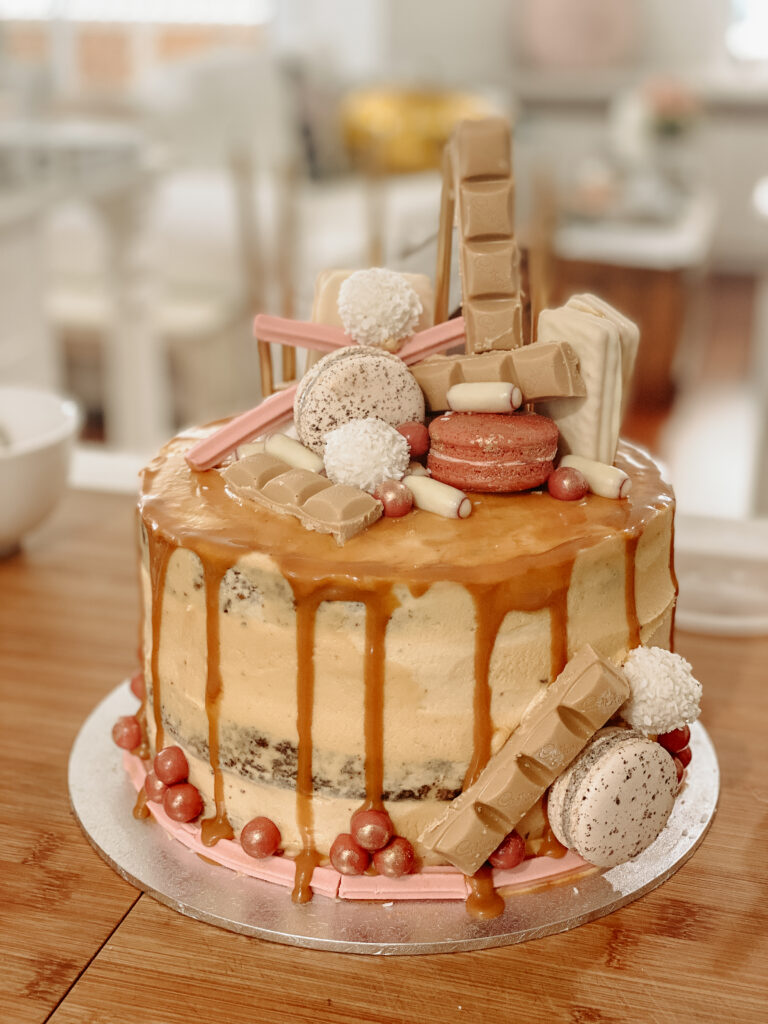
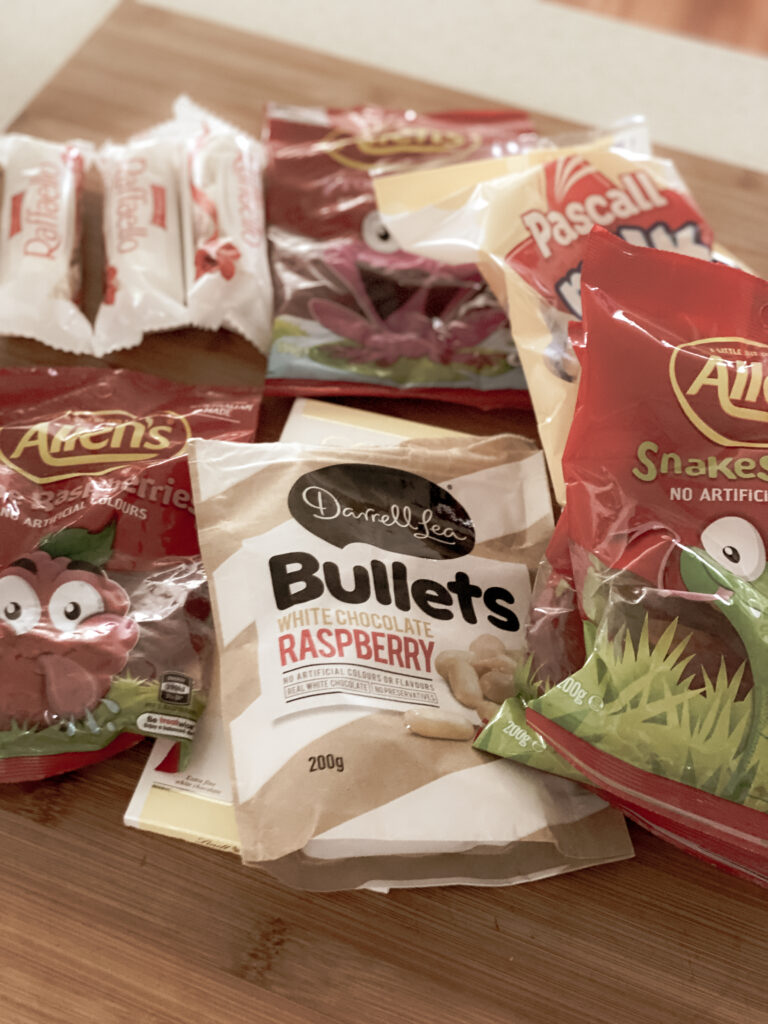
Lollies & Chocolate Decorations
This is where the fun really begins.
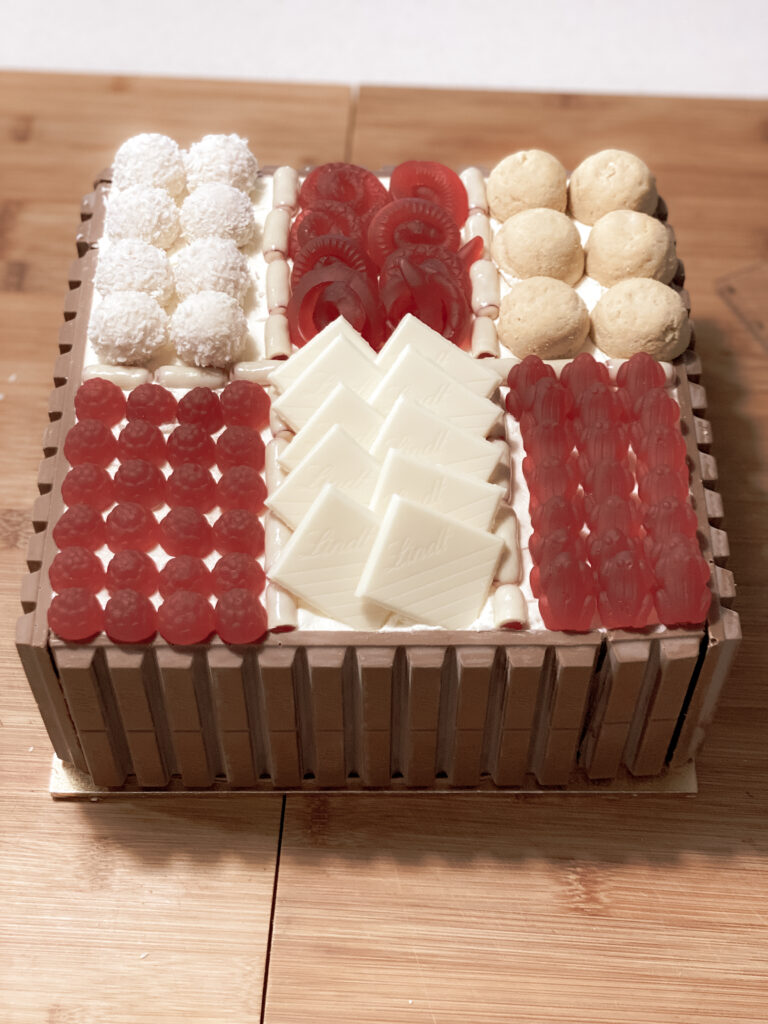
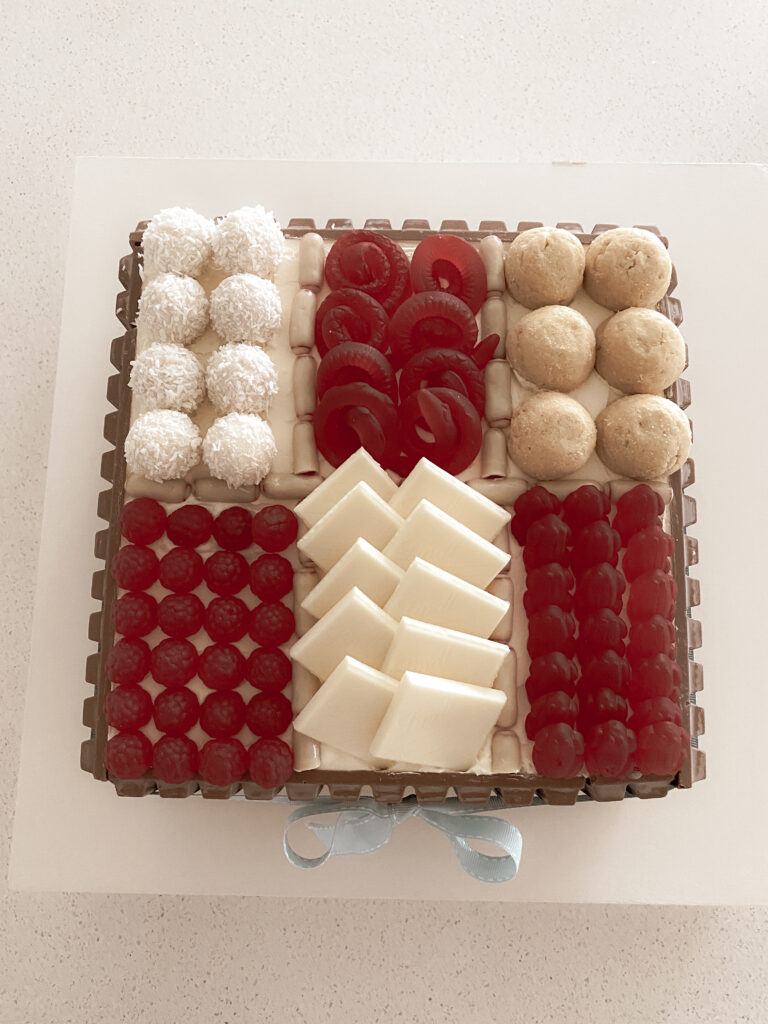
For this cake, I kept things cohesive with a red and white theme — simple, classic, and visually striking.
What I Used:
Kit Kats – 5 blocks
Darrell Lea Raspberry Bullets – 1 packet
Raffaello – 9 pieces
Red Snakes – 2 packets
Macadamia & white chocolate cookie bites – 1 packet
Red raspberries (lollies) – 1 packet
Lindt white chocolate – 1 block
Red frogs – 1 packet
Decorating the Lollies Cake
Decorating is honestly my favourite part — this is where the cake really comes to life.
To create a clean and “pretty” finish:
Divide the top into sections
Use raspberry bullets to outline each section
Fill each section with different lollies
Alternate colours to keep it visually balanced
You may need to trim a few lollies to fit neatly — totally worth the extra minute or two.
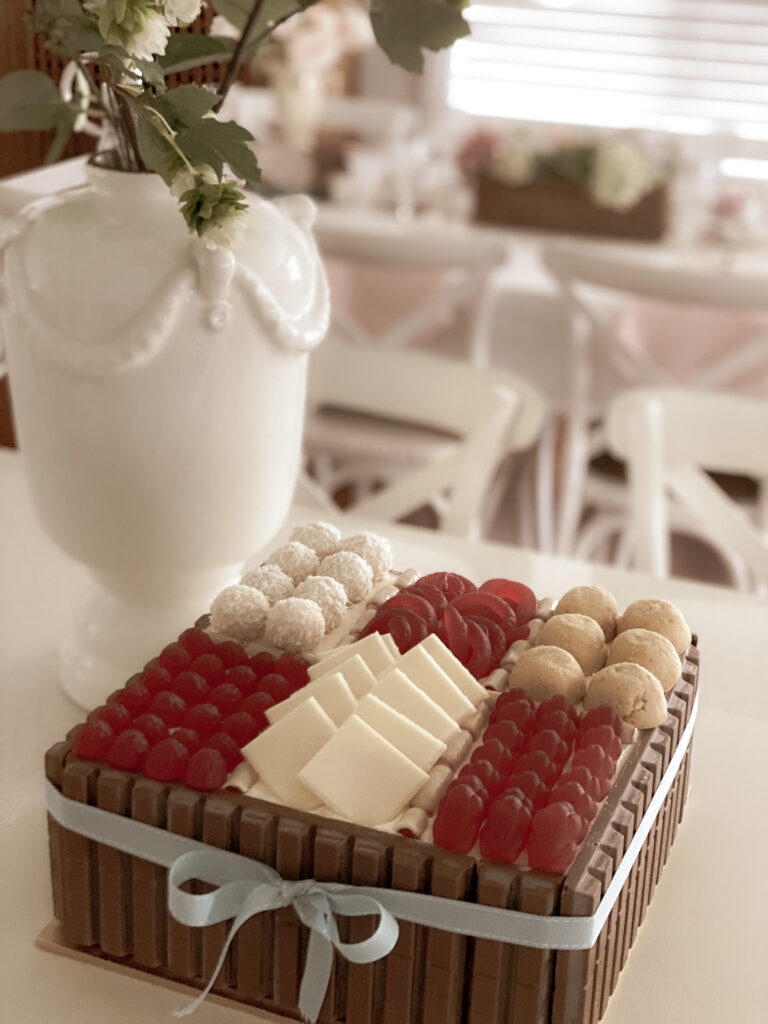
A Simple but Stunning Birthday Cake
This cake was part of a special celebration for my best friend’s son and Tony, and it was such a hit.
It’s proof that you don’t need complicated techniques to create something memorable — just a little creativity, a few favourite treats, and a willingness to have fun with it.
Tips for Success
Don’t stress about perfection — decorating hides everything
Stick to a colour theme for a more polished look
Use a light hand with buttercream (the lollies add plenty of sweetness)
Chill the cake slightly before decorating for easier handling
Variations to Try
Chocolate overload: Use only chocolate bars and truffles
Pastel theme: Perfect for younger kids’ parties
Elegant version: Neutral tones with chocolates and macarons
Christmas version: Red, white and gold sweets
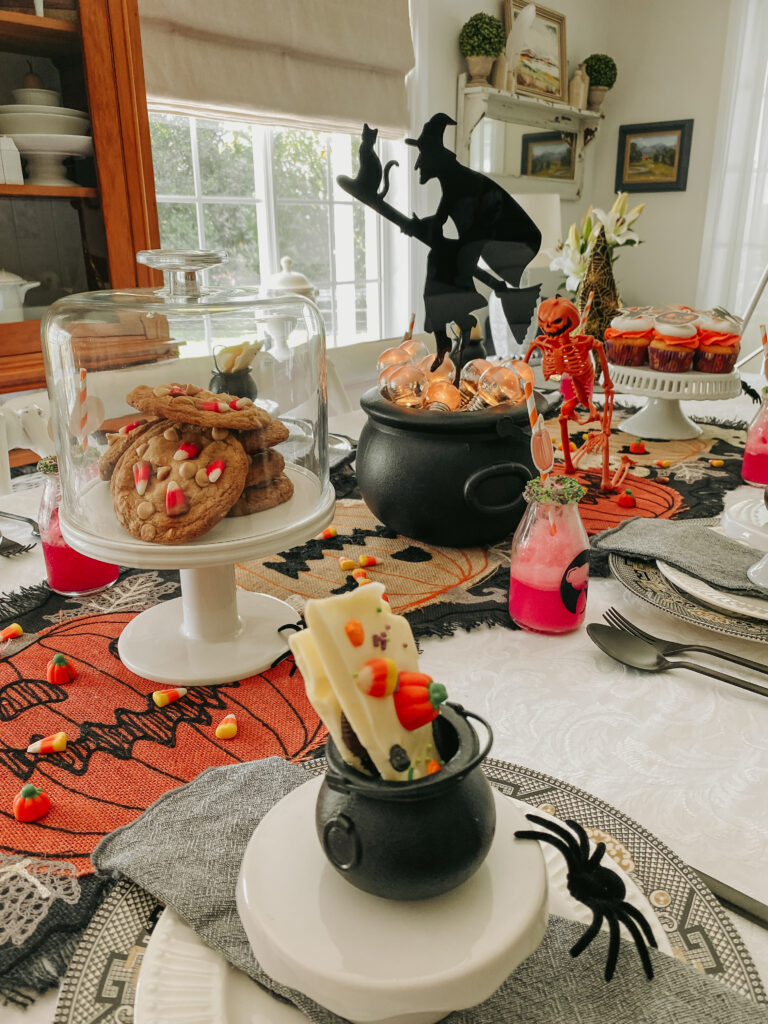
I made this cake for our escape room party at home, which turned out to be such a fun and relaxed way to celebrate—if you’d like to see the full setup, including the tablescape and menu, you can read about it here.

Vanilla Buttercream
Equipment
- Stand mixer
Ingredients
- 690 grams Icing Sugar
- 500 grams butter I use a good quality butter because you really taste the flavour
- 2 tsp vanilla extract
- 60 mls pure cream
Instructions
- Beat butter using stand mixer until creamy.
- Add one cup of icing sugar at a time. Turn machine off between additions or you will end up with icing sugar everywhere. Once all sugar is added mix on high for three minutes.
- Add vanilla and then add the cream 20 mls at a time until desired consistency is achieved.
- Whip until really smooth and creamy.
Notes
Vanilla Pudding cake filling
Equipment
- Stand mixer
Ingredients
- 1 pkt vanilla pudding mix
- 700 mls cold milk
- 1 cup pure cream (whipped)
Instructions
- Pour milk into the bowl of your stand mixer and sprinkle pudding mix on top.
- Whisk until fluffy (about a minute) and then put in the fridge to set for about 10 minutes.
- Fold cream into the pudding mix. I had half of this mix leftover after filling the cake. It was actually delicious with chopped fruit.