Kitchen Renovation Planning: From Demolition to Installation (Real-Life Remodel – Part 2)
From Demolition to Rebuild
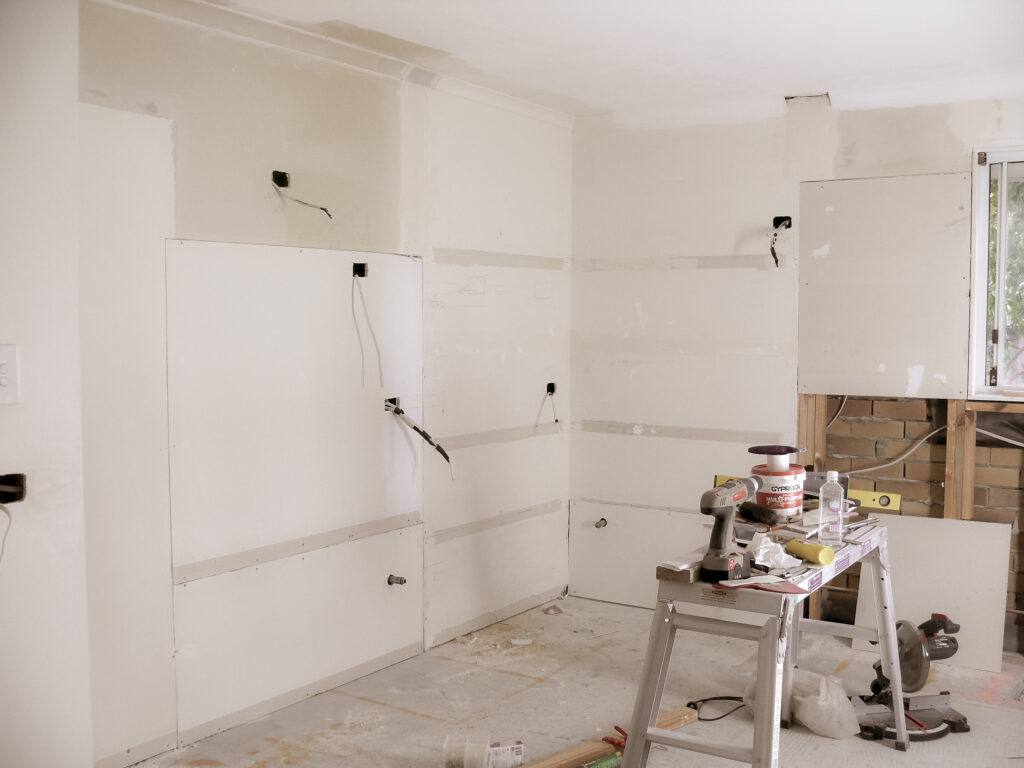
After the dust (quite literally) settled from demolition, it was time to begin the next stage of our kitchen renovation—the rebuild.
This is where everything starts to feel real.
In Part 1, I shared the kitchen renovation planning process and the challenges we faced with our original layout. Now, this stage was about bringing those plans to life and making sure every decision worked in a practical, everyday way.
Rethinking the Layout (And Moving the Plumbing)
One of the biggest changes we made was relocating the sink so it could sit under the window—a small decision that made a big difference to how the space feels.
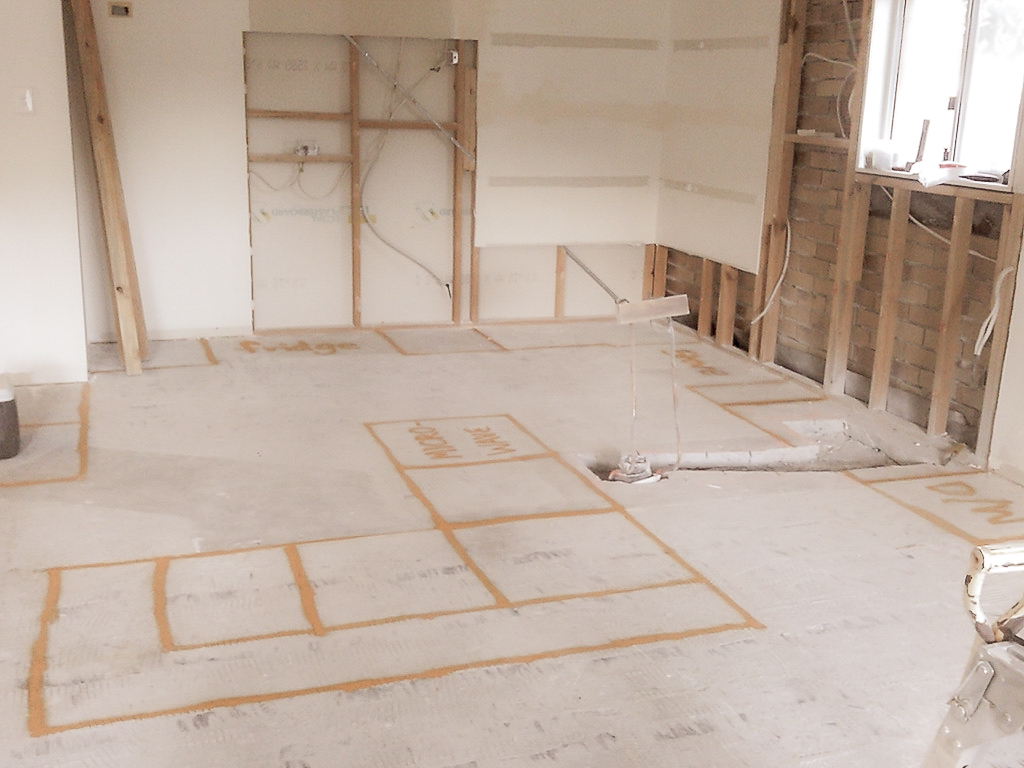
To make that happen, we had to reroute the plumbing under the concrete slab, which meant breaking into the floor with a jackhammer.
It was dusty, messy work, but surprisingly straightforward once the plumber stepped in to complete the rerouting. After everything was in place, the trench was filled with concrete and we could move forward.
At the same time, we had the electrician ensure we could run power to the island bench—something I’m so glad we included. It’s these small, practical details that make a kitchen truly functional.
Before installing anything permanently, we mapped out the cabinetry layout on the floor using paint. It gave us a chance to visualise the space properly—and thankfully, it looked even better than we had imagined.
Adding Character with Simple Details
As part of our wider renovation plans, we wanted to gently add more character to the home.
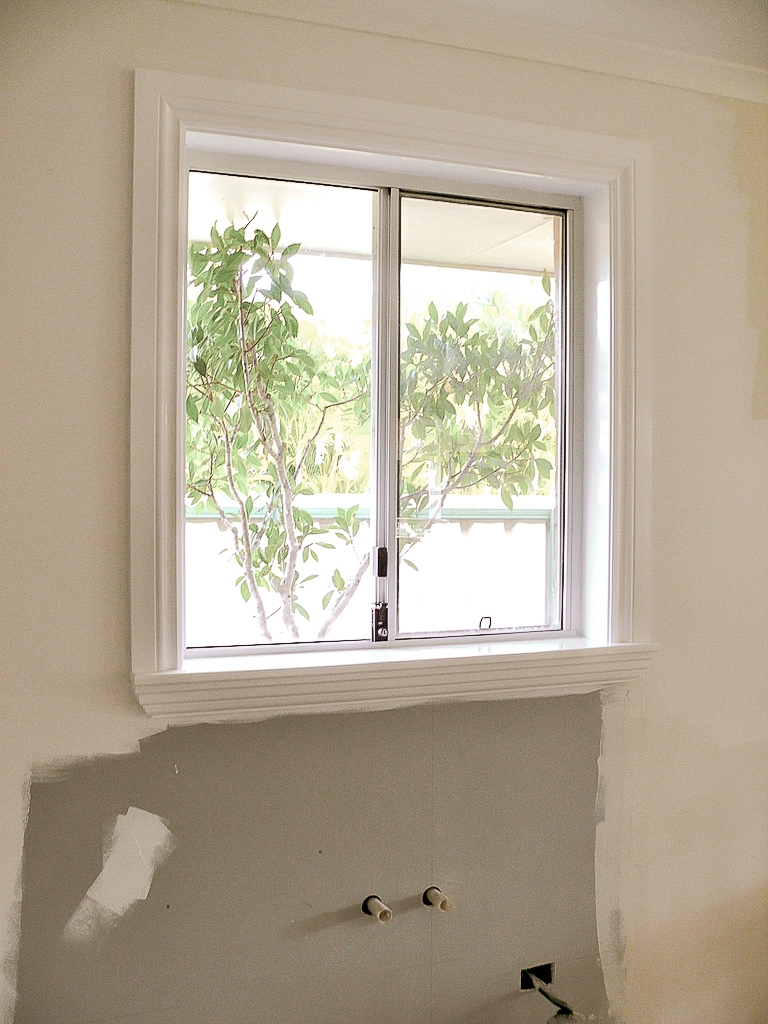
Our windows were over 20 years old with aluminium frames, and while replacing them wasn’t within budget, we found a simple way to improve their look.
Tony created a more substantial window trim, including a wider sill, which instantly softened the space and added a more considered, finished feel.
It’s a small detail—but one that made a big difference.
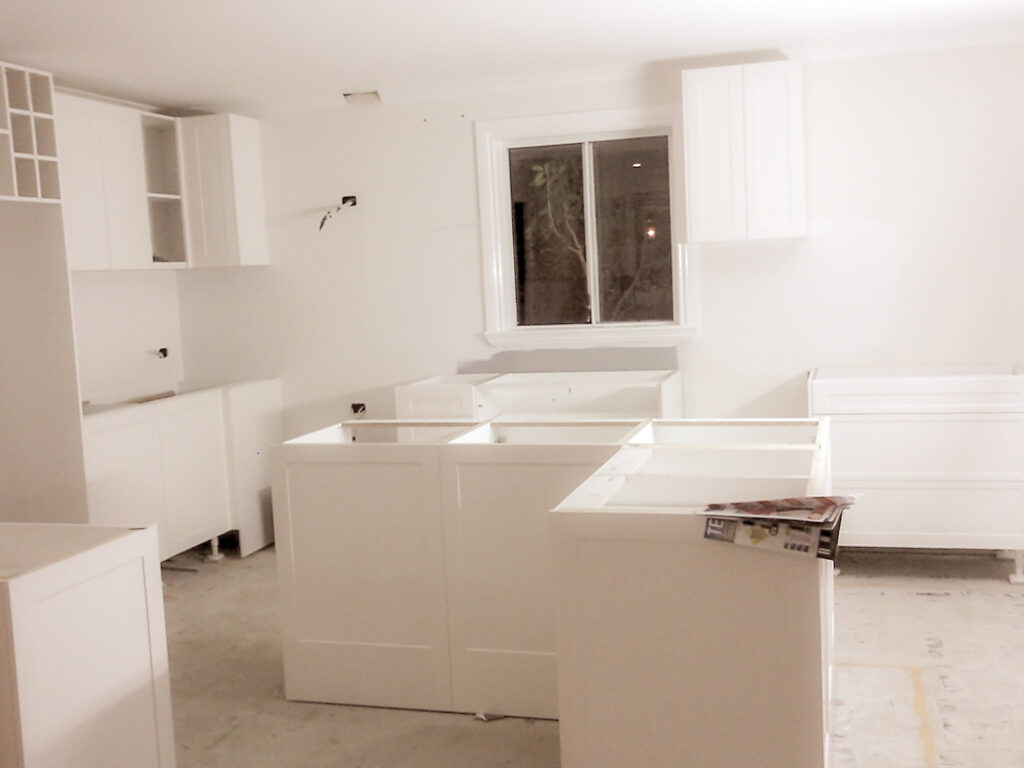
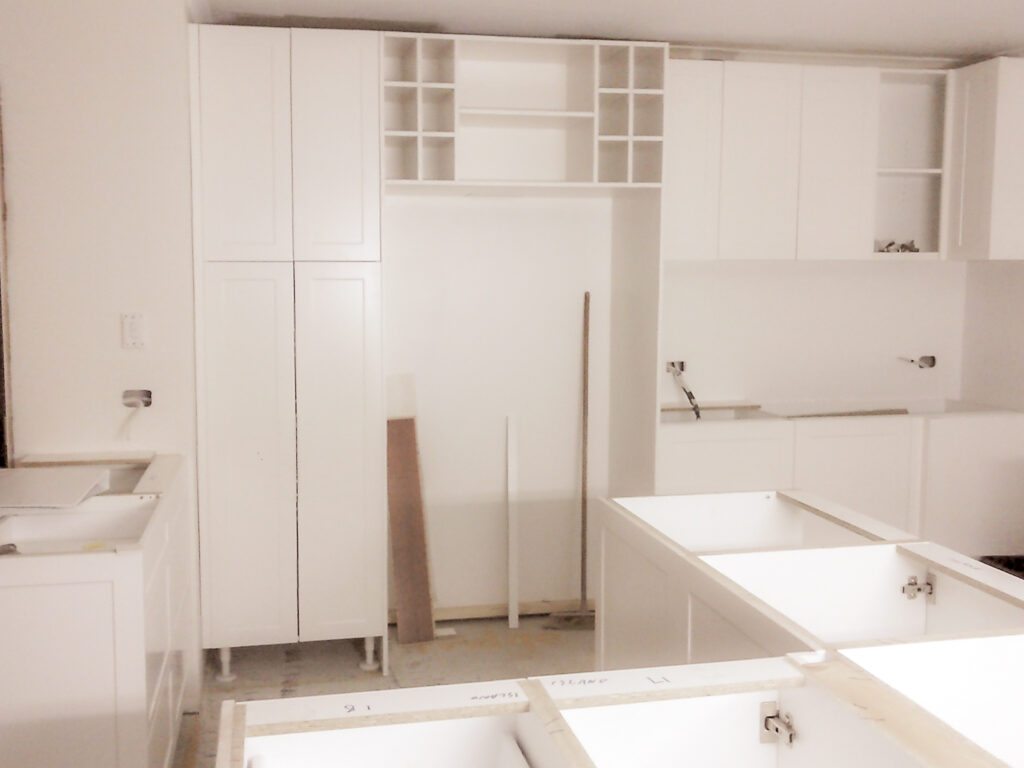
Cabinetry Installation (The Turning Point)
This was the moment everything began to come together—the cabinetry installation.
We chose custom cabinetry so we could create a cohesive look that would carry through the rest of the house. The colour we selected was Dulux Natural White, with Dulux Lexicon Quarter used for the trim as a soft contrast.
It gave us that light, timeless foundation we were hoping for.
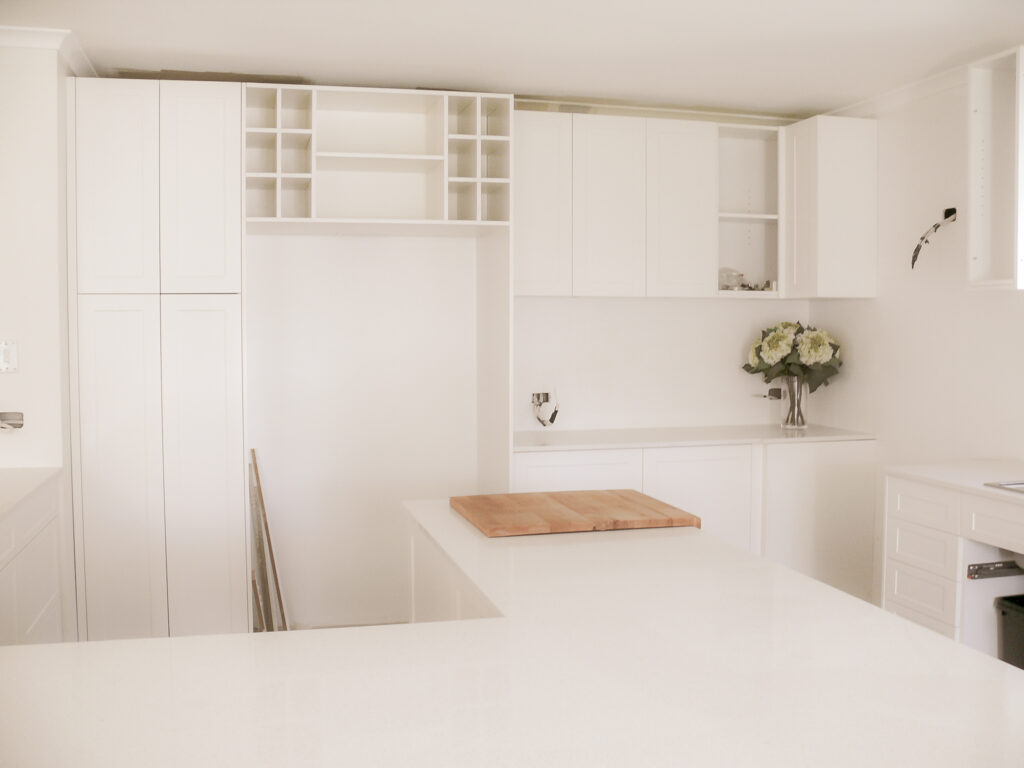
Choosing the Right Benchtop (Function Over Perfection)
Like many people, I was drawn to the beauty of marble.
But in the end, practicality won.
At that stage, we still had a busy household, and I didn’t want to feel like I had to constantly protect the benchtops. So we chose a surface from Caesarstone instead.
And ten years later, I can honestly say it was the right decision. It still looks as good as it did the day it was installed—proof that choosing practicality doesn’t mean sacrificing beauty.
Flooring Decisions (And a Little Compromise)
With the cabinetry in place, we moved on to flooring—another decision that took more time than expected.
I had my heart set on a lighter timber look, while Tony preferred something darker.
In the end, I let Tony have this one. After all, I had chosen just about everything else!
We installed timber floating floors ourselves, using a click system over underlay. It was surprisingly straightforward, and the three of us—Tony, Emily, and I—made a great team.
He still loves the darker tone… and I still quietly lean toward lighter floors—but that’s part of the story too.
Watching It Come Together
At this stage, the kitchen was really starting to take shape.
There were still finishing touches to go—cornices, painting, and final details—but for the first time, we could truly see the vision coming together.
And that’s one of the most rewarding parts of any renovation.
What’s Next: The Finished Kitchen
In the next post, I’ll share the completed kitchen—how all the elements came together and the final result after months of work.
👉 Kitchen Renovation – Part 3 (The Finished Kitchen)