How to Make a Stunning Pavlova Dessert Board Everyone Will Love
Who doesn’t love pavlova?
With crisp meringue, softly whipped cream, fresh fruit, and endless topping possibilities, pavlova is one of those desserts that always feels special while still being incredibly easy to serve for entertaining. If you’re looking for a simple but impressive dessert idea, learning how to make a pavlova dessert board is the perfect solution. Guests can customise their own pavlovas, it looks beautiful on the table, and you can make most of the elements ahead of time.
Best of all, you can keep it incredibly simple or make it as elaborate as you like.
Choosing the Right Board
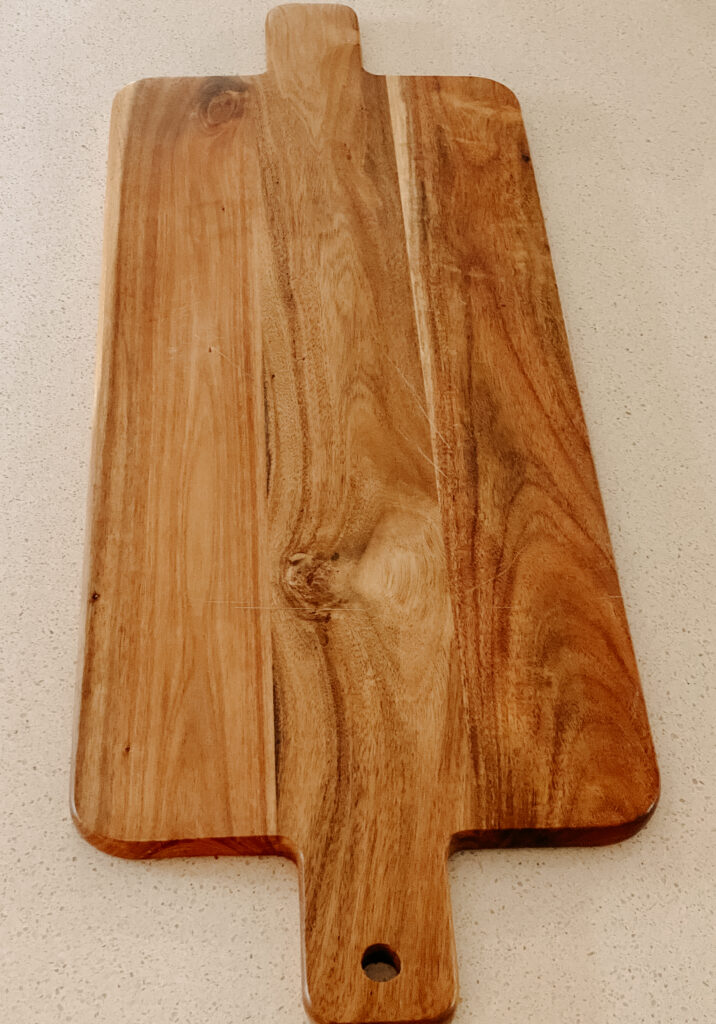
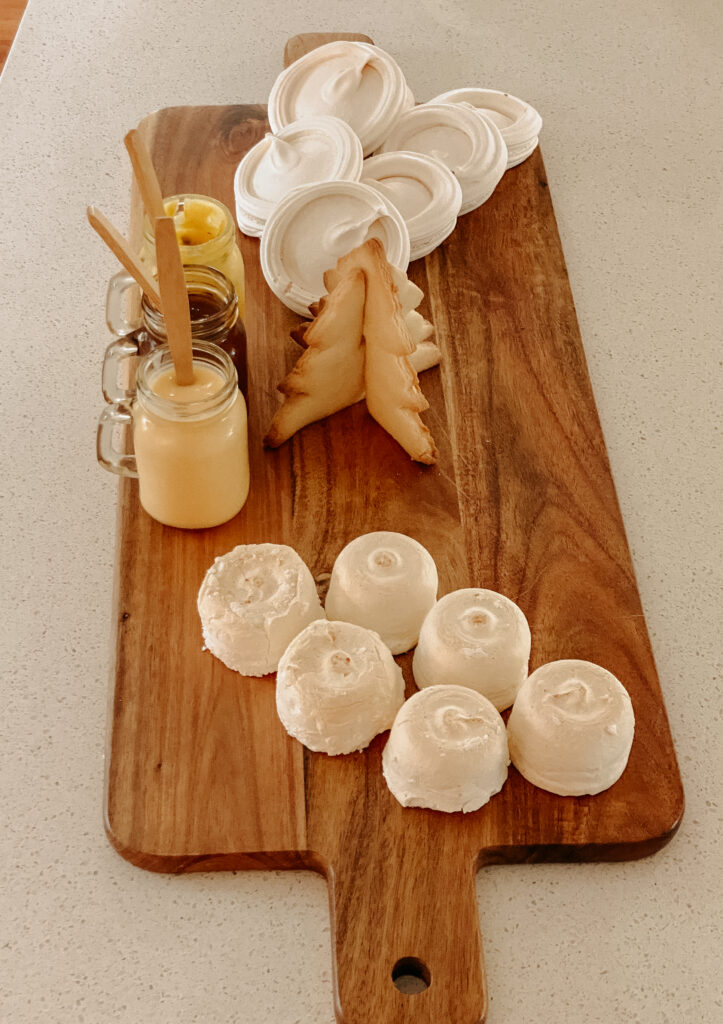
The first step in creating a beautiful pavlova dessert board is choosing the right serving board or platter.
The most important thing is making sure your board is large enough to comfortably hold all your ingredients without overcrowding.
Some great options include:
- Large timber boards
- Marble serving trays
- White platters
- Round grazing boards
- Rectangular serving trays
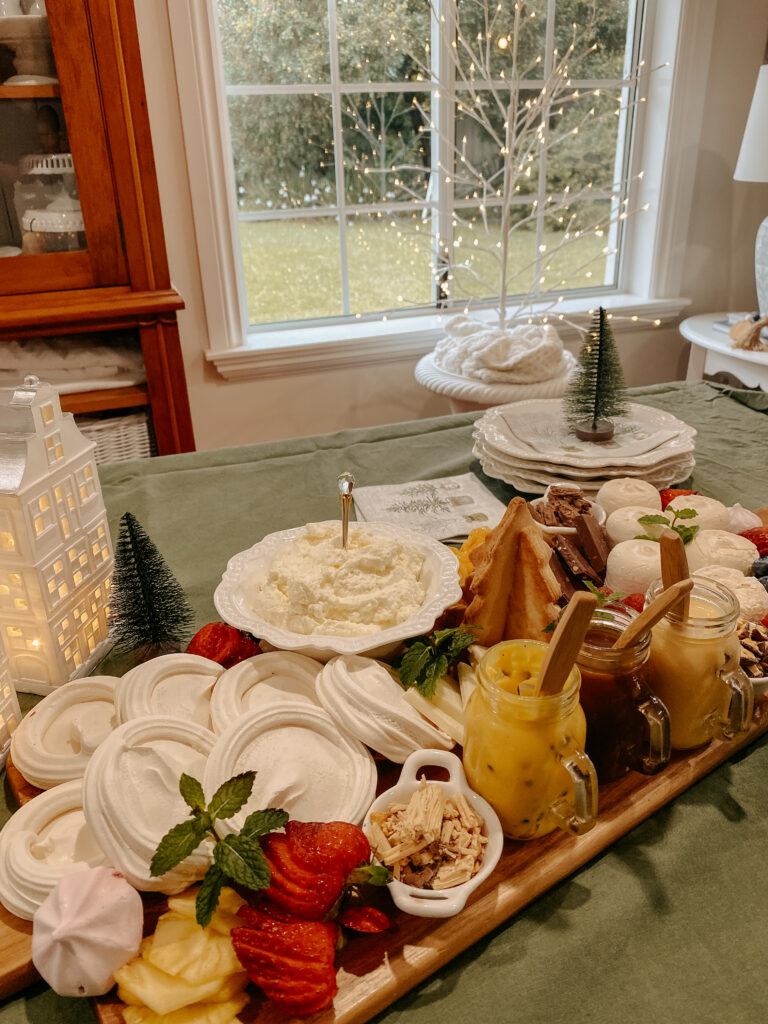
For this board, I chose a large rectangular board because it allowed plenty of room for toppings, fruit, and serving bowls.
If you’re looking for serving boards and entertaining pieces, you can also browse my Shop My Favourites page where I share some of my favourite grazing boards, platters, and entertaining essentials.
What to Include on Your Pavlova Dessert Board
One of the best things about a pavlova grazing board is how flexible it is.
You can keep things beautifully simple or create a more indulgent dessert experience with extra toppings and textures.
The Simple Version
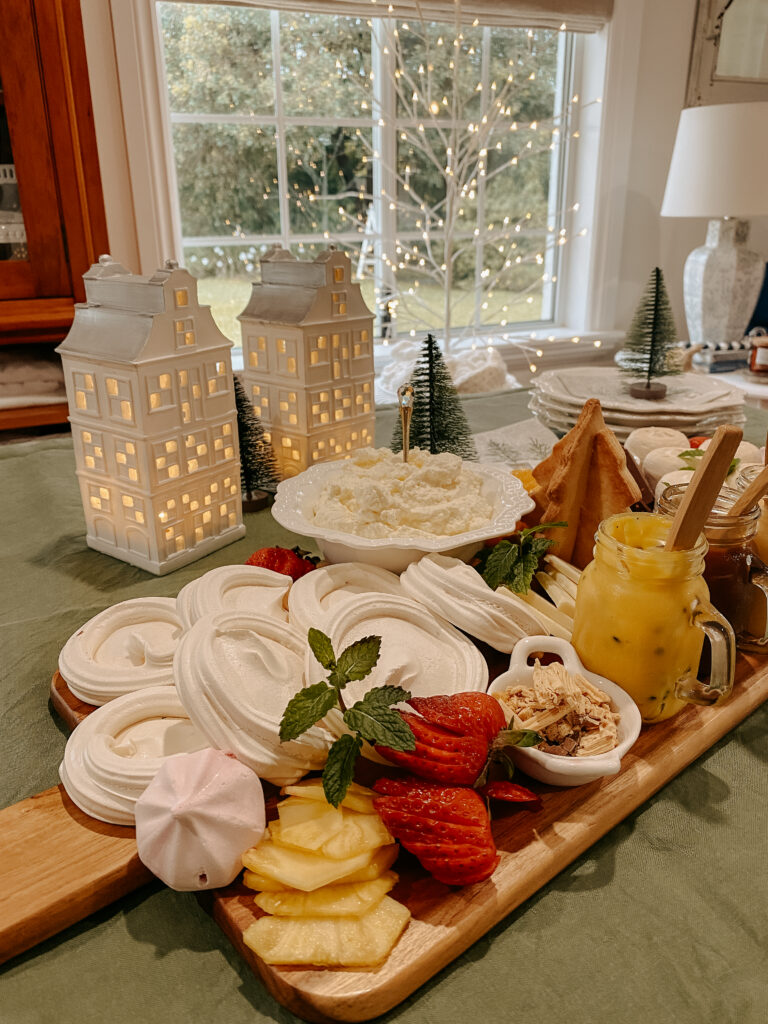
For a classic pavlova dessert board, you only really need:
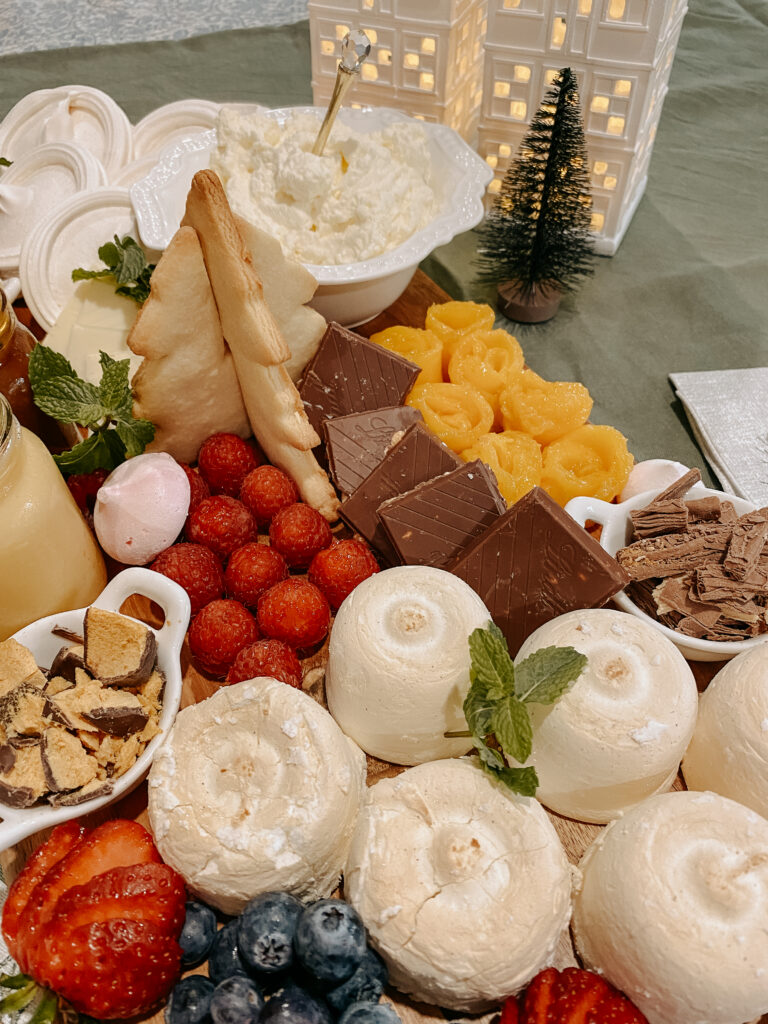
- Mini pavlova shells or meringues
- Whipped cream
- Fresh fruit
Some of my favourite fruit options include:
- Strawberries
- Mango
- Blueberries
- Raspberries
- Kiwi fruit
- Pineapple
Even with just these simple ingredients, the board will still look beautiful and feel special.
Adding Extra Toppings
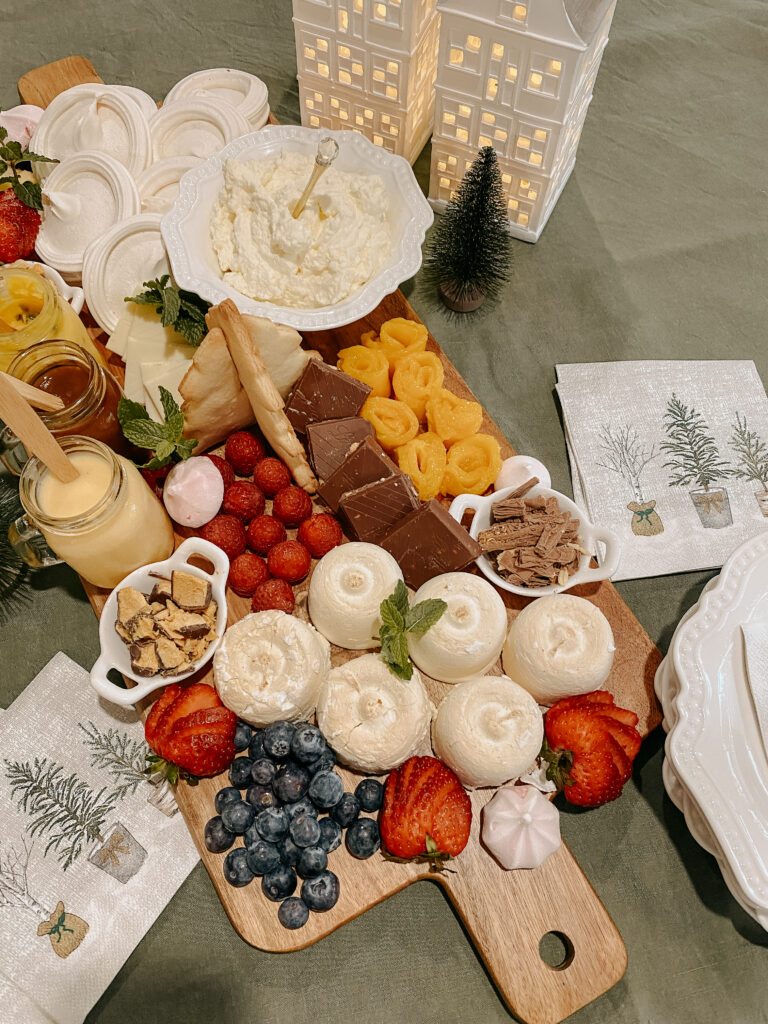
If you want to elevate your dessert board even further, there are so many delicious extras you can include.
Creamy Toppings
Alongside whipped cream, try adding:
- Custard
- Nutella
- Biscoff spread
- Caramel sauce
- Lemon curd. You will find an incredibly delicious recipe here.
- Passionfruit curd
These toppings give guests more variety and make the board feel extra indulgent.
Chocolate and Crunchy Extras
To create texture and contrast, I also love adding:
- Crumbled honeycomb
- Flaked chocolate
- Toasted flaked almonds
- Shredded coconut
- Chocolate curls
These small additions help make the board look abundant and visually interesting.
How to Arrange Your Pavlova Dessert Board
This is the fun part.
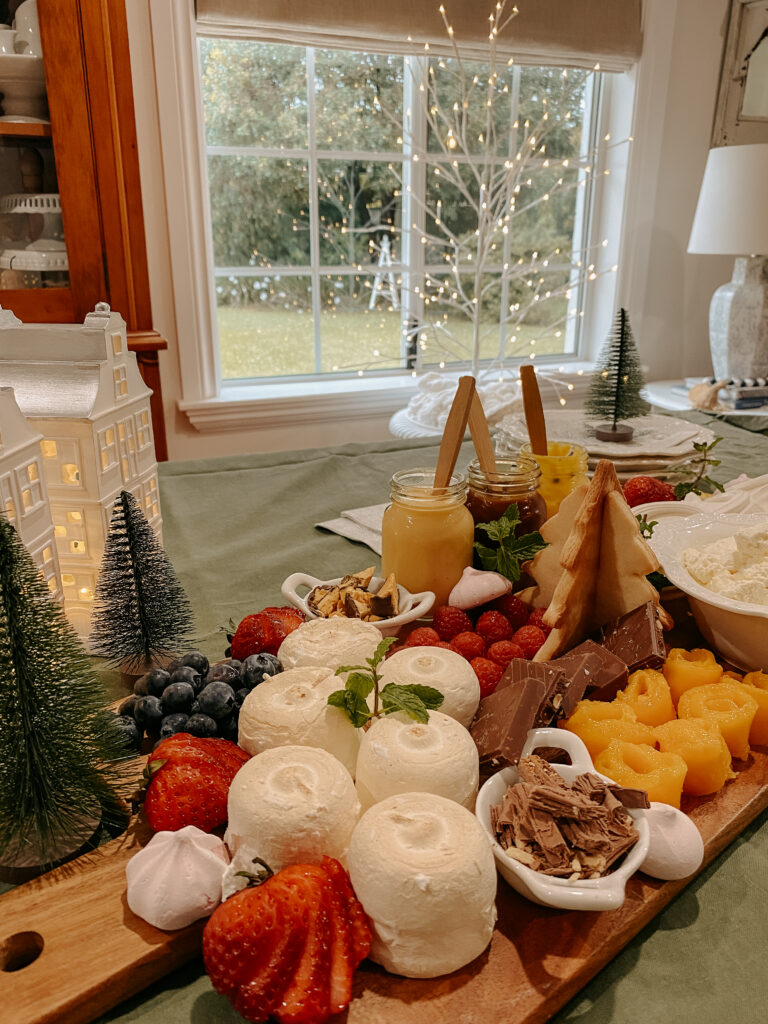
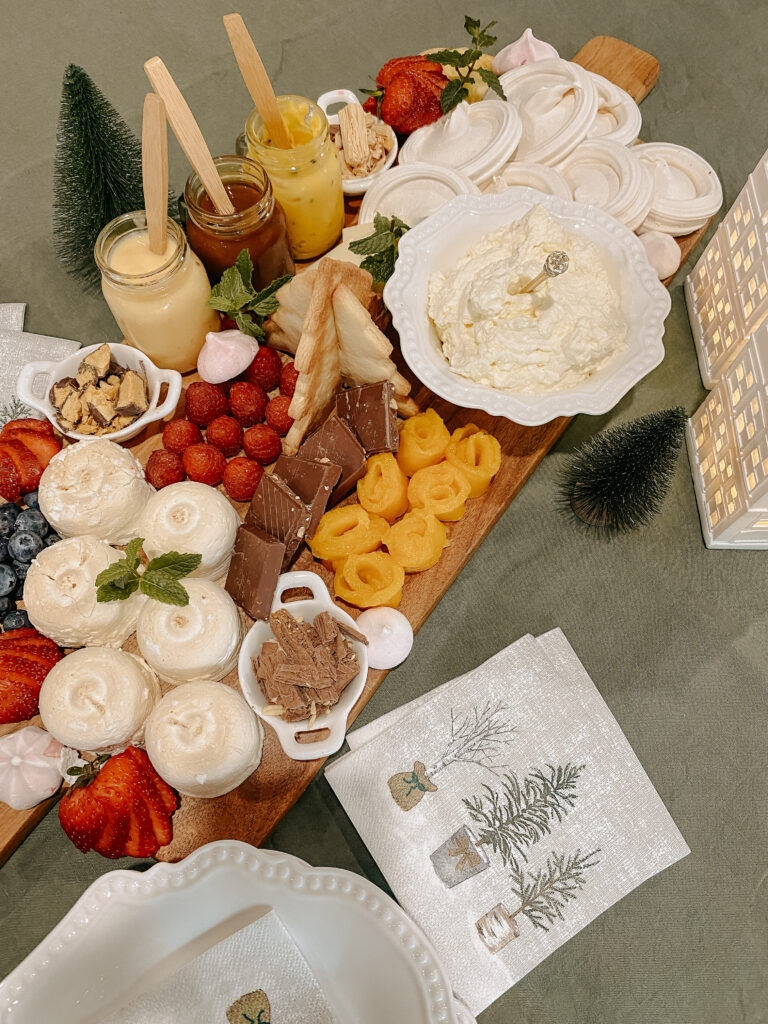
I always begin by placing the bowls or jars for the toppings first. This helps anchor the layout of the board and makes arranging everything else much easier.
Use Small Bowls and Jars
Small mason jars work beautifully for:
- Cream
- Custard
- Curds
- Sauces
- Spreads
You’ll also want small serving spoons for each topping.
I personally love using mismatched vintage teaspoons because they add character and charm to the board.
Fill the Board Completely
Once the bowls are positioned, start arranging the remaining ingredients around them.
The key to a visually impressive grazing board is abundance.
Try to fill all visible gaps with fruit, meringues, chocolates, or toppings so the board feels full and layered.
Chop Fruit into Bite-Sized Pieces
Larger fruits such as:
- Mango
- Pineapple
- Peaches
- Strawberries
should be chopped into manageable pieces so guests can easily add them to their pavlovas.
Can You Make a Pavlova Dessert Board Ahead of Time?
The answer is yes… mostly.
Many of the components can absolutely be prepared the day before.
What You Can Prepare Ahead
- Bake or purchase pavlova shells
- Whip the cream
- Prepare custard
- Portion sauces and curds into jars
- Chop fruit
- Prepare chocolates and toppings
What You Shouldn’t Do Early
Avoid fully assembling the board ahead of time.
Fresh fruit, cream, and meringue can become soggy if left sitting too long. For the freshest presentation, assemble the board shortly before serving.
What Size Board Should You Use?
The size of your board will depend on how many people you’re serving.
Suggested Board Sizes
- 2 people: up to 25cm (10 inches)
- 4–6 people: 25–35cm (10–14 inches)
- Larger groups: approximately 50cm (20 inches) or larger
For very large gatherings, using two separate boards often works better than overcrowding one platter.
Why Pavlova Dessert Boards Are Perfect for Entertaining
Pavlova dessert boards work beautifully for entertaining because they combine visual impact with practicality.
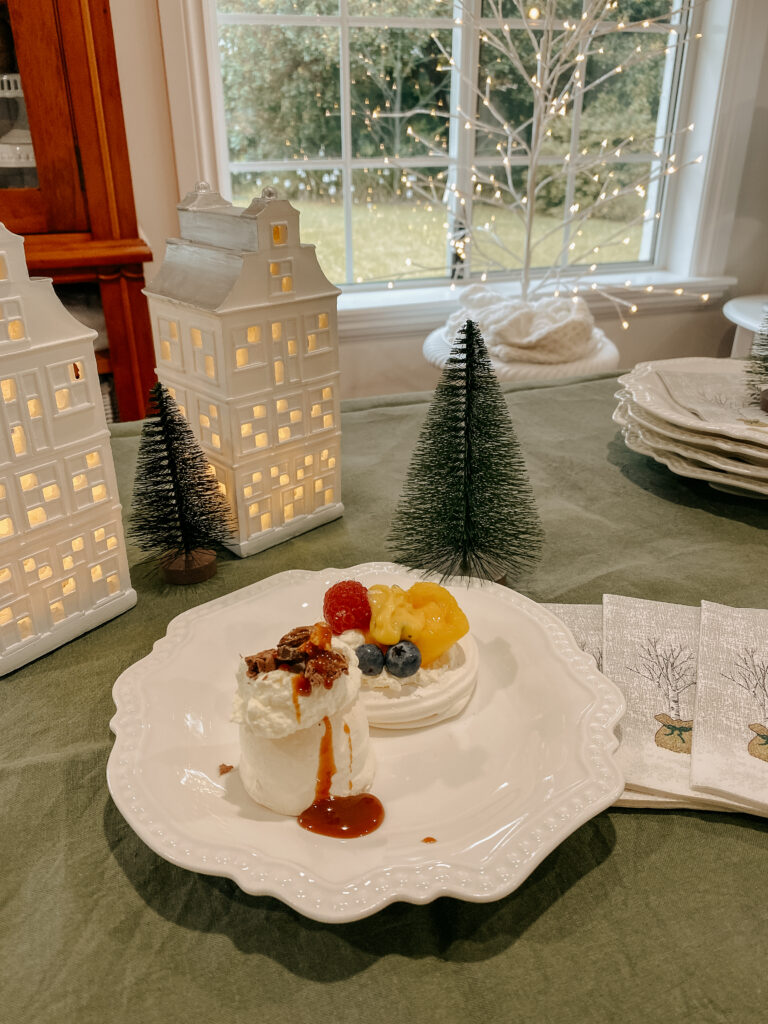
Guests can build their own desserts, choose their favourite toppings, and casually graze throughout the event.
They’re relaxed, interactive, and always feel a little special without requiring complicated preparation.
Whether you keep things simple with fruit and cream or go all out with chocolate, curds, sauces, and crunchy toppings, learning how to make a pavlova dessert board is one of the easiest ways to elevate your entertaining at home.
If you like the idea of dessert boards you will love this one.